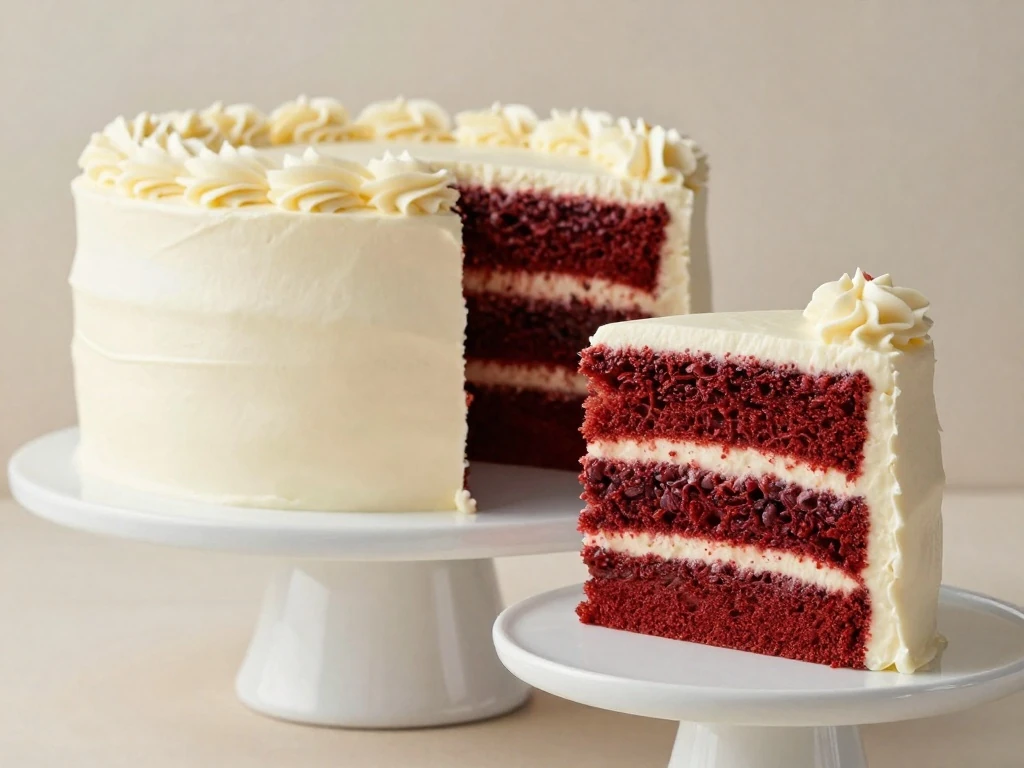
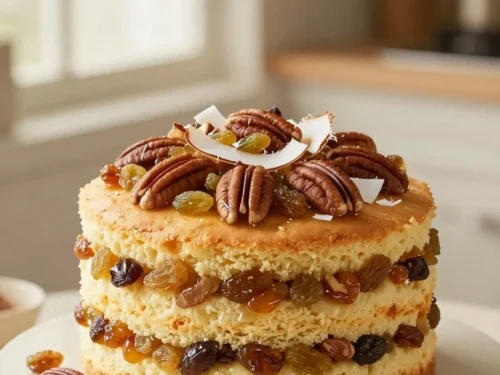
The best red velvet cake recipe starts with tender cocoa-scented layers, cultured buttermilk, a little vinegar, and enough red coloring to create that signature ruby shade. Bake the batter in three round pans, cool the layers completely, then fill and cover them with tangy cream cheese frosting for a reliable homemade cake that is moist, balanced, and beautifully sliceable.
This classic occasion cake tastes lightly chocolaty rather than intensely cocoa-rich, with a soft crumb and a gentle tang from buttermilk and cream cheese. The frosting is silky, sweet, and slightly sharp, making every bite feel lush without becoming heavy.
This red velvet cake has the soft, close crumb that makes the dessert instantly recognizable. Vegetable oil keeps the layers moist for several days, while buttermilk provides a mellow tang and helps create a delicate texture.
The cocoa flavor is present but restrained. That balance lets the cream cheese frosting shine while still giving the cake enough chocolate character to feel special.
The recipe is also practical for occasions because the layers can be baked a day ahead. Once wrapped well, they remain moist and easy to frost when your celebration day arrives.
Moist texture: Oil and buttermilk help the cake stay tender.
Classic flavor: Mild cocoa, vanilla, tang, and sweet cream cheese work together beautifully.
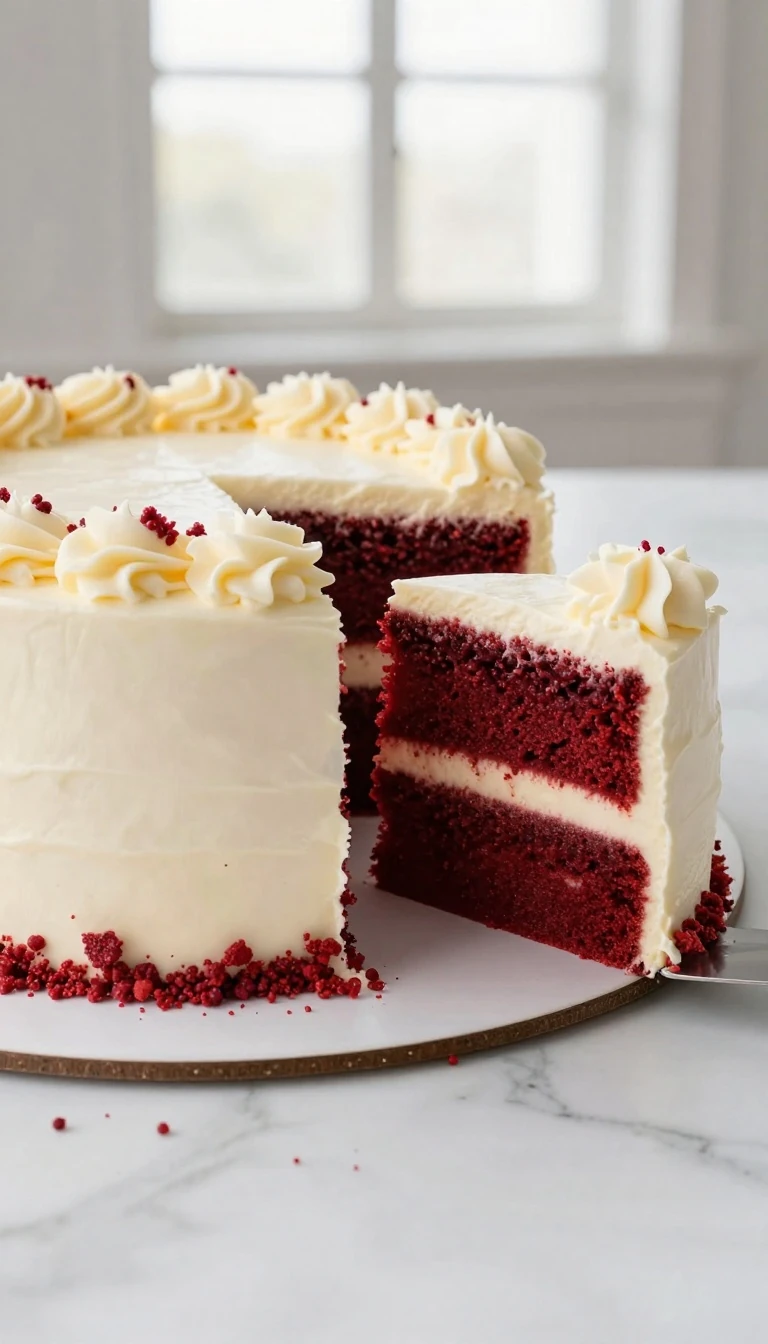
Beautiful presentation: Three layers create an impressive centerpiece without complicated decoration.
Make-ahead friendly: Bake the cake layers in advance and assemble when convenient.
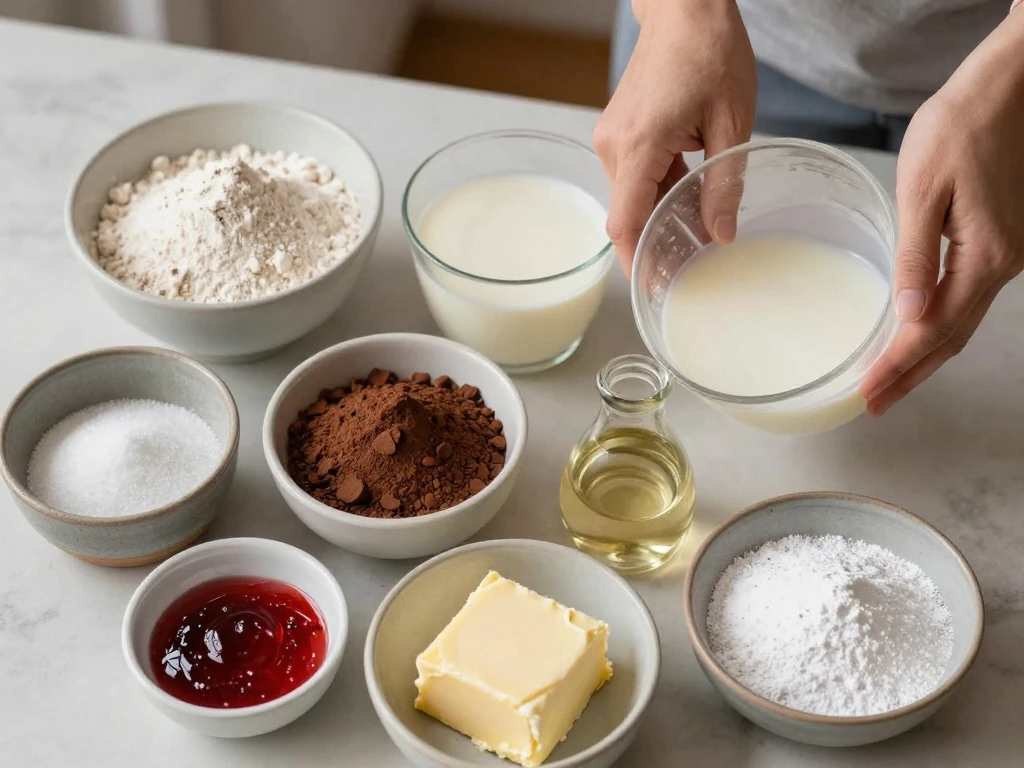
Ingredients You’ll Need
Use natural unsweetened cocoa powder for this recipe. It has the acidity that works well with baking soda and contributes to the traditional red velvet flavor and texture.
Buttermilk is another important ingredient. Its acidity reacts with the baking soda, while its creamy consistency gives the batter enough moisture without making it greasy.
For the deepest red color, choose a concentrated red gel coloring. Liquid coloring can work, but you may need more of it, and adding too much liquid can slightly loosen the batter.
Flour: All-purpose flour provides enough structure for tall, tender layers.
Cocoa powder: Two tablespoons add a gentle chocolate note without turning the cake into a chocolate cake.
Oil: Neutral vegetable oil keeps the crumb soft when chilled.
Eggs: Eggs bind the batter and support the cake as it rises.
Vinegar: A small amount adds brightness and supports the chemical reaction with baking soda.
Cream cheese: Full-fat brick cream cheese produces the best flavor and a firmer frosting.
How to Make It Step-by-Step
Step 1: Begin by heating the oven to 350°F (175°C), allowing it to reach the correct temperature before the batter is mixed. Grease three 8-inch round pans, line the bottoms with parchment, and dust the sides lightly with flour so the layers release cleanly.
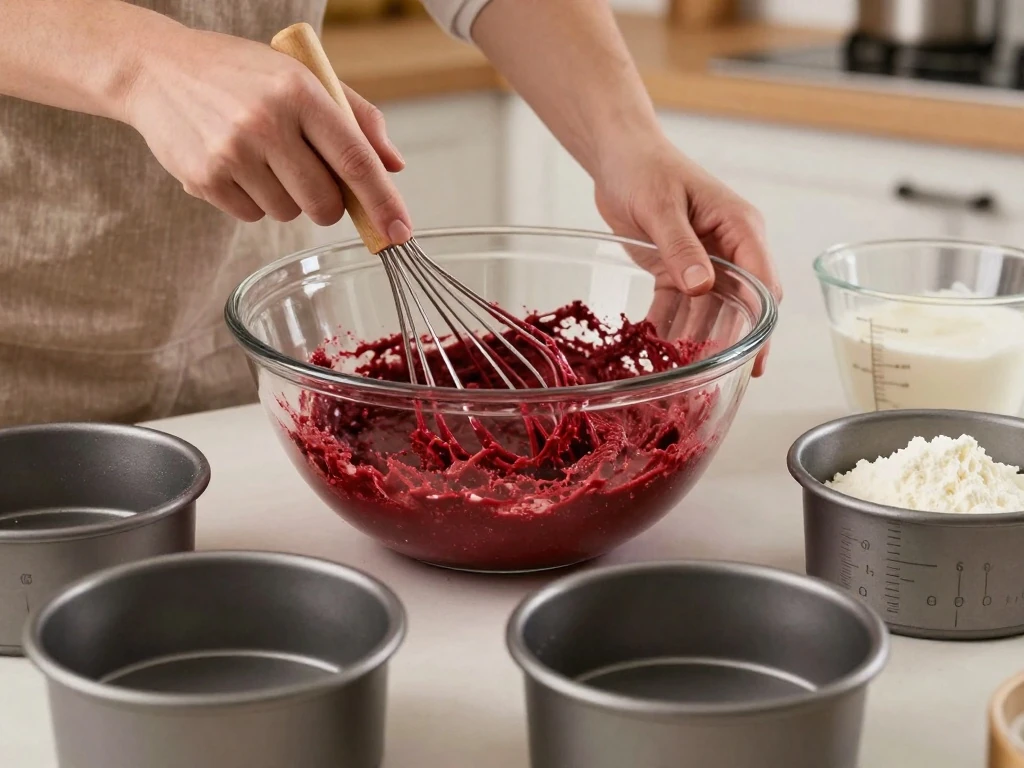
Step 2: Whisk the flour, cocoa powder, baking soda, and salt together in a medium bowl to distribute the small amounts of cocoa and leavening evenly. In a larger bowl, whisk the sugar, eggs, oil, buttermilk, red coloring, vanilla, and vinegar until the mixture looks smooth and uniformly colored.
Step 3: Add the dry mixture to the wet mixture in two additions, whisking gently after each addition. Stop as soon as the flour disappears, because vigorous mixing can make the finished cake less tender.
Step 4: Divide the batter evenly among the prepared pans, using a kitchen scale if you want precisely matching layers. Give each pan a gentle tap on the counter to release large air pockets, but do not overdo it or the batter may lose some of its lift.
Step 5: Bake the layers for 22 to 26 minutes, checking them near the lower end of the range. A toothpick inserted in the center should come out with a few moist crumbs, and the surface should spring back lightly when pressed.
Step 6: Let the cakes cool in their pans for 10 minutes before turning them onto wire racks. Remove the parchment and cool the layers completely, since warm cake will soften the frosting and can cause the layers to slide.
Step 7: Make the frosting by beating softened cream cheese and butter until completely smooth. Add sifted powdered sugar gradually, then mix in vanilla and salt; stop once the frosting is creamy and spreadable rather than beating for a long time.
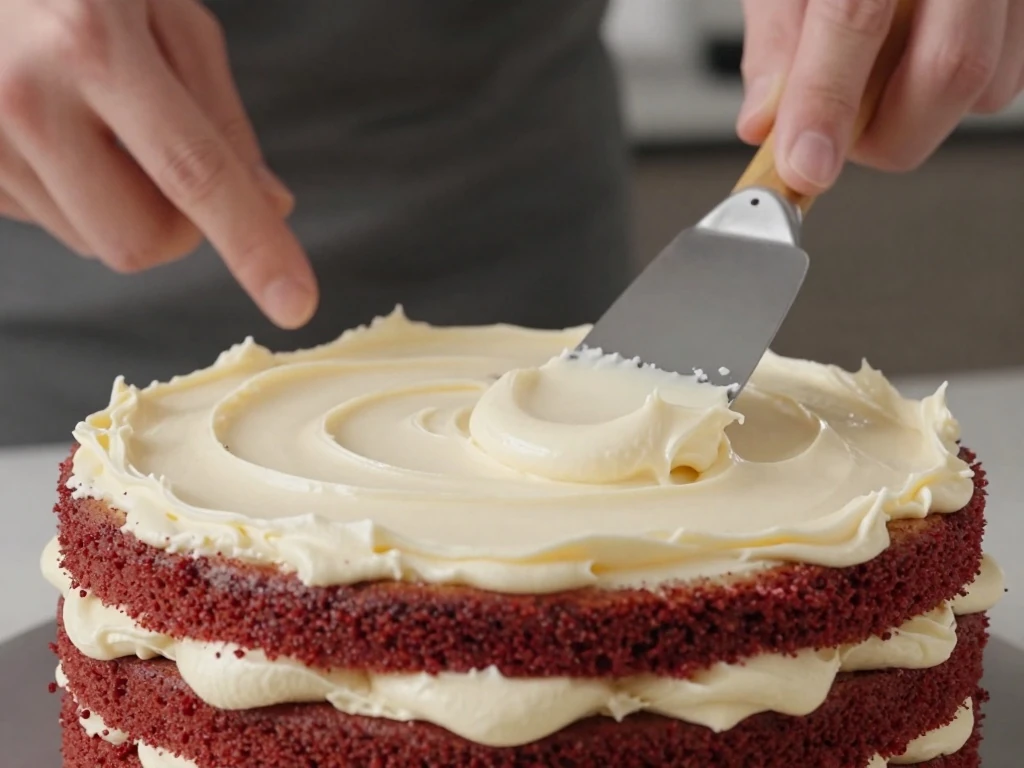
Step 8: Put the first cake layer on a serving plate and spread an even layer of frosting across the top. Add the next two layers, apply a thin crumb coat around the entire cake, chill for 20 minutes, and then cover it with the remaining frosting.
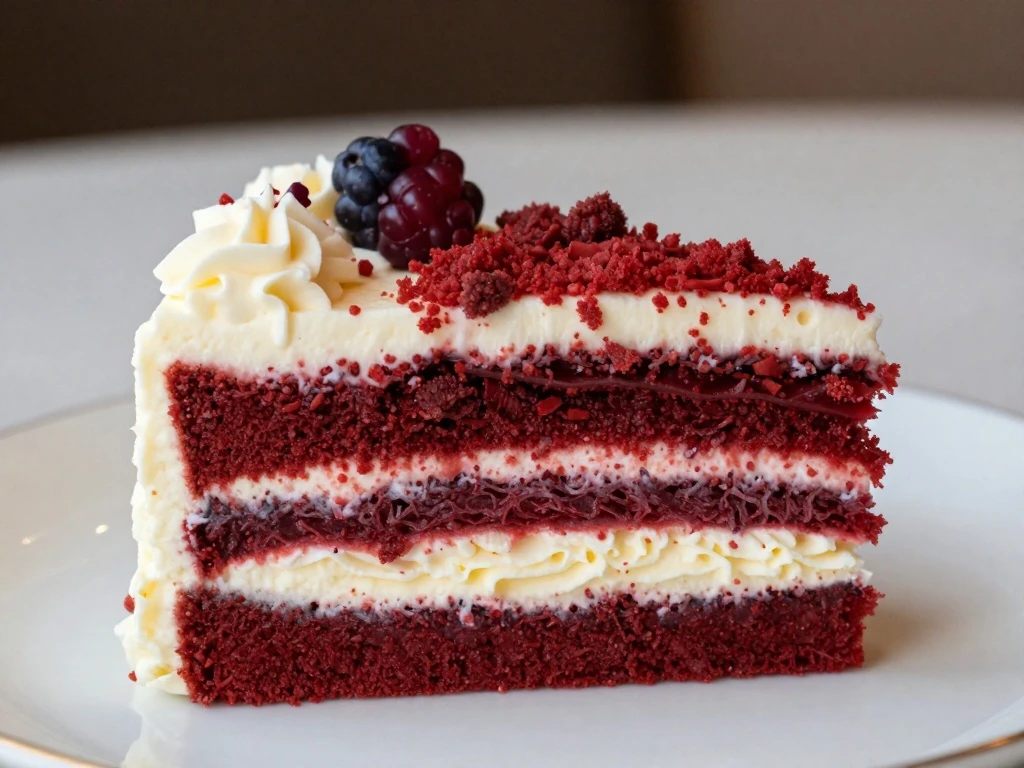
Step 9: Finish the cake with red velvet crumbs, a simple piped border, or a smooth rustic finish. Chill it briefly for tidy slices, then let it stand at room temperature for 20 to 30 minutes so the crumb and frosting soften.
Pro Tips for Perfect Cake
Measure flour by weight when possible, or spoon it into a measuring cup and level it with a knife. Scooping directly from the flour container can add too much flour and result in dense layers.
Room-temperature ingredients blend more evenly than cold ingredients. Set out the eggs, buttermilk, cream cheese, and butter about 30 to 60 minutes before baking and frosting.
Do not rely on color alone to judge doneness. Red coloring can make the surface look ready before the center has set, so use the spring-back test and a toothpick as well.
Use cake strips around the pans if you want especially level layers.
Weigh the batter into the pans for even baking and equal frosting layers.
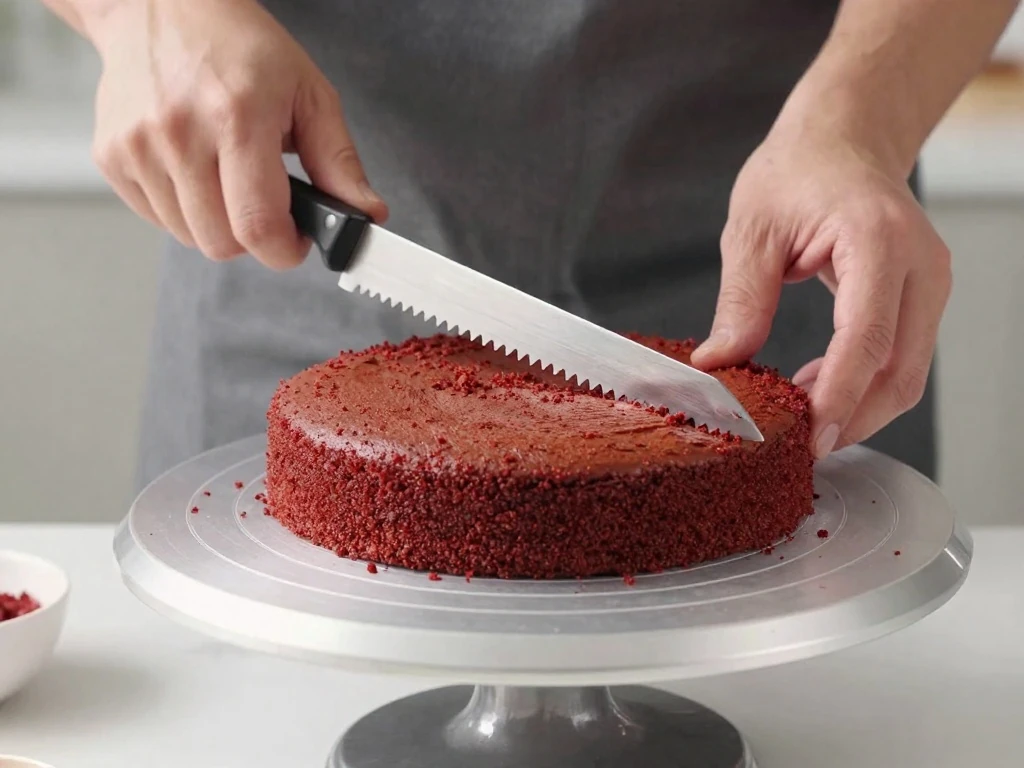
Cool the layers fully before trimming or stacking them.
Chill the crumb-coated cake before the final frosting layer to keep red crumbs from streaking the finish.
Sift powdered sugar before adding it to the frosting for a smoother result.
If your frosting seems soft, refrigerate it for 15 to 20 minutes and stir it briefly before spreading. Avoid adding a large amount of extra powdered sugar, which can make the frosting overly sweet and stiff.
Cream Cheese Frosting and Assembly
Classic cream cheese frosting should taste tangy, buttery, and sweet, with a texture that spreads easily across the cake. Full-fat brick cream cheese is essential because tub-style cream cheese often contains more moisture and may produce a loose frosting.
For a polished finish, start with a crumb coat. This thin first layer traps loose red crumbs, giving the final layer a cleaner ivory appearance.
To make decorative crumbs, trim a very thin slice from the top of one cooled layer before stacking. Rub the trimmed cake between your fingers over a bowl, then sprinkle the crumbs around the base or across the top.
You can also create a celebration-ready design with simple swirls. Fit a piping bag with a star tip, reserve about one cup of frosting, and pipe small rosettes around the top edge after the cake has been chilled.
Storage and Serving
Because the frosting contains cream cheese, keep the finished cake covered in the refrigerator. It will stay delicious for up to four days, although the texture is best during the first two days.
Store individual slices in airtight containers or wrap them carefully so they do not absorb refrigerator odors. The cake layers may also be wrapped tightly and frozen without frosting for up to two months.
To thaw frozen layers, leave them wrapped in the refrigerator overnight. Assemble the cake once fully thawed, or frost the layers while they are slightly chilled for easier handling.
For the best serving texture, remove the cake from the refrigerator 20 to 30 minutes before slicing. Serve it with coffee, black tea, fresh berries, or a small scoop of vanilla ice cream.
Easy Variations for Special Occasions
This recipe works beautifully as cupcakes, too. Divide the batter among lined muffin cups and bake for approximately 18 to 21 minutes, checking with a toothpick before removing them.
For a two-layer cake, use two 9-inch pans and begin checking the cake around 24 minutes. The layers will be slightly thinner, but the flavor and frosting ratio will remain pleasing.
You can add a small amount of finely grated beet to the batter for natural color, though the shade will be softer and less predictable than one made with gel coloring. Keep the amount modest so the vegetable flavor does not compete with the vanilla and cocoa.
For an elegant holiday finish, decorate the frosting with sugared cranberries, white chocolate curls, or a light dusting of red velvet crumbs. Add decorations shortly before serving so moisture does not dull their appearance.
Best Red Velvet Cake Recipe
A moist, tender red velvet layer cake with delicate cocoa flavor, buttermilk tang, and generous cream cheese frosting. It is ideal for birthdays, holidays, anniversaries, showers, and any celebration that deserves a beautiful centerpiece.
Heat the oven to 350°F (175°C). Grease three 8-inch round cake pans, line the bottoms with parchment, and lightly flour the sides.
Whisk flour, cocoa powder, baking soda, and salt in a medium bowl. In a separate large bowl, whisk sugar, eggs, oil, buttermilk, food coloring, vanilla, and vinegar until smooth.
Add the dry ingredients to the wet ingredients in two additions, whisking just until no dry streaks remain. Divide the batter evenly among the prepared pans.
Bake for 22 to 26 minutes, rotating the pans halfway through if your oven has hot spots. The cakes are ready when the centers spring back lightly and a toothpick comes out with a few moist crumbs.
Cool the cakes in their pans for 10 minutes, then turn them onto wire racks and remove the parchment. Let them cool completely before frosting.
Beat the cream cheese and butter until smooth, then gradually mix in powdered sugar, vanilla, and salt. Beat only until creamy and spreadable so the frosting stays soft but not loose.
Place one cake layer on a serving plate and spread it with frosting. Repeat with the second layer, add the final layer, cover the cake with a thin crumb coat, chill for 20 minutes, then finish with the remaining frosting.
Decorate with red velvet crumbs, chill briefly for clean slices, and bring the cake toward room temperature before serving. Use a sharp knife and wipe it between cuts for neat layers.
Notes
For the richest frosting, use full-fat brick cream cheese rather than spreadable tub cream cheese. Store the covered cake in the refrigerator for up to 4 days and let slices sit at room temperature for 20 to 30 minutes before serving.
Final Thoughts
The best red velvet cake is all about contrast: tender ruby-colored cake, gentle cocoa flavor, lively buttermilk tang, and creamy cream cheese frosting. This dependable recipe brings those elements together in layers that are moist enough for advance preparation and sturdy enough for a beautiful celebration cake.
Take your time with cooling, use full-fat cream cheese, and avoid overmixing the batter or frosting. Those small details make the difference between an ordinary cake and a centerpiece that disappears quickly from the dessert table.
Whether you make it for a birthday, anniversary, holiday dinner, or weekend gathering, this red velvet cake offers a classic finish with very little fuss. Slice it generously, serve it slightly softened, and enjoy every tender, tangy bite.