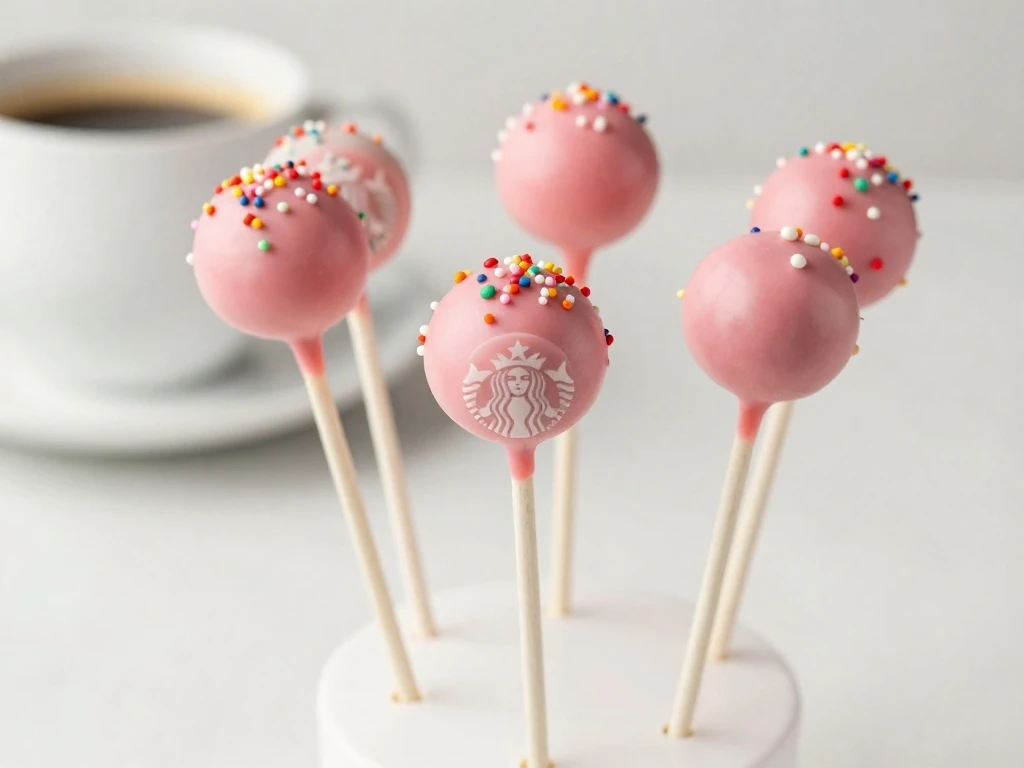
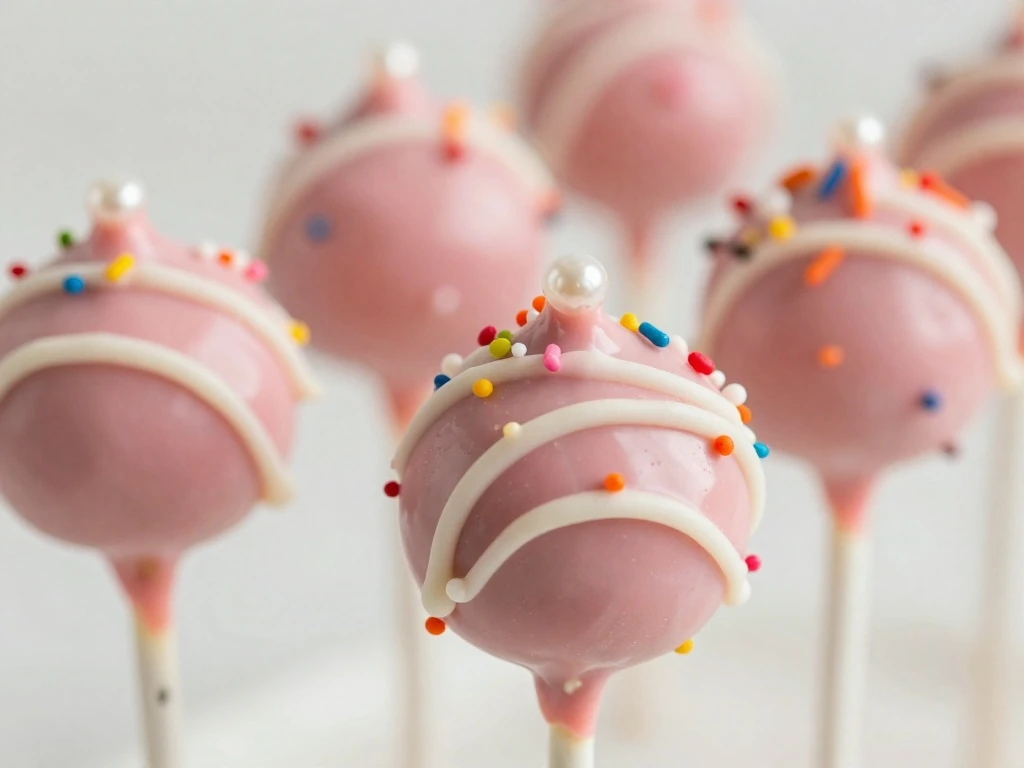
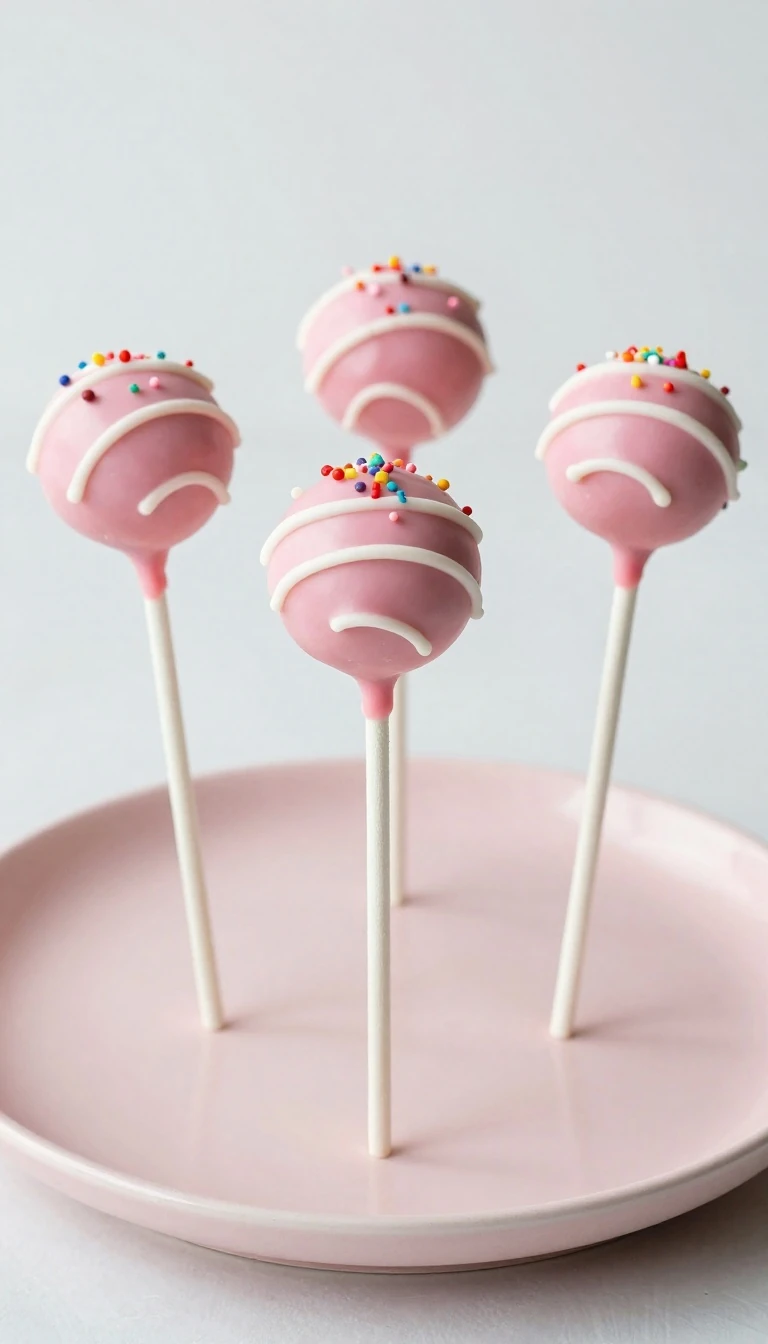
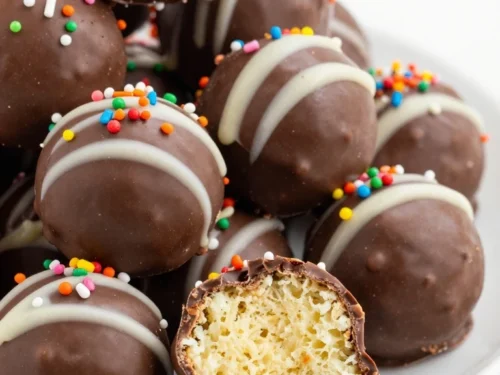
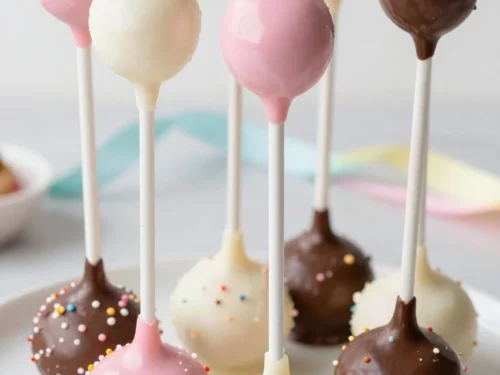
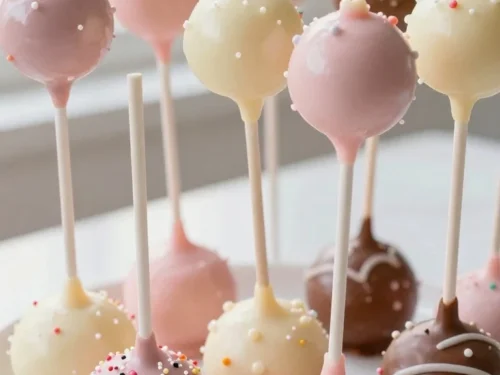
This Starbucks Cake Pops recipe makes soft vanilla cake mixed with creamy frosting, shaped into bite-size balls, chilled, and dipped in pink candy coating. You can make these copycat cake pops at home with a boxed cake mix or homemade vanilla cake, and the full process takes about 1 hour and 25 minutes including chilling time.
Each cake pop has a tender, moist center and a sweet, crisp candy shell that tastes just like the coffee-shop favorite. The vanilla crumb, silky frosting, bright pink coating, and playful sprinkles make these perfect for parties, lunchbox treats, birthdays, or a homemade coffee break.
These homemade Starbucks cake pops are small enough for a snack but festive enough for a dessert table. They offer the familiar coffee-shop flavor without requiring specialty baking equipment or complicated shaping.
The recipe is forgiving because the cake is crumbled before it is combined with frosting. Even if the cake rises unevenly or develops a cracked top, it can still become a smooth, delicious cake pop center.
Soft center: Vanilla cake and frosting create a moist, truffle-like texture.
Pretty finish: Pink coating and sprinkles give every pop a cheerful bakery look.
Make-ahead friendly: The cake balls can be prepared one or two days before dipping.
Easy to customize: Change the coating color, drizzle, or sprinkles for any celebration.
The most important detail is patience during chilling. Cold cake balls are much easier to dip, and they are less likely to slide down the sticks or crack the candy shell.
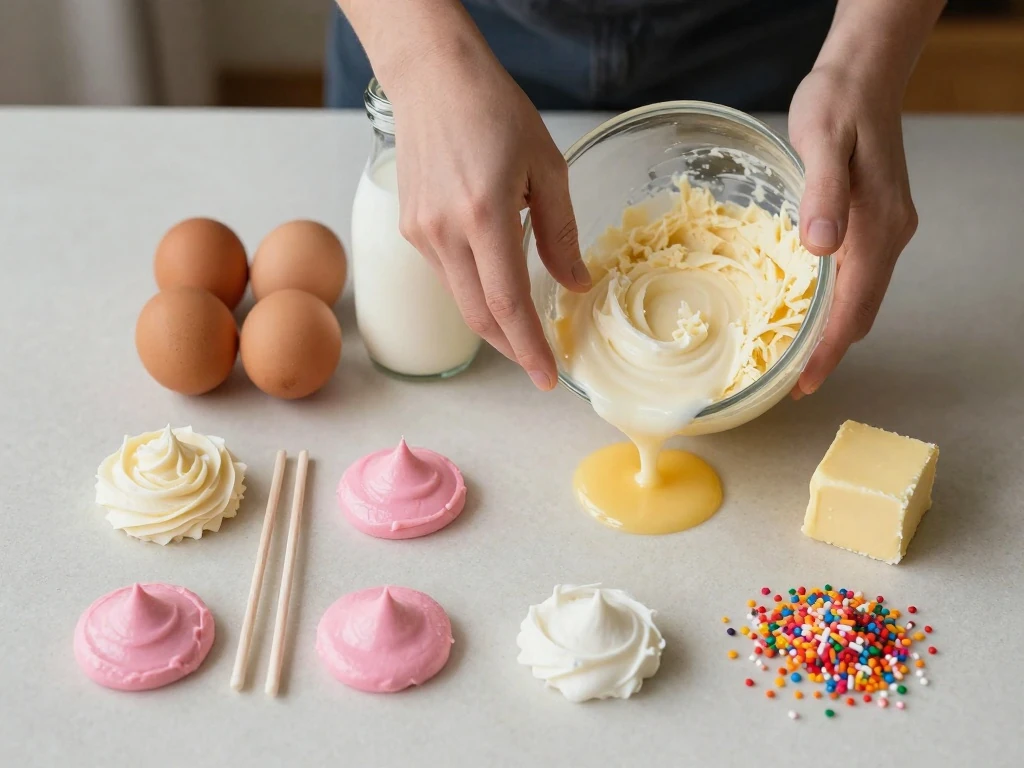
Ingredients You’ll Need
A boxed vanilla cake mix keeps this recipe quick and consistent, while whole milk and melted butter give it a richer texture than the basic package instructions. You can substitute an equal amount of homemade vanilla cake if you prefer to bake from scratch.
Vanilla frosting binds the crumbs together, but it should be added gradually. Too much frosting can make the mixture soft and greasy, while too little will leave the cake balls crumbly and difficult to shape.
Vanilla cake mix: Choose a standard-size box, usually around 15 to 16 ounces.
Eggs, milk, and butter: These create a tender, flavorful cake base.
Vanilla frosting: Store-bought frosting works well and saves time.
Pink candy melts: These provide the smooth coating and signature color.
Shortening or coconut oil: A small amount thins the coating for easier dipping.
Sticks and decorations: Paper sticks, white candy melts, and sprinkles complete the look.
Keep all decorations nearby before dipping begins. Candy coating sets quickly, so having the sticks, sprinkles, and stand ready makes the finishing process calmer and more enjoyable.
How to Make It Step-by-Step
Step 1: Bake the vanilla cake.
Preheat your oven to 350°F and grease a 9-by-13-inch pan. Mix the cake batter with the eggs, milk, and melted butter, then bake until the middle springs back when lightly touched or a toothpick comes out with only a few moist crumbs.
Step 2: Cool the cake completely.
Let the cake cool in the pan for about 15 minutes, then transfer it to a cooling rack if desired. Do not mix warm cake with frosting, because the heat can make the filling loose and oily.
Step 3: Crumble the cake.
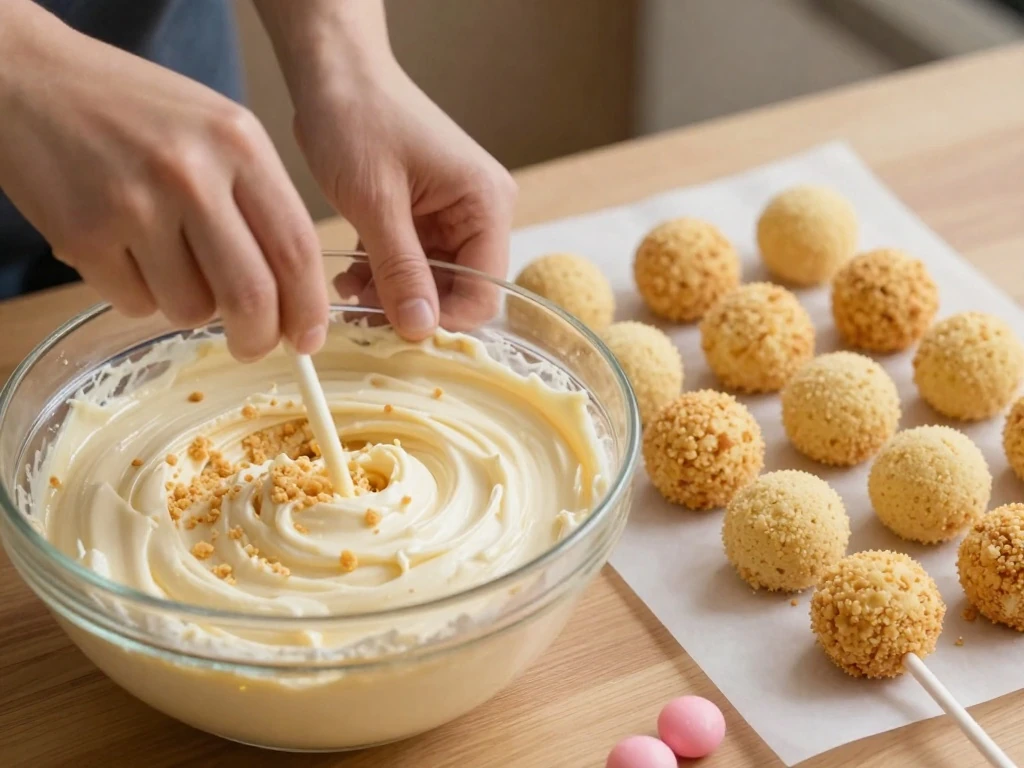
Break the cooled cake into a large bowl and rub the pieces gently between your fingers until the crumbs are fine and even. Remove any especially hard edges so the finished cake pops have a smooth texture.
Step 4: Add the frosting.
Stir in about 1/2 cup of vanilla frosting, starting with a few tablespoons and adding more only as needed. The mixture should resemble soft cookie dough and hold together when pressed, but it should not feel wet.
Step 5: Shape and chill the balls.
Use a small cookie scoop or tablespoon to portion the mixture evenly, then roll each portion between your palms until smooth. Place the balls on parchment and chill them for 20 to 30 minutes, which helps them keep their shape during dipping.
Step 6: Insert the sticks.
Melt a few spoonfuls of pink candy coating in a microwave-safe bowl. Dip the tip of each stick into the coating before inserting it halfway into a cake ball; this small coating plug helps anchor the stick in place.
Step 7: Dip the cake pops.
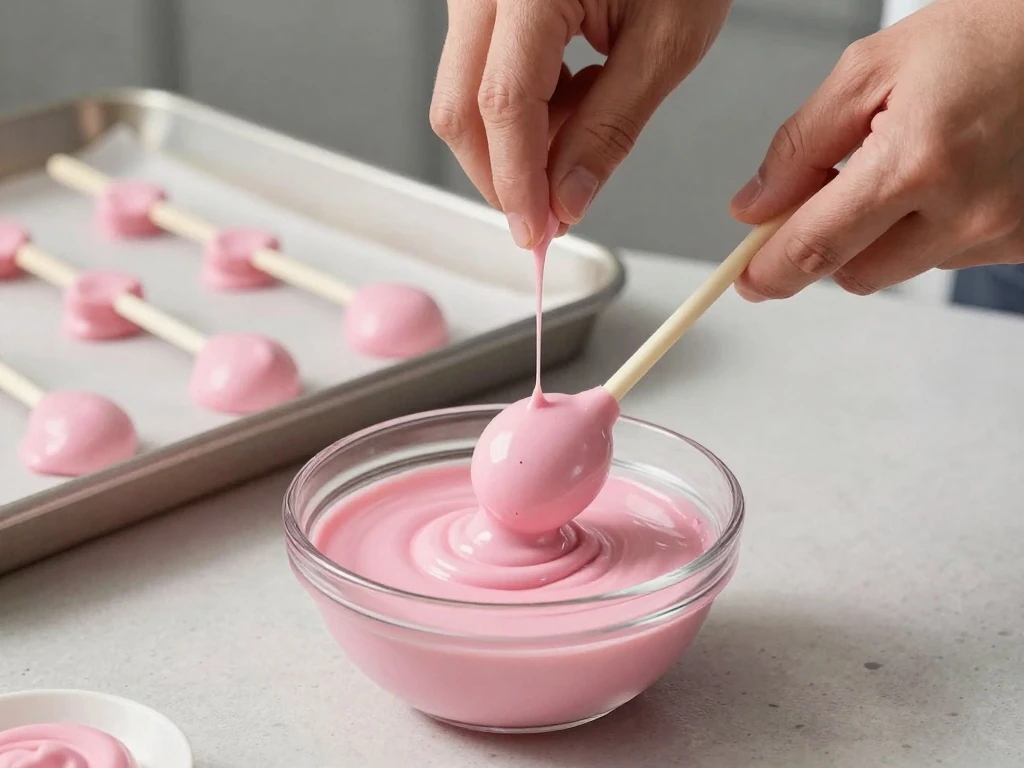
Chill the stick-filled cake balls for another 10 minutes while you melt the remaining coating. Dip each pop straight down, lift it straight up, and gently tap the stick against the bowl while turning the pop so the excess coating falls away.
Step 8: Decorate and set.
Sprinkle each pop immediately while the coating is wet, then place it upright in a stand or sturdy glass. Once the pink shell firms up, drizzle with melted white candy coating and allow the decorations to set before serving.
Pro Tips for Perfect Cake Pops
Uniform portions make the cake pops look polished and help them finish at the same time. A 1-tablespoon cookie scoop usually creates a good coffee-shop-sized pop, though you can make them smaller for a dessert platter.
Do not make the cake balls too large. Heavy cake pops are more likely to rotate around the stick, fall into the coating, or crack while the shell is setting.
Prevent cracks: Avoid dipping rock-hard frozen cake balls into warm coating. Chilled is ideal; frozen centers can expand and split the shell.
Keep the coating smooth: Microwave in short intervals and stir often. Overheating can make candy melts thick and difficult to work with.
Fix thick coating: Stir in 1 teaspoon of shortening or coconut oil at a time until the coating flows smoothly from a spoon.
Reduce crumbs: Dip the stick into coating first and let it set briefly before adding the cake ball.
Use a stand: A cake pop stand, florist foam, or an upside-down cardboard box with small holes can hold the pops upright.
If a cake pop cracks after dipping, do not discard it. Let the coating set, patch the area with a little more melted candy, and cover it with sprinkles or a white drizzle.
Decorating Ideas
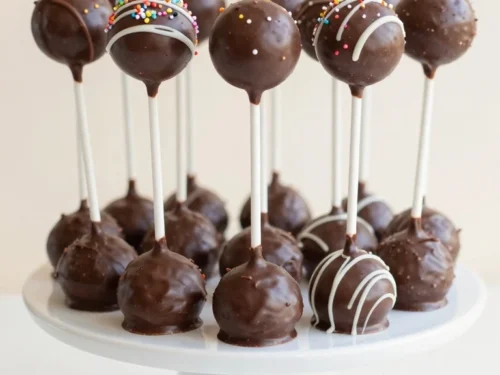
The classic pink coating is cheerful and familiar, but these cake pops can match nearly any event. Use pale blue for a baby shower, red and green for winter holidays, or yellow and orange for a sunny birthday table.
For a clean finish, drizzle white candy coating in thin lines from side to side. For extra texture, sprinkle crushed cookies, finely chopped nuts, toasted coconut, or tiny sugar pearls over the wet coating.
Use pastel sprinkles for spring celebrations.
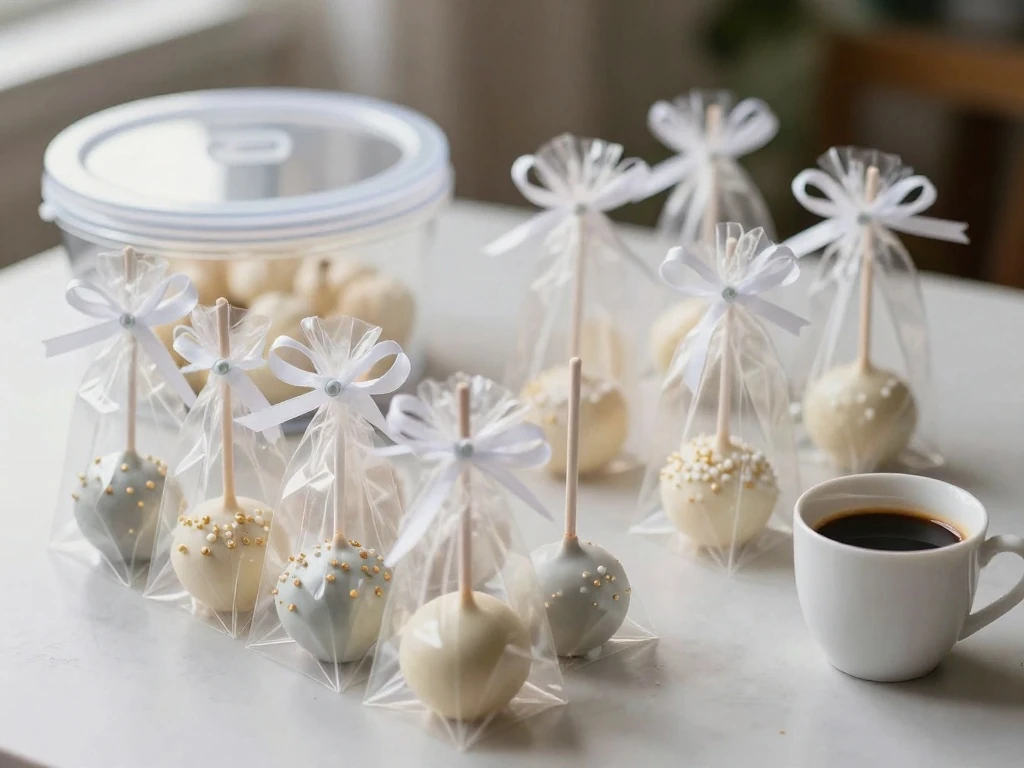
Add metallic sugar pearls for a birthday or bridal shower.
Dip half the pop in a second color for a two-tone design.
Write initials or small numbers with contrasting candy coating.
Wrap each finished pop in a clear treat bag with a colorful ribbon.
Decorate in small batches rather than coating every pop before adding sprinkles. The shell can firm quickly, and sprinkles adhere best while the surface is still glossy.
Storage and Serving
Store finished cake pops in an airtight container with parchment between layers if needed. Refrigerate them for up to 5 days, and let them sit at room temperature for 10 to 15 minutes before serving so the center becomes soft and flavorful.
For longer storage, freeze undipped cake balls in a sealed container for up to 1 month. Thaw them in the refrigerator overnight, bring them close to refrigerator temperature, then add the sticks and coating as directed.
Finished decorated cake pops can also be frozen, but condensation may dull the candy shell or affect the sprinkles. If you need to freeze them, wrap each pop carefully and thaw them uncovered in the refrigerator before serving.
Serve these cake pops with coffee, hot chocolate, milk, or a scoop of vanilla ice cream. They are also easy to arrange in a tall glass filled with colorful candies, making a simple centerpiece for a dessert table.
Starbucks Cake Pops Recipe
Soft vanilla cake and frosting are rolled into bite-size balls, placed on sticks, and dipped in pink candy coating for a fun homemade copycat treat.
Preheat the oven to 350°F. Grease a 9-by-13-inch baking pan, prepare the vanilla cake mix with the eggs, milk, and melted butter, then bake according to the package directions until the center springs back when lightly pressed.
Cool the cake completely in the pan, then crumble it into fine pieces in a large bowl. Add the vanilla frosting a little at a time and mix until the crumbs hold together like soft dough.
Scoop about 1 tablespoon of the mixture for each cake pop and roll it into a smooth ball. Place the balls on a parchment-lined tray and chill for 20 to 30 minutes.
Melt a small amount of pink candy coating, dip the end of each stick into the coating, and insert it halfway into a chilled cake ball. Return the pops to the tray and chill for 10 minutes so the sticks set firmly.
Melt the remaining pink candy coating in a microwave-safe bowl in 20-second intervals, stirring after each interval. Stir in the shortening or coconut oil if the coating seems thick.
Dip each cake pop straight down into the melted coating until the cake is covered. Lift it straight up, gently tap the stick against the bowl, and rotate the pop slowly to let extra coating drip away.
Add sprinkles while the pink coating is still wet. Stand each finished cake pop upright in a cake pop stand, tall glass, or block of wrapped foam until the shell is firm.
Melt the white candy melts, transfer them to a small piping bag or zip-top bag, and snip a tiny corner. Drizzle the finished pops with white lines, then let them set completely before serving.
Notes
Use room-temperature cake and frosting for easy mixing, but chill the shaped balls before dipping. Store finished cake pops in an airtight container in the refrigerator for up to 5 days, or freeze them without decorations for up to 1 month.
Final Thoughts
This Starbucks Cake Pops recipe turns everyday cake ingredients into a fun, portable dessert with a smooth candy shell and a tender vanilla center. The process is simple: bake, crumble, mix, chill, dip, and decorate.
For the best results, focus on the texture of the cake mixture and keep the shaped balls cold but not frozen. Once you master the basic version, you can change the colors and toppings to create cake pops for birthdays, holidays, school parties, and weekend baking projects.
Make a batch ahead of time, store the finished pops in the refrigerator, and enjoy a homemade treat whenever a sweet coffee-shop-style snack sounds good.