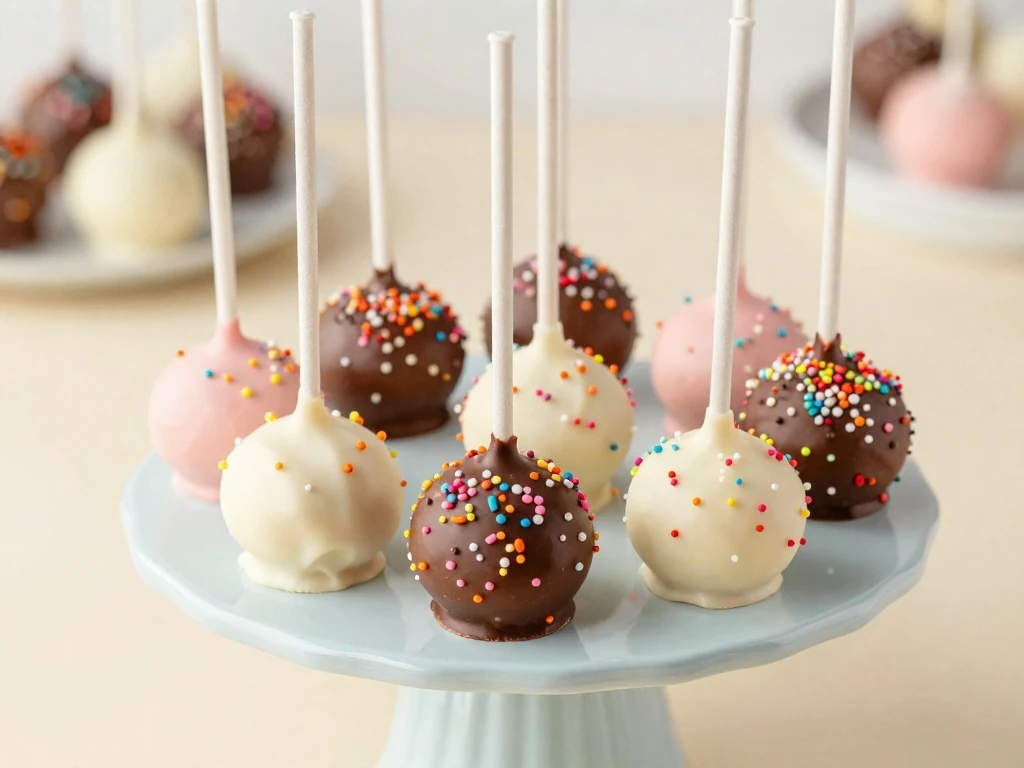
The best cake pop recipe starts with a moist homemade vanilla cake, creamy buttercream, and a thin coating of melted candy or chocolate. This easy method creates tender, flavorful cake pops that hold their shape, stay soft inside, and look beautiful on dessert tables, birthdays, showers, and holiday trays.
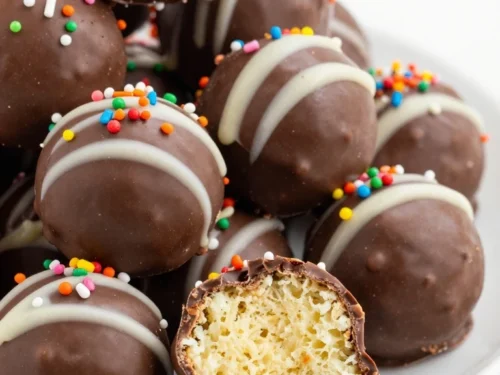
Each cake pop has a delicate vanilla crumb, rich frosting, and a satisfying chocolate shell that sets with a gentle snap. You can keep them classic with rainbow sprinkles or customize the colors, flavors, and decorations for any celebration.
This cake pop recipe uses a simple homemade vanilla cake instead of relying on a boxed mix. The fresh cake gives every bite a buttery crumb and real vanilla flavor, while a small amount of buttercream binds the crumbs without making them wet or heavy.
The method is beginner-friendly because the cake balls can be shaped ahead of time and chilled before dipping. That cooling period makes the centers firm enough to handle, which helps prevent cracks, loose sticks, and misshapen pops.
These cake pops are also wonderfully flexible. Use vanilla cake with white coating for a classic look, chocolate cake with dark coating for a richer dessert, or colored candy melts for a party theme.
Texture: Soft and moist inside with a crisp candy shell.
Flavor: Buttery vanilla, gentle sweetness, and creamy frosting.
Difficulty: Easy enough for new bakers with a few helpful chilling steps.
Yield: About 24 small cake pops, depending on the size of each ball.
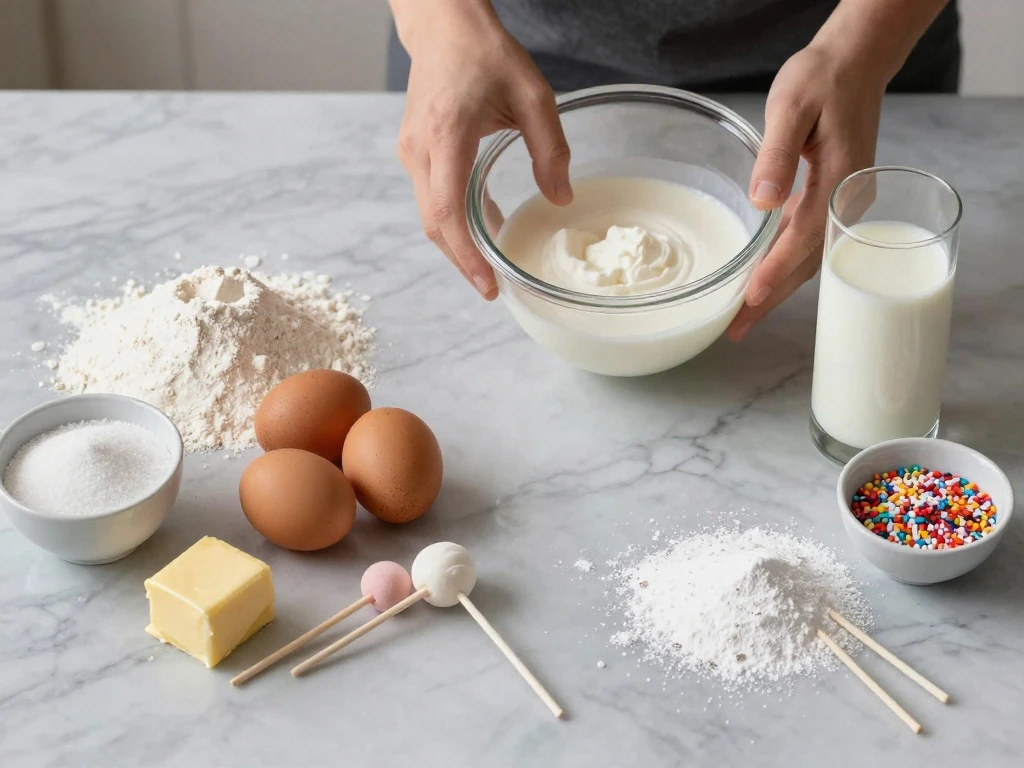
Ingredients You’ll Need
All-purpose flour creates a dependable cake crumb, while baking powder gives the cake enough lift without making it too airy. The cake needs to be tender but sturdy, so measure the flour carefully and avoid overmixing once it is added.
Use softened butter for both the cake and buttercream. Soft butter should press easily with a fingertip but should not look melted or greasy, because melted butter can make the cake dense and the frosting loose.
Whole milk provides a rich, smooth batter, though two-percent milk also works. Pure vanilla extract gives the clearest flavor, but a small amount of almond extract can be added if you enjoy a bakery-style taste.
The buttercream acts as the edible glue for the cake crumbs. Add it gradually because the exact amount needed can vary slightly with the cake texture and how finely you crumble it.
Candy melts: White, milk, dark, pastel, or bright colors all work well.
Shortening: A little shortening can loosen thick coating and make dipping easier.
Decorations: Sprinkles, crushed cookies, sanding sugar, chopped nuts, or chocolate drizzle are all good choices.
Sticks: Standard six-inch lollipop sticks are the easiest size for these mini treats.
How to Make It Step-by-Step
Step 1: Begin by heating the oven to 350°F and preparing an 8-inch square pan with grease and parchment. The parchment makes it easy to lift out the cake and helps keep the edges from sticking.
Step 2: Whisk the flour, baking powder, and salt together so the leavening is evenly distributed. In another bowl, beat the softened butter and sugar until pale and fluffy, which usually takes two to three minutes.
Step 3: Beat in the eggs one at a time, scraping the bowl after each addition, then mix in the vanilla. Add the flour mixture in three portions, alternating with the milk, and stir only until no dry streaks remain.
Step 4: Spread the batter evenly in the pan and bake for 22 to 25 minutes. The cake is ready when the center springs back lightly and a toothpick inserted in the middle comes out clean or with a few moist crumbs.
Step 5: Cool the cake completely on a rack before making the cake balls. A warm cake will soften the buttercream too quickly and can produce a sticky mixture that is difficult to roll.
Step 6: Trim away any especially dark or firm edges, then crumble the cake into very fine crumbs in a large bowl. Mix in the buttercream one tablespoon at a time, using your hands or a sturdy spatula, until the crumbs hold together when squeezed.
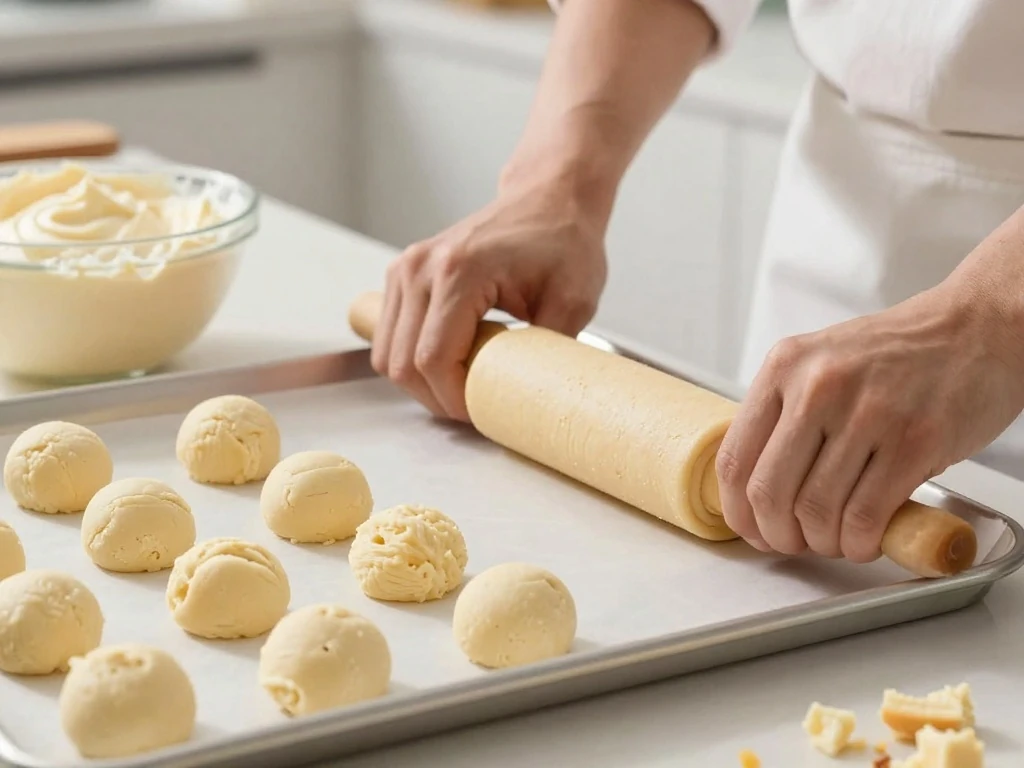
Step 7: Scoop about one tablespoon of mixture for each pop and roll it between your palms until smooth. Arrange the balls on a parchment-lined tray and chill them for 30 minutes so they become firm.
Step 8: Melt a small portion of the coating, dip the tip of each lollipop stick into it, and insert the coated tip halfway into a cake ball. Return the pops to the tray and chill them for another 10 minutes to anchor the sticks.
Step 9: Melt the remaining candy coating in a microwave-safe bowl using 20-second intervals, stirring well between each one. If the coating seems thick, stir in a small amount of shortening rather than overheating it.
Step 10: Dip one cake pop straight down into the coating until the cake is covered, then lift it straight up. Rotate it gently and tap the stick against the bowl so excess coating flows back without shaking the cake loose.
Step 11: Add sprinkles while the coating is still wet, or let the shell set briefly before adding a contrasting drizzle. Stand each pop upright in a block, a deep glass, or a container filled with uncooked rice.
Step 12: Let the cake pops set completely for about 20 minutes before moving them to a serving platter or storage container. If the room is warm, place them in the refrigerator for a short time, but avoid leaving them uncovered near strong odors.
Decorating Ideas for Mini Cake Pops
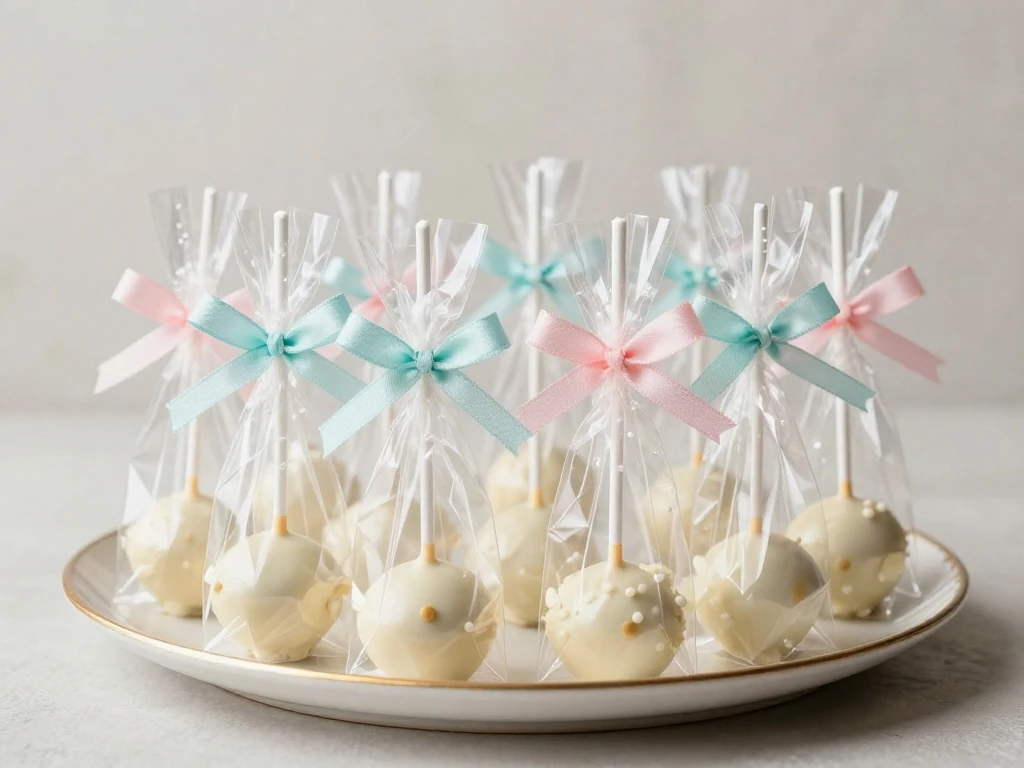
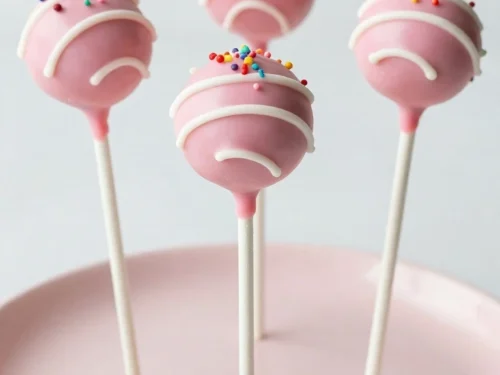
For a birthday party, use two or three colors that match the decorations and finish the pops with tiny confetti sprinkles. For a baby shower, pastel pink, blue, yellow, or green coating looks lovely with pearl sprinkles.
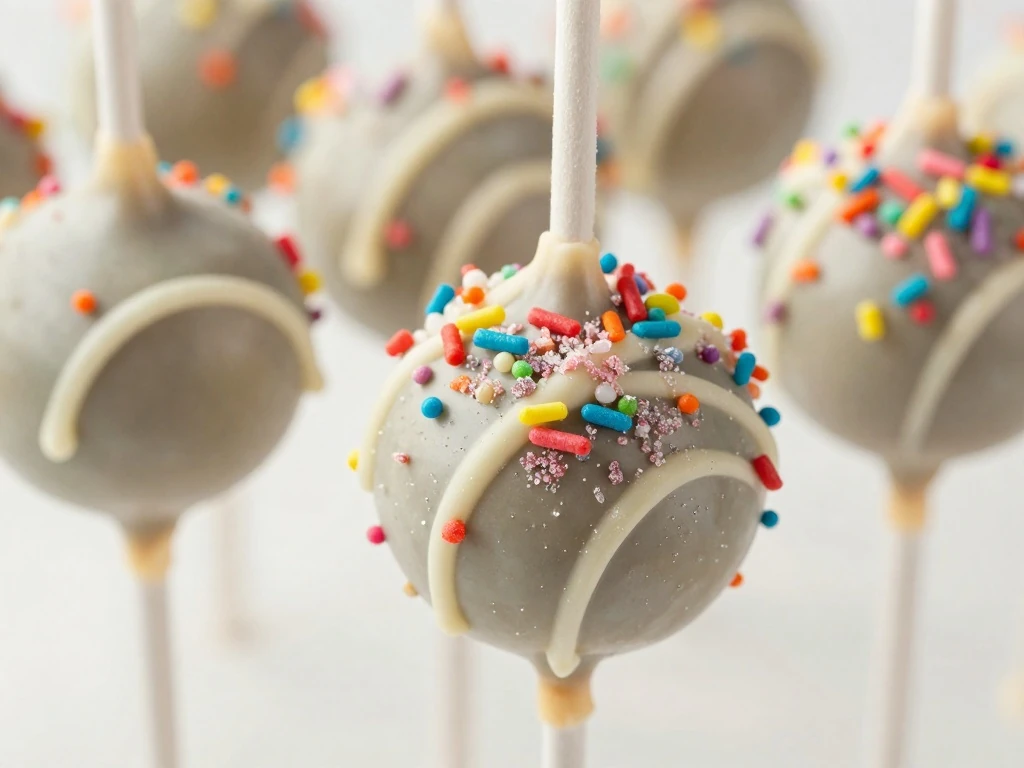
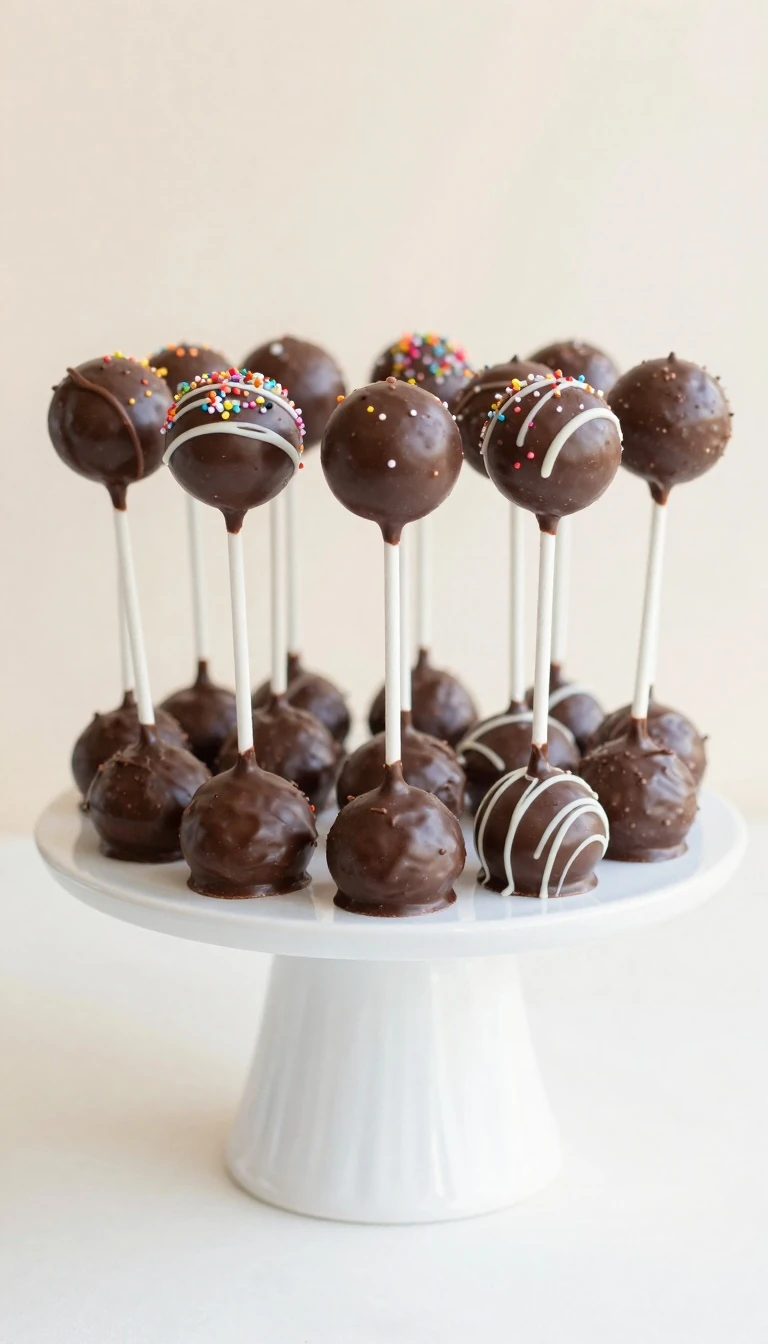
Chocolate cake pops are especially good with white coating and cookie crumbs. You can also add a thin drizzle in a second color by transferring melted coating to a small piping bag or a zip-top bag with the corner snipped off.
Classic vanilla: White coating with rainbow sprinkles.
Chocolate party pops: Milk chocolate coating with crushed chocolate cookies.
Holiday pops: Red, green, silver, or gold coating with seasonal sprinkles.
Elegant finish: Dark coating with a fine white chocolate drizzle.
Fun mini pops: Pastel coating with sanding sugar and tiny candy pearls.
Keep decorations small and lightweight so they do not pull the coating away from the cake. Add any garnish immediately after dipping, while the surface is still tacky enough for it to stick.
Pro Tips for Smooth, Sturdy Cake Pops
The most important tip is to avoid adding too much frosting. Start with less than you think you need, mix thoroughly, and add more only if the crumbs refuse to hold together.
Uniform portions make the finished batch look professional and help every cake pop dip at the same rate. A small cookie scoop is useful, but one level tablespoon also works well for mini treats.
Prevent cracks: Chill the shaped cake balls, but do not freeze them solid before dipping.
Secure the sticks: Always dip the stick tip in melted coating before inserting it.
Prevent thick shells: Stir the coating often and add a little shortening if necessary.
Prevent falling cake: Dip straight down and lift straight up instead of swirling aggressively.
Keep the surface neat: Tap gently and rotate the pop so the coating settles evenly.
If a cake pop cracks after dipping, the center may be much colder than the coating. Let the chilled pops sit at room temperature for five to ten minutes before dipping the next batch, especially if your kitchen is cool.
Storage and Serving Advice
Finished cake pops can sit in a covered container at cool room temperature for up to two days. Keep them away from sunlight, ovens, radiators, and other warm areas so the coating stays firm.
For longer storage, refrigerate the cake pops in a single layer or arrange them carefully with parchment between layers. They will keep for up to five days, though the coating may lose a little of its shine over time.
You can freeze undecorated cake balls for up to one month in an airtight container. Thaw them in the refrigerator overnight, let them sit briefly at room temperature, then insert the sticks and dip as directed.
Serve the cake pops slightly cool or at room temperature. Allowing refrigerated pops to rest for 15 to 20 minutes brings back the soft cake texture and makes the vanilla flavor more noticeable.
Troubleshooting Common Cake Pop Problems
If the mixture crumbles when rolled, it needs a little more buttercream. Add one teaspoon at a time until it forms a soft dough, but stop before it becomes greasy or sticky.
If the cake balls slide down the sticks, they may be too large or the stick may not be coated deeply enough. Remove the pop gently, chill the ball again, and reinsert a freshly coated stick halfway into the center.
If the coating cracks, the cake ball and coating likely have a large temperature difference. Let the cake balls warm slightly before dipping, and make sure the coating is fluid rather than very hot.
If the coating becomes lumpy, it may have overheated or come into contact with water. Use a completely dry bowl and spoon, melt in short intervals, and stir patiently between each interval.
Best Cake Pop Recipe
These homemade vanilla cake pops are moist, creamy, and coated in smooth melted chocolate or candy melts. The recipe makes a festive bite-sized dessert that is easy to customize for birthdays, parties, and holidays.
1/2cupSprinkles, sanding sugar, or melted chocolate drizzle
Equipment
24sticksLollipop sticks
Method
Step-by-Step
Preheat the oven to 350°F. Grease and line an 8-inch square cake pan with parchment paper.
Whisk flour, baking powder, and salt in a medium bowl. In a separate bowl, beat butter and sugar until pale and fluffy, then beat in the eggs one at a time followed by the vanilla.
Add the dry ingredients to the butter mixture in three additions, alternating with the milk. Mix only until the batter is smooth, then spread it into the prepared pan.
Bake for 22 to 25 minutes, or until the center springs back when lightly pressed and a toothpick comes out clean. Cool the cake completely before crumbling.
Make the buttercream by beating the softened butter until creamy, then mixing in powdered sugar, vanilla, and cream. Beat until light and smooth.
Trim any dark edges from the cooled cake, crumble the remaining cake into fine crumbs, and mix in the buttercream one tablespoon at a time. Stop when the mixture holds together like soft dough.
Roll the mixture into 24 balls, using about one tablespoon for each. Chill the balls for 30 minutes while preparing the coating.
Melt a small amount of coating, dip the end of each stick into it, and press the coated end halfway into a cake ball. Chill for 10 minutes so the sticks stay secure.
Melt the remaining coating in short microwave intervals, stirring after each interval. Dip each cake pop straight down, lift it out, and gently tap the stick against the bowl to remove excess coating.
Decorate immediately with sprinkles or drizzle before the coating sets. Stand the finished cake pops upright in a cake-pop block or a glass filled with uncooked rice, then allow them to set completely.
Notes
Store finished cake pops in an airtight container at cool room temperature for up to 2 days or in the refrigerator for up to 5 days. Bring refrigerated cake pops close to room temperature before serving for the best texture.
Final Thoughts
This best cake pop recipe gives you everything a great mini dessert should offer: a tender homemade crumb, creamy vanilla frosting, a neat chocolate shell, and endless decorating options. The key is to cool the cake completely, add frosting gradually, chill the shaped balls, and dip with a gentle hand.
Make the cake balls a day ahead when you are preparing for a party, then decorate them the next day for a relaxed baking project. Once you try this reliable method, you can change the cake, coating, and toppings to create a fresh batch for every celebration.
Arrange the finished pops on a platter, wrap them individually for party favors, or place them in small treat bags tied with ribbon. However you serve them, these moist little cake pops are certain to disappear quickly.