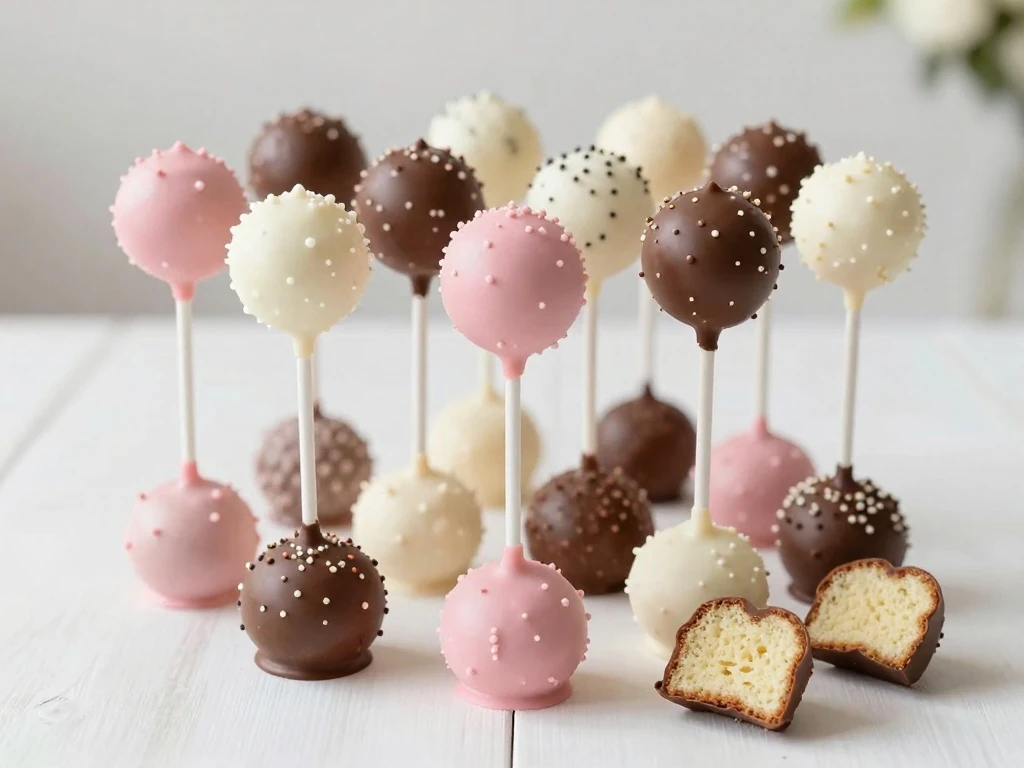
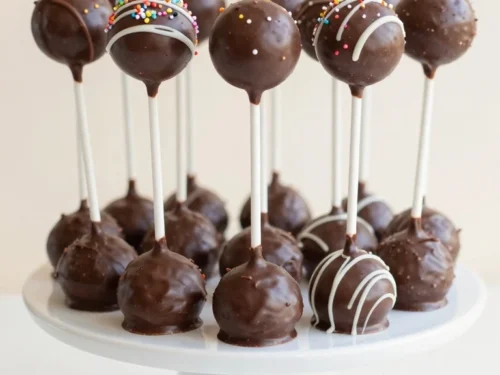
This easy cake pops recipe makes moist, bakery-style treats with crumbled cake, creamy frosting, and a smooth candy coating. Bake a simple cake, mix the crumbs with frosting, shape the mixture into balls, chill them, and dip each one in melted coating for a party-ready dessert.
Every bite is soft and rich inside, with a sweet shell that snaps gently when you bite into it. These cake pops are perfect for birthdays, baby showers, holidays, school celebrations, bake sales, and any occasion that calls for a colorful handheld dessert.
This recipe is an excellent way to turn a basic cake into a charming dessert that looks special without requiring advanced decorating skills. The cake mixture is forgiving, and small cracks or uneven edges disappear beneath the coating.
Because the cake pops are made in individual portions, they are easy to serve at crowded gatherings. Guests can pick one up without needing a plate, fork, or large slice of cake.
Simple ingredients: A boxed cake mix and ready-made frosting keep the process practical.
Flexible decorations: Change the coating and sprinkles to suit birthdays, showers, graduations, or holidays.
Make-ahead friendly: The cake balls can be shaped in advance and coated later.
Perfect texture: The centers stay moist while the candy shell provides a pleasant contrast.
Children can help with rolling and decorating once the cake mixture is ready. For younger helpers, an adult should handle melted coating and supervise the use of lollipop sticks.
Ingredients You’ll Need
A boxed vanilla cake mix creates a dependable base, but you can use a homemade 9-by-13-inch vanilla cake if you prefer. Chocolate, red velvet, lemon, and funfetti cake also work beautifully with this method.
Vanilla frosting blends naturally with most cake flavors, though chocolate frosting is delicious with chocolate cake. Start with less frosting than you think you need, because a very soft mixture will be harder to roll and dip.
Cake mix and required ingredients: Prepare these according to the package instructions.
Prepared frosting: Use about three-quarters of a cup, adding more only if necessary.
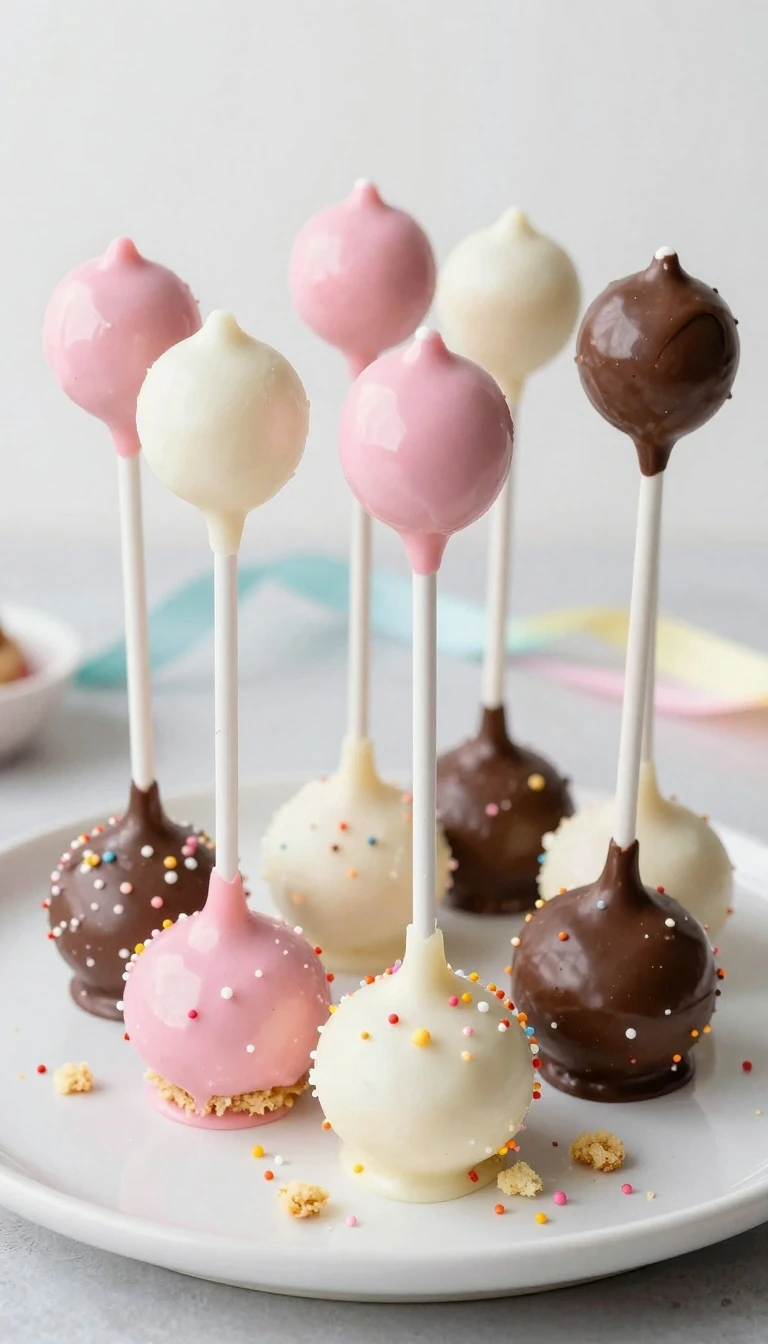
Candy melts or melting wafers: Choose white, milk chocolate, dark chocolate, or a seasonal color.
Lollipop sticks: Paper sticks are easy to find at craft stores and baking shops.
Decorations: Sprinkles, nonpareils, crushed cookies, mini candies, or drizzled chocolate all work well.
Optional shortening: A small amount helps thick coating flow more smoothly.
You will also need a large bowl, a baking pan, a cookie scoop, parchment paper, a microwave-safe bowl, and a sturdy stand for holding the finished pops. A block of floral foam covered in parchment is an inexpensive stand if you do not own a cake-pop holder.
How to Make It Step-by-Step
Step 1: Bake the cake according to the package directions, then let it cool completely. Warm cake will create excess moisture and can make the mixture gummy, so allow plenty of cooling time before you begin crumbling.
Step 2: Trim away any very dark edges if desired, then break the cake into a large bowl. Rub the pieces between your fingers until they become fine, even crumbs with no large chunks remaining.
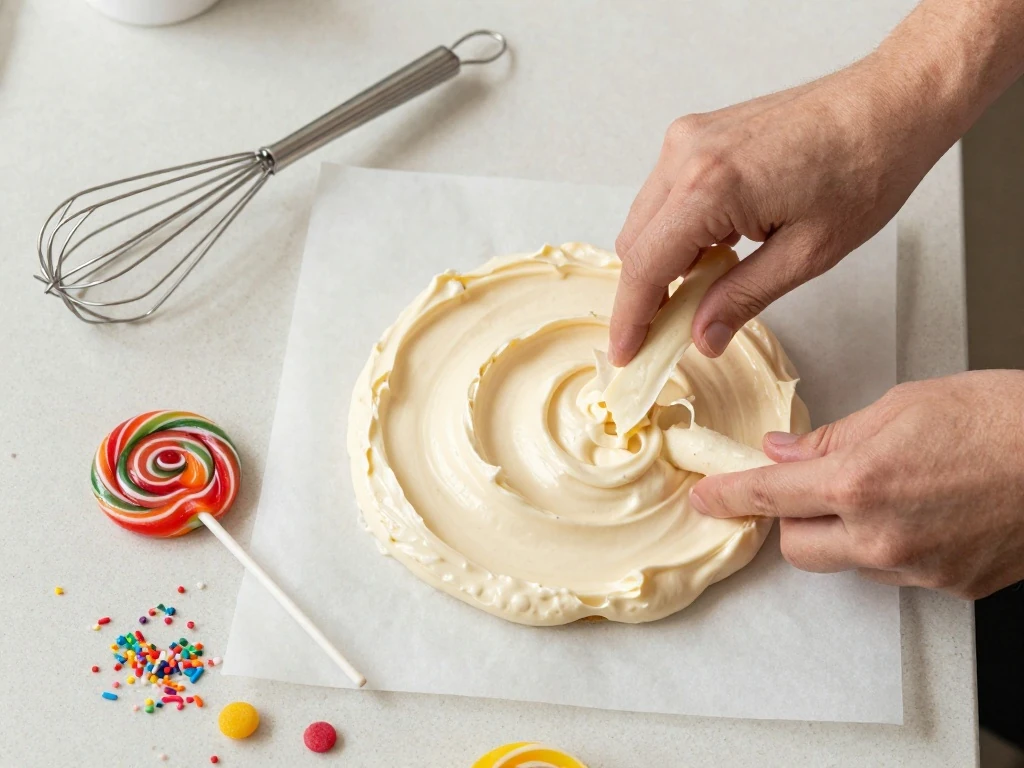
Step 3: Add the frosting gradually, starting with three tablespoons. Mix with a spatula or clean hands until the crumbs hold together when squeezed, stopping as soon as the mixture feels like soft modeling dough.
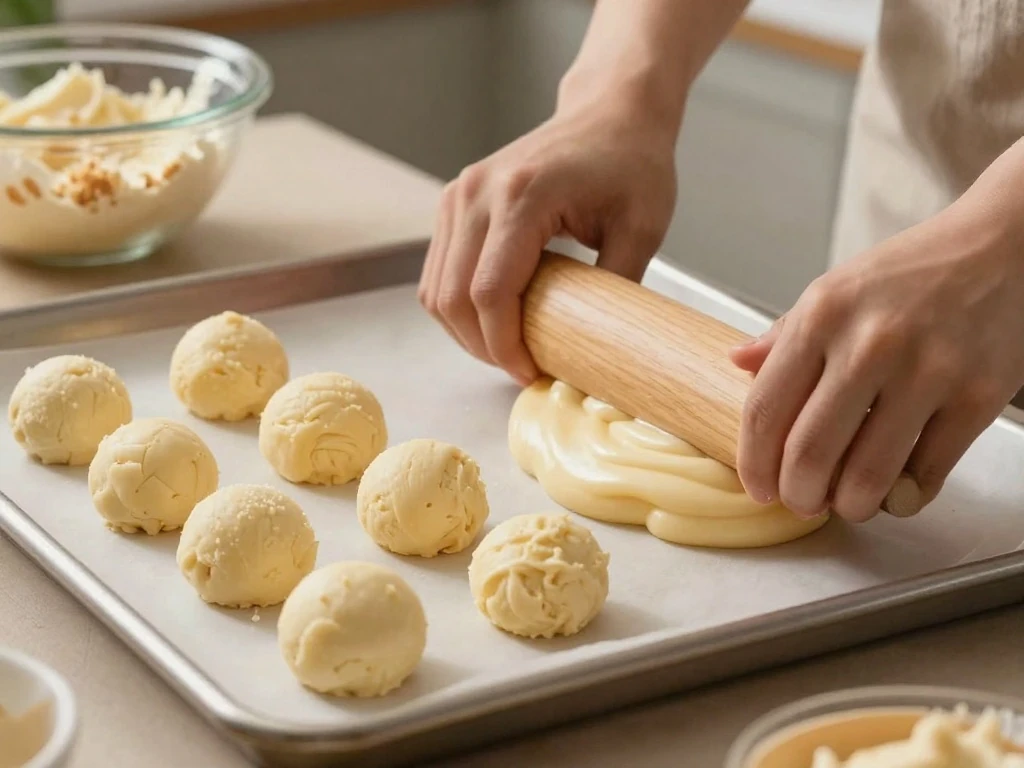
Step 4: Use a cookie scoop to portion the mixture into 24 pieces. Roll each portion between your palms until round, placing the balls on a parchment-lined tray with a little space between them.
Step 5: Chill the cake balls for at least 1 hour in the refrigerator, or freeze them for about 20 minutes when you are short on time. Chilling firms the centers and helps them stay attached to the sticks during dipping.
Step 6: Melt a small amount of candy coating in a microwave-safe bowl using 15-second bursts, stirring after each burst. Dip the tip of every lollipop stick into the coating, then push it about halfway into a cake ball.
Step 7: Melt the remaining coating in a deep cup or narrow bowl, stirring frequently until glossy and fluid. If it seems too thick, stir in a small amount of shortening, using only enough to improve the consistency.
Step 8: Dip one cake pop at a time until the entire cake ball is covered. Lift it straight up, rotate it gently, and tap the stick against the edge of the cup while turning the pop to remove excess coating.
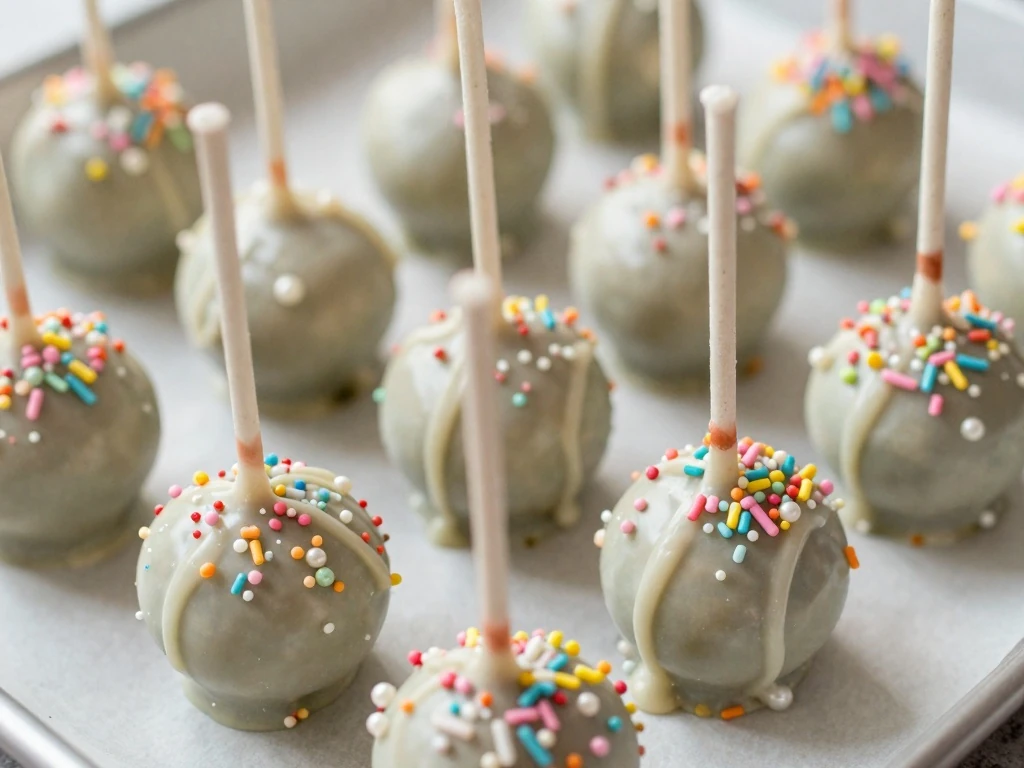
Step 9: Add sprinkles or other decorations while the coating is still wet. Place each finished pop upright in a stand, then allow it to set before moving it into a container.
Decorating Ideas and Pro Tips
The easiest decoration is a shower of colorful sprinkles immediately after dipping. Work over a tray so extra sprinkles can be collected and reused instead of sticking to your counter.
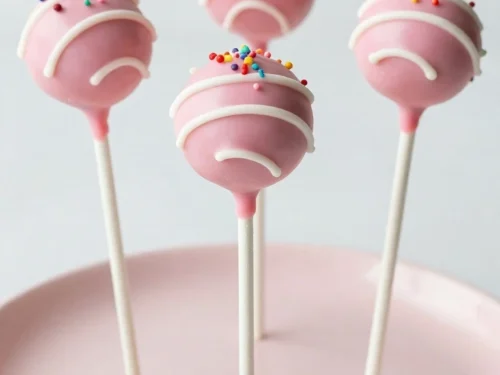
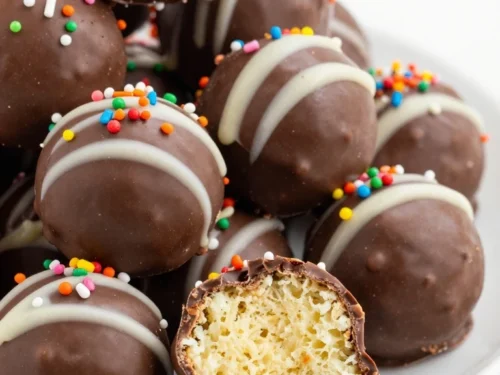
For a marbled look, drizzle a second color of melted coating over the set cake pops using a small piping bag or a spoon. You can also create holiday designs with red and green, pastel pink and blue, orange and black, or gold and white.
Keep the balls small: About 1 to 1 1/2 inches across is ideal for a balanced cake pop.
Avoid overmixing: Stop adding frosting as soon as the mixture sticks together.
Use a deep dipping cup: It makes full coverage easier and reduces the need to tilt the cake pop.
Prevent cracks: Do not dip very cold cake balls into extremely hot coating; let them sit at room temperature for a few minutes first.
Fix thick coating: Stir in a little shortening and warm the mixture in short microwave intervals.
Work in batches: Keep most cake balls chilled while dipping a few at a time.
If a cake pop slides off its stick, return the undipped balls to the refrigerator for a longer chill. You can also use a little more coating around the stick joint and let it firm up before dipping the entire pop.
Storage, Serving, and Make-Ahead Tips
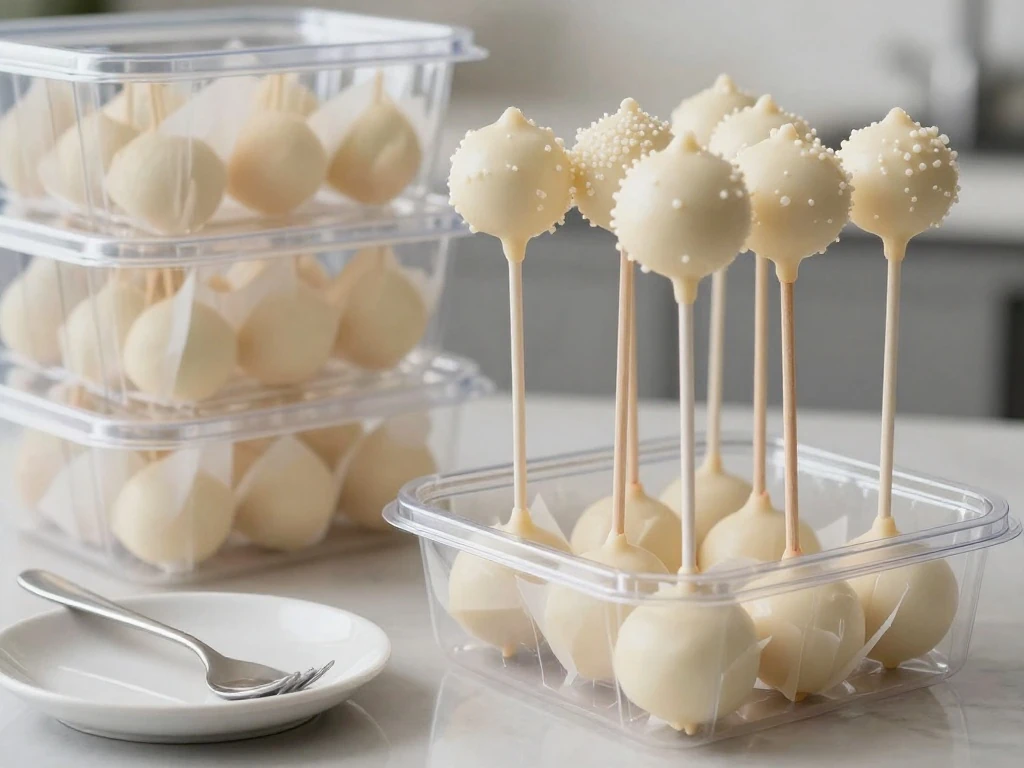
Finished cake pops can sit in an airtight container at room temperature for up to three days. Keep them away from direct sunlight and warm kitchen appliances so the coating remains firm and attractive.
For longer storage, refrigerate the cake pops for up to one week. Place parchment between layers if they must be stacked, and let them sit at room temperature for 15 to 20 minutes before serving for the softest centers.
You can prepare the cake balls up to two days ahead and store them covered in the refrigerator. Dip and decorate them on the day of the event, or coat them one day earlier when your schedule is busy.
To freeze cake pops, arrange them in a single layer until firm, then transfer them to a freezer-safe container with parchment between layers. Thaw them in the refrigerator overnight, keeping the container closed until they warm gradually to help prevent condensation on the coating.
Flavor Variations for Every Occasion
For a birthday celebration, use funfetti cake, vanilla frosting, bright candy melts, and cheerful confetti sprinkles. A chocolate cake base with chocolate frosting and white drizzle is especially popular for adult gatherings.
Lemon cake with lemon frosting creates a fresh spring dessert, while red velvet cake with cream cheese frosting offers a rich choice for Valentine’s Day or Christmas. For autumn parties, try spice cake, cream cheese frosting, orange coating, and a pinch of cinnamon in the cake mixture.
Cookies and cream: Mix crushed chocolate sandwich cookies into the cake crumbs before adding frosting.
Peanut butter: Pair chocolate cake with peanut butter frosting and chopped roasted peanuts.
Strawberry: Use strawberry cake, vanilla frosting, and pink coating with freeze-dried berry crumbs.
Mint chocolate: Combine chocolate cake with mint frosting and dark chocolate coating.
When serving guests with allergies, read every package label carefully and use separate tools for preparation. For a nut-free event, choose decorations and coatings manufactured in a facility that meets your needs.
Easy Cake Pops Recipe
These easy cake pops combine tender vanilla cake, creamy frosting, and a crisp candy coating. They are simple to customize with sprinkles, colored melts, or themed decorations.
1tablespoonVegetable shortening or refined coconut oil
24Lollipop sticks
1/2cupSprinkles or sanding sugar
Method
Step-by-Step
Bake the cake according to the package directions in a greased 9-by-13-inch pan. Cool it completely before crumbling it into a large bowl.
Add the frosting a few tablespoons at a time, mixing until the crumbs hold together like soft dough. Scoop and roll the mixture into 24 evenly sized balls.
Chill the cake balls for at least 1 hour, or freeze them for 20 minutes. Melt a small amount of coating, dip the end of each stick into it, and insert the stick into a cake ball.
Melt the remaining coating in a deep, narrow cup, stirring often until smooth. Dip each cake pop, tap off excess coating, and decorate immediately with sprinkles.
Stand the finished cake pops upright in a foam block or cake-pop stand. Allow the coating to set at room temperature or chill briefly before serving.
Notes
Use frosting sparingly because too much can make the centers greasy or difficult to shape. Store finished cake pops in an airtight container at room temperature for up to 3 days or in the refrigerator for up to 1 week.
Final Thoughts
This easy cake pops recipe gives you a reliable method for making soft, colorful treats with very little specialized equipment. The most important details are cooling the cake completely, adding frosting slowly, chilling the shaped balls, and keeping the coating warm enough to dip smoothly.
Once you know the basic technique, you can change the cake flavor, coating color, and decorations for nearly any celebration. Prepare a batch for your next occasion, arrange them in a pretty stand, and watch these cheerful little desserts disappear.