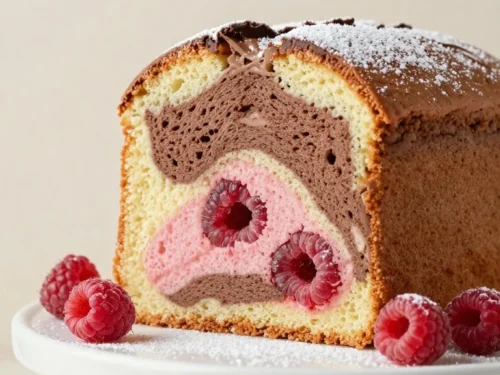
This easy swirled marble cake recipe makes one tender 9-inch round cake or 9 x 5-inch loaf with a beautifully defined vanilla-and-chocolate pattern. The batter comes together in about 20–25 minutes, then bakes at 350°F (180°C) for 40–50 minutes, making it a dependable homemade dessert for everyday baking.
Each slice has a buttery, soft crumb, fragrant vanilla flavor, and pockets of gentle chocolate richness. A few deliberate swirls create the marbled look without blending the batters into one color, so the finished cake is as pretty on a dessert plate as it is comforting with coffee or tea.
Jump to RecipeWhy You’ll Love This Recipe
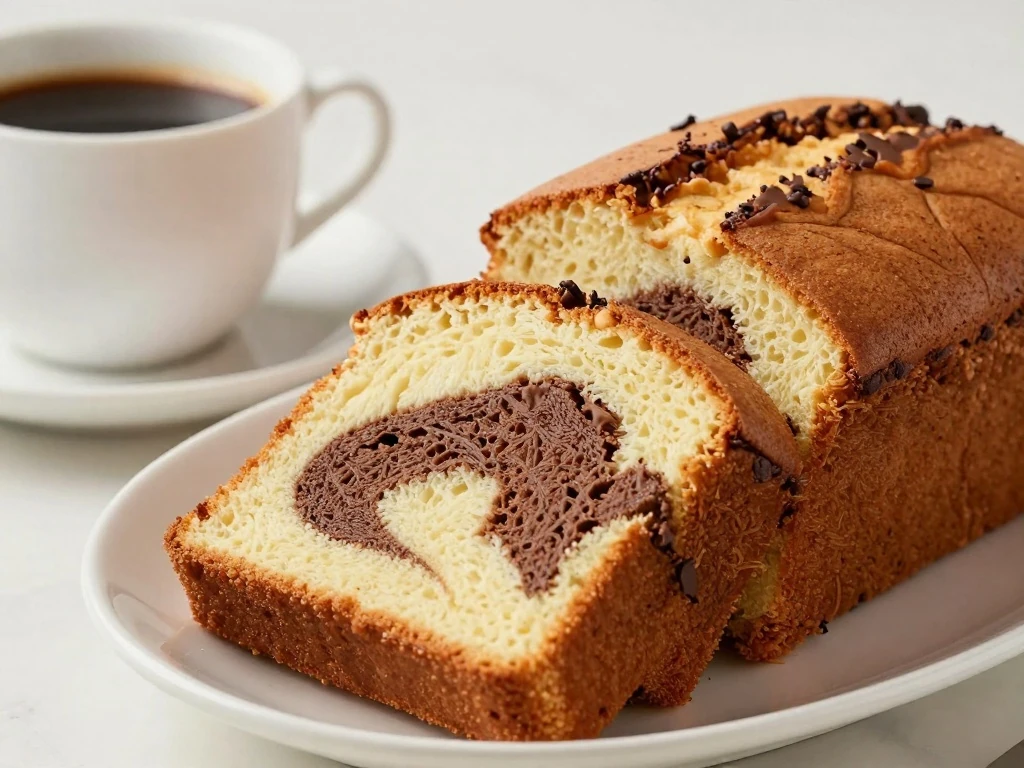
This marble cake has the best qualities of two familiar cakes in one slice. The vanilla portion is buttery and fragrant, while the cocoa portion brings a mellow chocolate note without making the cake heavy or overly sweet.
The method is straightforward enough for a beginner, yet the result looks special enough for a birthday table, afternoon gathering, or weekend brunch. You do not need a mixer with unusual attachments, specialty ingredients, or a complicated frosting to make it feel festive.
It is also a flexible bake. Use a 9-inch round pan for neat wedges, or choose a 9 x 5-inch loaf pan for slices that are easy to wrap and pack.
If you enjoy light, tender cakes, you may also like our simple sponge cake, which uses the same kind of careful mixing and gentle baking approach.
Ingredients You’ll Need
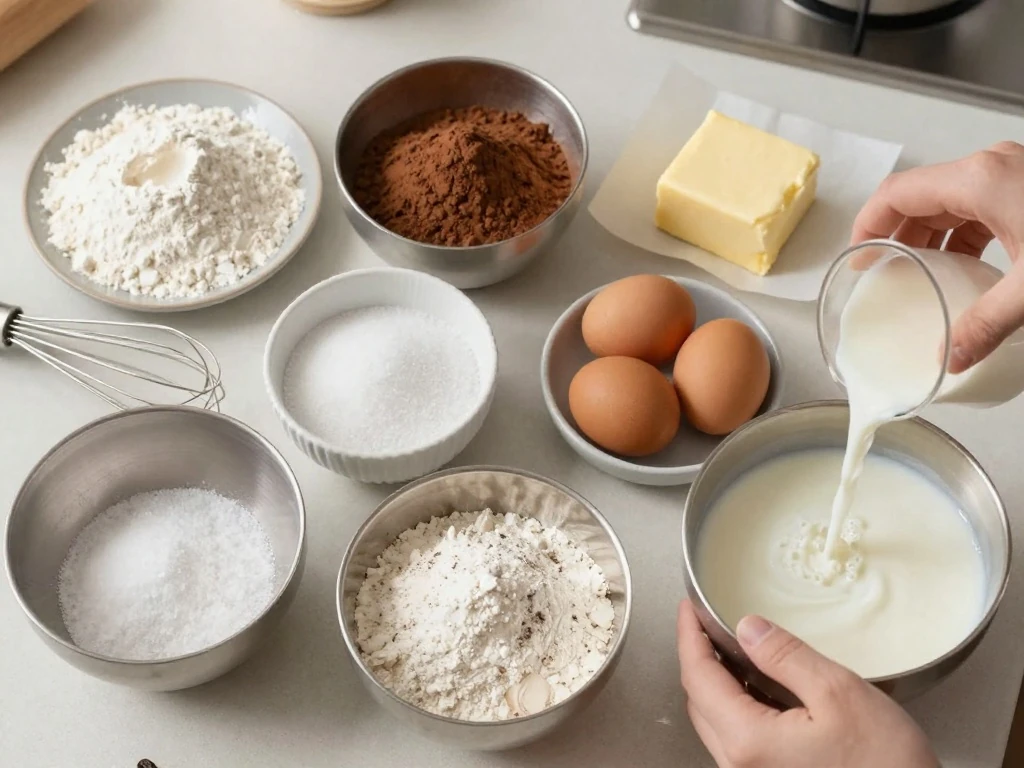
The ingredient list is built around a traditional butter cake formula. Unsalted butter gives you control over the salt, while granulated or caster sugar dissolves into the creamed butter and helps create a fine, tender texture.
- 2 cups (240 g) all-purpose/plain flour
- 2 teaspoons baking powder
- 1/2 teaspoon fine salt
- 1 cup (225 g) unsalted butter, softened
- 1 1/4 cups (250 g) granulated or caster sugar
- 4 large eggs, at room temperature
- 2 teaspoons vanilla extract
- 3/4 cup (180 ml) whole milk, at room temperature
- 1/4 cup (about 21 g) unsweetened cocoa powder
- 1 to 2 tablespoons extra milk, as needed for the chocolate batter
Room-temperature ingredients are worth planning for. Cold eggs or milk can make the butter mixture look curdled and may leave the finished crumb less even, so set everything out before you begin.
How to Make It Step-by-Step
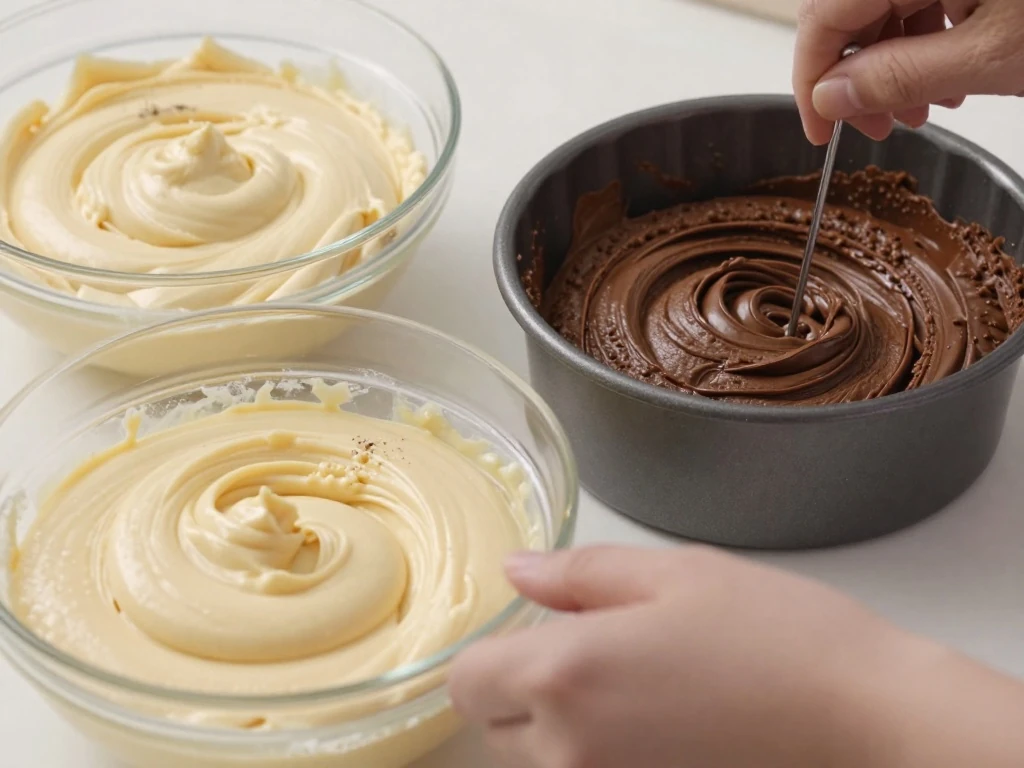
Step 1: Heat the oven to 350°F (180°C), or 325°F (165°C) if using fan or convection heat. Grease your 9-inch round pan or 9 x 5-inch loaf pan, line the base with parchment, and lightly grease the parchment as well so the cake releases cleanly.
Step 2: Whisk the flour, baking powder, and fine salt together in a medium bowl. This quick step distributes the baking powder throughout the flour and prevents a concentrated pocket of salt or leavener in the cake.
Step 3: Place the softened butter and sugar in a large mixing bowl and beat for 3–5 minutes. Stop when the mixture is noticeably paler and fluffy, because this beaten butter helps give the cake a lighter crumb.
Step 4: Beat in the eggs one at a time, waiting until each egg is incorporated before adding the next. Mix in the vanilla extract, and scrape down the sides and bottom of the bowl so no butter mixture remains unmixed.
Step 5: Add the flour mixture in two or three additions, alternating each addition with some of the room-temperature milk. Mix only until the batter comes together; prolonged mixing can make the cake less tender.
Step 6: Transfer about one-third of the finished batter to a separate bowl. Stir the cocoa powder into this portion, then add 1 to 2 tablespoons of extra milk as needed until the chocolate batter is soft and close in consistency to the vanilla batter.
Step 7: Spoon alternating amounts of vanilla and chocolate batter into the prepared pan. You can place small spoonfuls side by side or layer a few larger patches, since both methods produce attractive ribbons once swirled.
Step 8: Run a skewer or thin knife through the batter in a few loose figure-eight or zigzag motions. Make several deep, deliberate passes, but stop before the colors lose their contrast and turn muddy.
Step 9: Bake for 40–50 minutes. The cake is ready when it looks golden, springs back lightly when pressed, and a skewer inserted into the center comes out clean or with a few moist crumbs.
Step 10: Let the cake cool in the pan for about 15 minutes. Turn it out onto a cooling rack and leave it there until completely cool, then slice with a sharp serrated knife for the cleanest marble pattern.
How to Create a Beautiful Marble Swirl
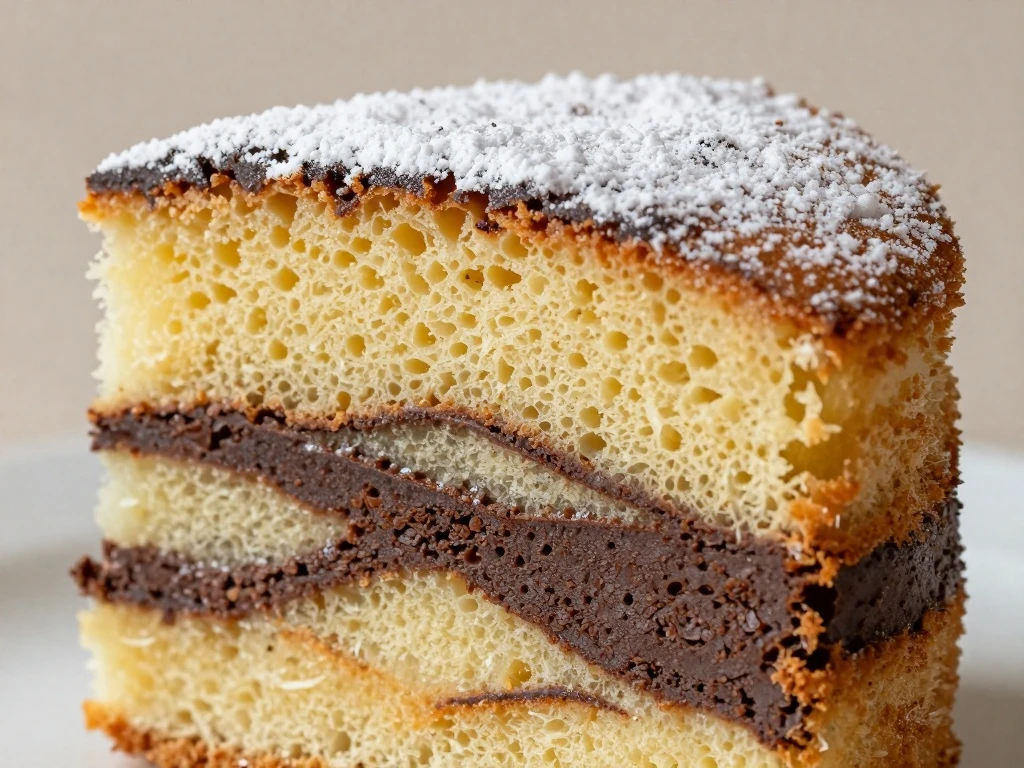
The secret to a defined pattern is contrast and restraint. The chocolate batter should be nearly as soft as the vanilla batter, because a stiff cocoa mixture will sink into dense patches instead of moving gently through the cake.
Do not try to make every swirl identical. A few loose figure eights or zigzags create natural ribbons, while repeated stirring can erase the distinction between the two batters.
For especially attractive slices, alternate spoonfuls throughout the pan rather than placing all of one flavor on the bottom. A deeper pass with the skewer helps carry the pattern through the middle without mixing the entire cake.
For another bake with a celebratory appearance, try our easy King Cake idea when you want colorful decoration and a festive centerpiece.
Pro Tips for a Tender Cake
- Soften the butter properly: It should yield when pressed but not look shiny or melted. Overly soft butter will not hold air as effectively during mixing.
- Measure flour carefully: Weighing 240 g gives the most reliable result. If using cups, spoon the flour into the cup and level it rather than packing it down.
- Scrape the bowl: Butter and sugar can cling to the sides, so scrape once after adding the eggs and again before dividing the batter.
- Keep mixing brief: Once the flour disappears, stop. The final few streaks can be folded in with a spatula.
- Check the center: Baking time can vary by pan material and oven. The skewer test is more dependable than the clock alone.
If the top begins to brown before the center is finished, loosely cover it with foil during the final part of baking. Avoid opening the oven repeatedly, since a sudden temperature change can affect the rise.
Serving, Storage, and Make-Ahead Advice
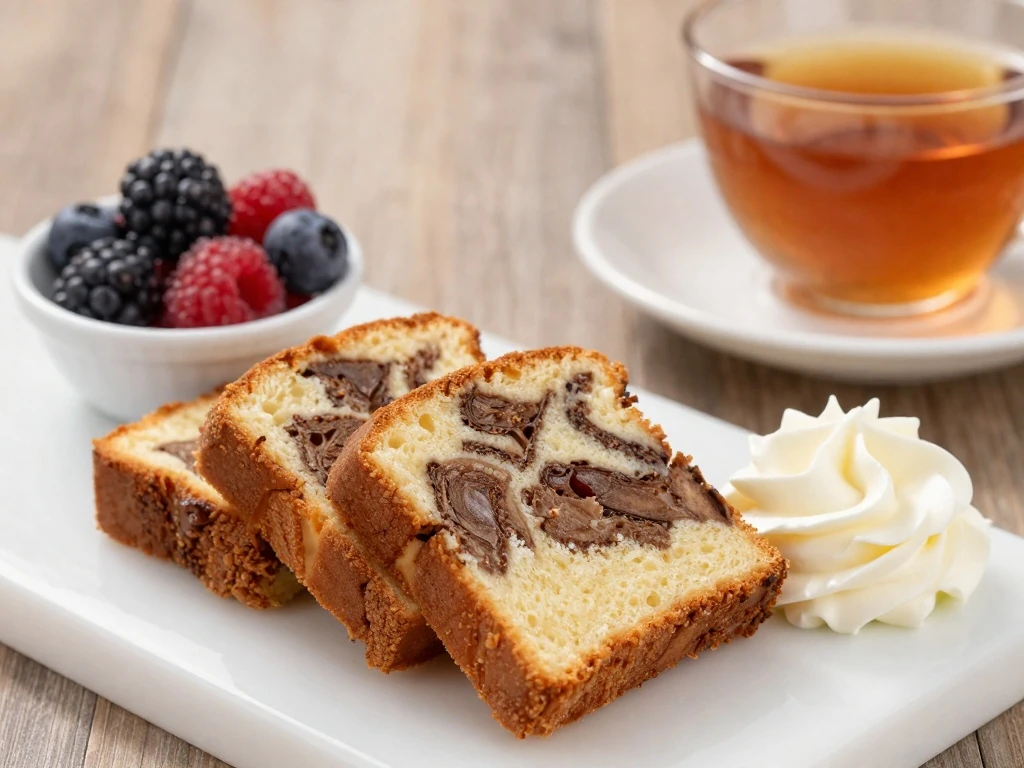
Serve the completely cooled cake in thick slices with coffee, tea, or a glass of cold milk. It is delicious plain, but a light dusting of powdered sugar adds a pretty finish without covering the marbled surface.
For a richer dessert, pair each slice with softly whipped cream, vanilla ice cream, or fresh berries. The cake itself provides plenty of flavor, so toppings should stay simple and let the chocolate-and-vanilla crumb remain the focus.
Store the cake tightly covered at room temperature for several days. Once fully cool, you can also wrap individual slices well and freeze them for convenient treats; thaw them at room temperature before serving.
If you are planning a larger dessert spread, our easy fruit cake recipe is another useful make-ahead option with a different texture and flavor profile.
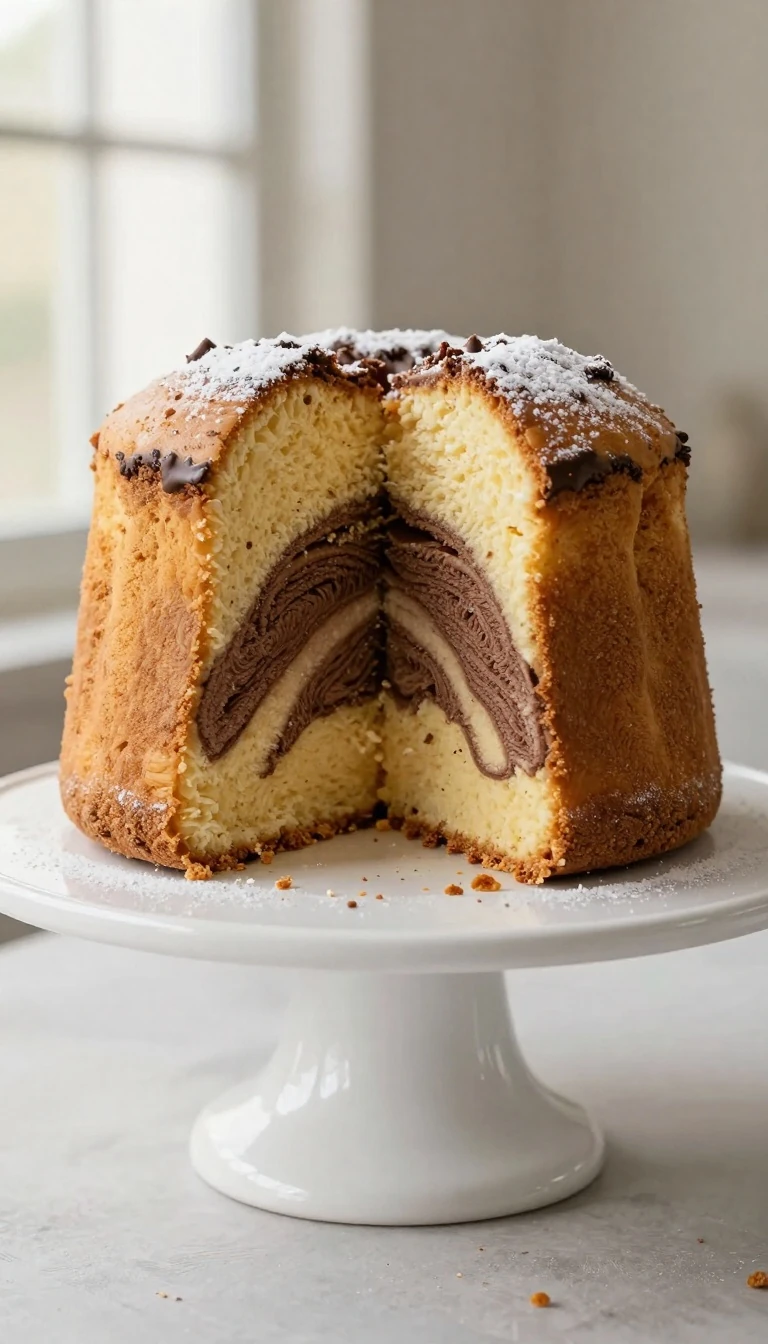
Easy Swirled Marble Cake
Ingredients
Method
- Heat the oven to 350°F (180°C), or 325°F (165°C) fan/convection. Grease a 9-inch round pan or 9 x 5-inch loaf pan and line the base with parchment.
- Whisk the flour, baking powder, and salt together in a medium bowl so the leavening and seasoning are evenly distributed.
- Beat the softened butter and sugar for 3–5 minutes, until pale and fluffy. Add the eggs one at a time, beating well after each addition, then mix in the vanilla.
- Add the dry ingredients in two or three additions, alternating with the milk. Mix only until the batter is combined, scraping down the bowl as needed.
- Transfer about one-third of the batter to a separate bowl. Stir in the cocoa powder and enough extra milk to keep the chocolate batter soft and close in consistency to the vanilla batter.
- Spoon alternating amounts of vanilla and chocolate batter into the prepared pan. Draw a skewer or thin knife through the batter in a few loose figure-eight or zigzag motions, taking care not to over-swirl.
- Bake for 40–50 minutes, until the cake is golden, springs back lightly, and a skewer inserted in the center comes out clean or with a few moist crumbs.
- Cool the cake in the pan for about 15 minutes, then turn it out onto a rack and cool completely before slicing.
Notes
Final Thoughts
This easy swirled marble cake proves that a simple batter can make a memorable dessert. Creaming the butter and sugar thoroughly, using room-temperature ingredients, and keeping the two batters similar in texture are the small details that produce a soft, even crumb.
Take your time with the few final swirls, and let the cake cool completely before cutting it. That patience preserves the beautiful pattern and gives the buttery vanilla and chocolate flavors time to settle.
Whether baked as a round cake for sharing or a loaf for weekday slices, this recipe is a reliable addition to any home baker’s collection. Keep the ingredients on hand, and you will always be ready for a warm, homemade treat.