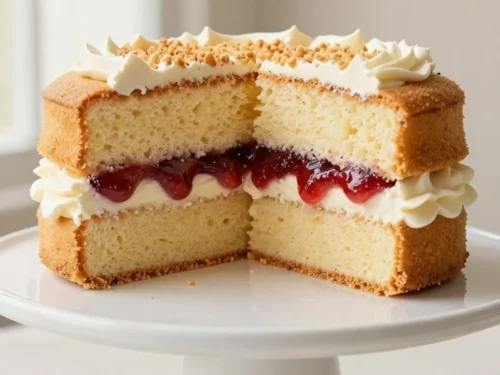
Simple cake designs begin with a dependable homemade sponge. This classic Victoria sponge-style cake uses equal weights of butter, caster sugar, eggs, and self-raising flour, then finishes with vanilla buttercream, jam, berries, sprinkles, or a light dusting of icing sugar.
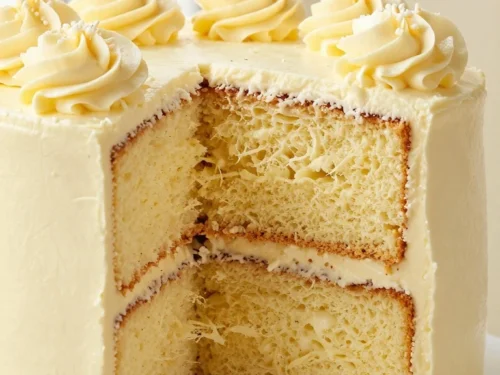
The result is a tender, golden two-layer cake with a buttery crumb and gentle vanilla flavor. It takes about 20–25 minutes to prepare and 20–25 minutes to bake at 180°C conventional, 160°C fan, or 350°F, making it an excellent choice for birthdays, afternoon tea, and relaxed weekend baking.
This cake is the ideal starting point for simple cake designs because its shape, flavor, and texture are wonderfully reliable. The equal-weight method makes the ingredients easy to remember, while the plain golden sponge provides a calm backdrop for almost any decoration.
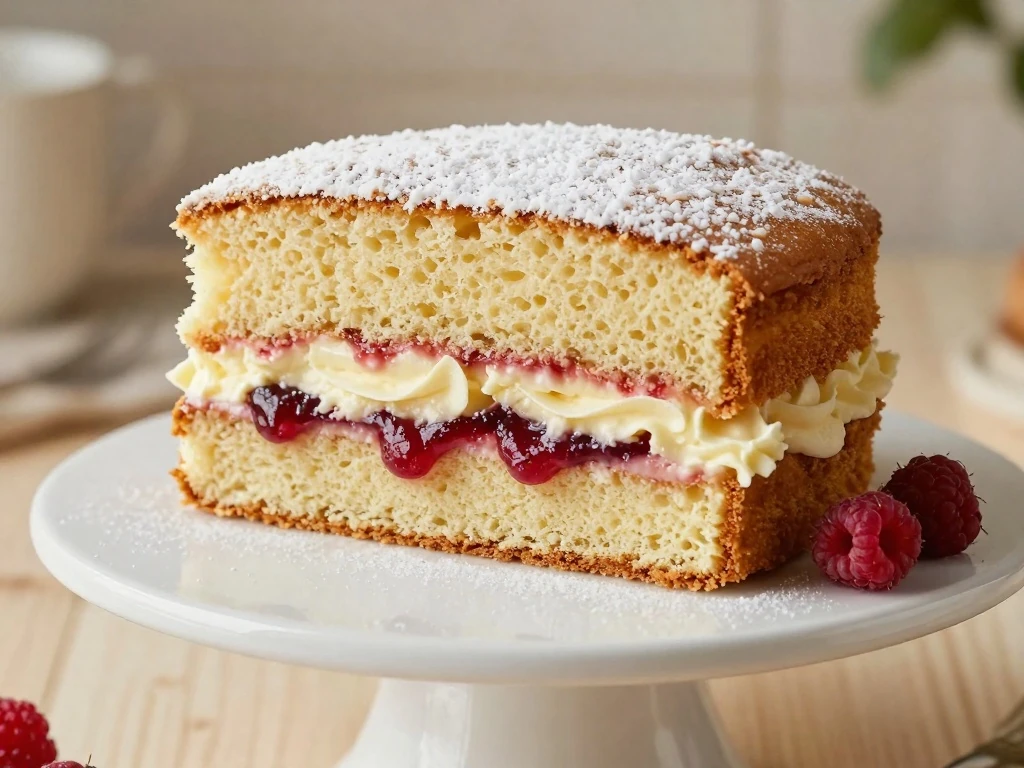
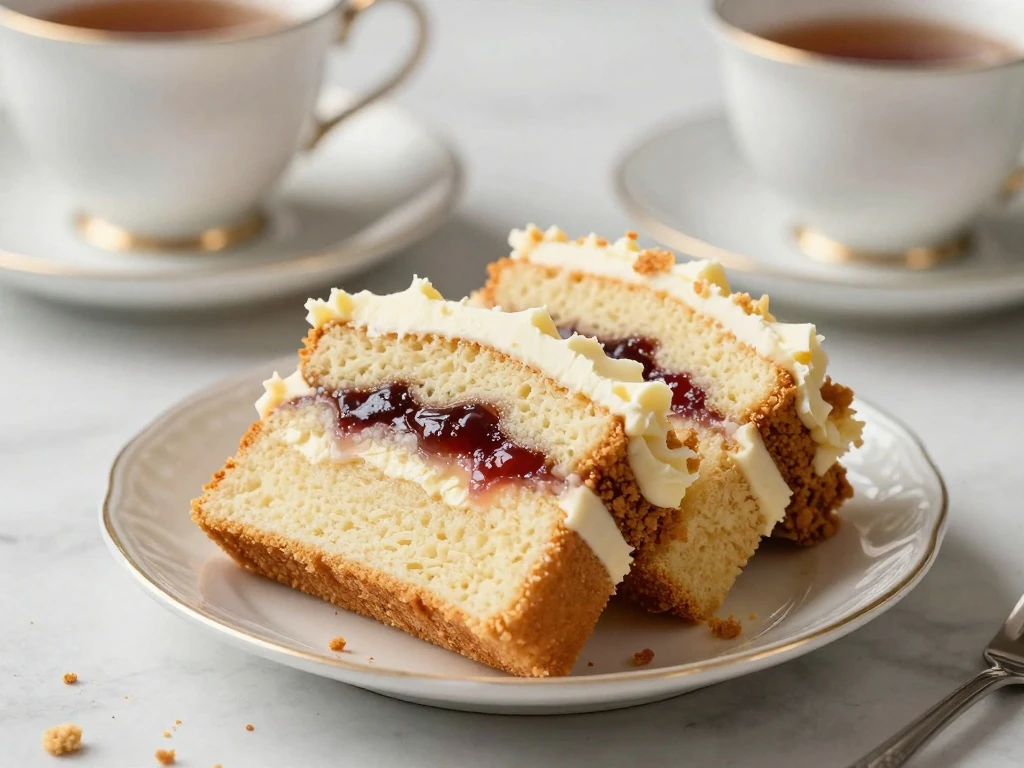
Each slice has a soft, buttery crumb with a delicate vanilla aroma. Raspberry or strawberry jam adds bright fruitiness, while vanilla buttercream supplies a creamy finish without making the cake feel too heavy.
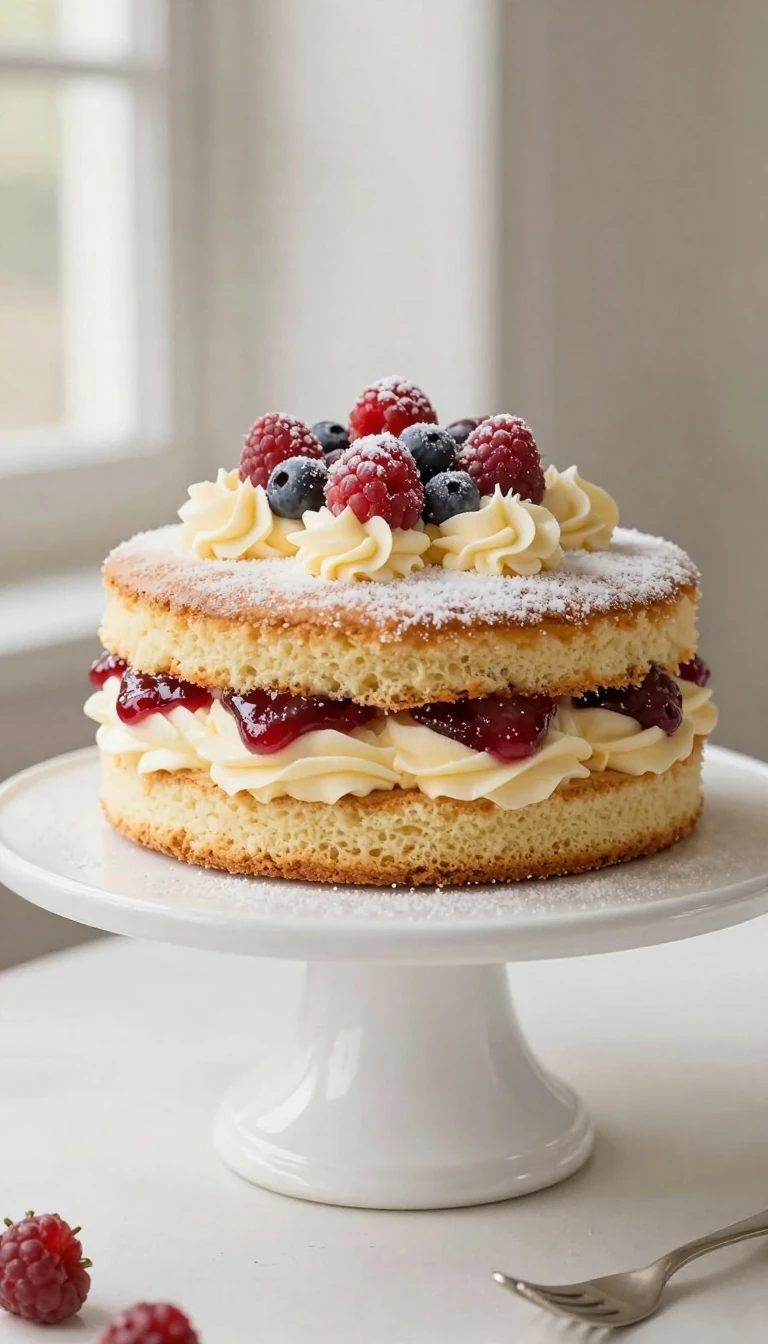
You can keep the design minimal or make it festive with only a few extra ingredients. A small crown of berries, a snowy dusting of icing sugar, or a handful of colorful sprinkles can make the cake feel special without requiring advanced decorating skills.
If you are in the mood for a deeper cocoa flavor another day, try this chocolate cake idea for a similarly approachable dessert.
Ingredients You’ll Need
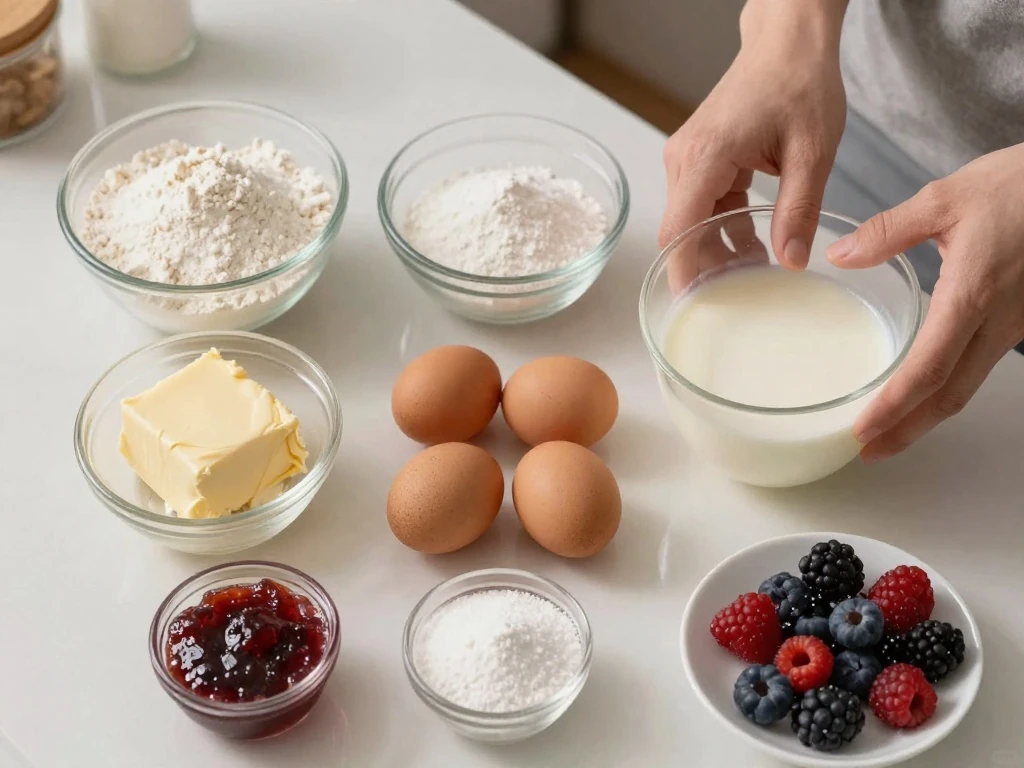
The cake depends on a short list of familiar ingredients, but their temperature and preparation matter. Soft butter creams more easily with the sugar, and room-temperature eggs blend into the batter with less risk of curdling.
Butter and sugar: Use unsalted butter and caster sugar for a clean, balanced flavor and a light, fluffy base.
Eggs: Four large eggs provide structure, moisture, and richness. Bring them to room temperature before mixing.
Flour and baking powder: Self-raising flour gives the cake its lift, while 1–2 teaspoons of baking powder provide extra lightness.
Vanilla and milk: Vanilla adds fragrance, and only 1–2 tablespoons of milk are needed if the batter requires loosening.
Buttercream: A simple mixture of 100 g butter, 200 g sifted icing sugar, 1–2 tablespoons of milk or cream, and vanilla creates a smooth filling and finish.
Decorations: Jam, berries, sprinkles, grated chocolate, and icing sugar all work beautifully for uncomplicated designs.
For another comforting bake with a warm, fragrant character, you may also enjoy this moist coffee cake variation. It is a useful reminder that straightforward ingredients can produce a memorable dessert.
How to Make It Step-by-Step
Step 1: Begin by heating the oven to 180°C conventional, 160°C fan, or 350°F. Grease two 20 cm / 8-inch cake tins and line the bases with baking parchment so the layers release cleanly after baking.
Step 2: Place the softened butter and caster sugar in a large bowl and beat until pale and fluffy. This usually takes several minutes, and the change in color and texture helps show that air has been incorporated.
Step 3: Beat in the eggs gradually, adding them in small portions rather than all at once. If the mixture begins to look curdled, add a little of the measured flour and continue gently.
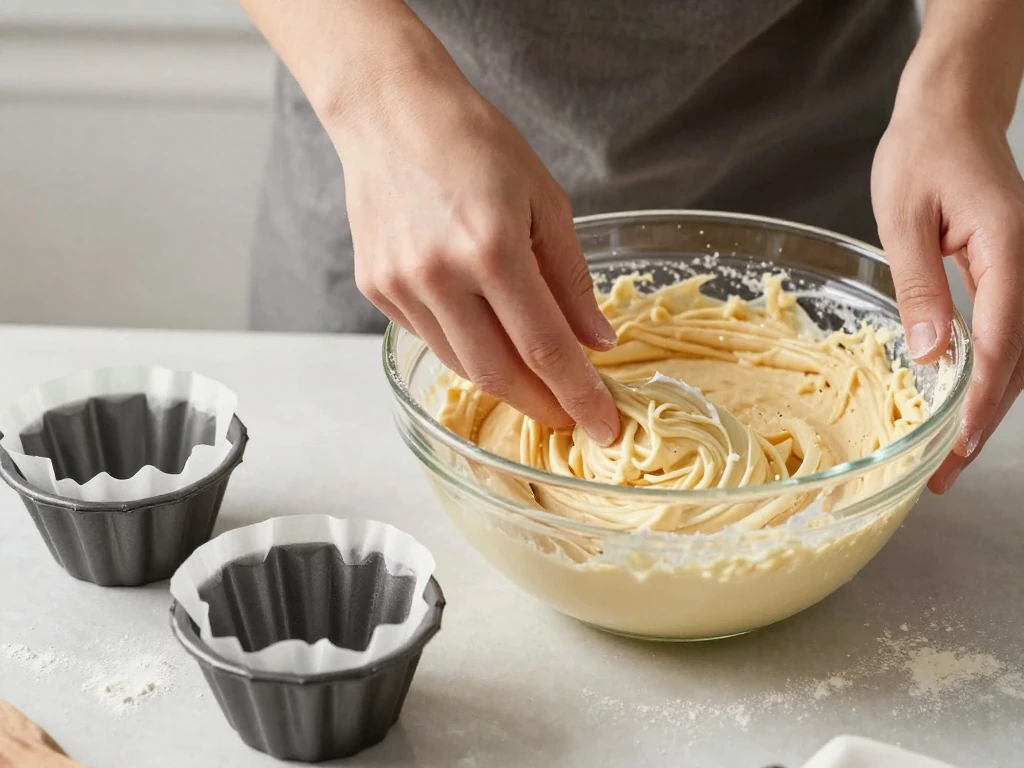
Step 4: Fold in the self-raising flour and baking powder with a spatula or large metal spoon. Add the vanilla extract and enough milk to create a soft dropping consistency, then stop mixing as soon as no dry flour remains.
Step 5: Divide the batter evenly between the prepared tins and level the tops. Bake for 20–25 minutes, watching for golden surfaces, lightly springy centers, and a skewer that comes out clean.
Step 6: Leave the cakes in their tins for about 5 minutes after baking. Transfer them to a wire rack and wait until they are completely cool, since warm sponge can soften buttercream and make the layers slide.
Step 7: Make the buttercream by beating the softened butter until smooth. Add the sifted icing sugar gradually, then beat in the milk or cream and vanilla until creamy, smooth, and easy to spread.
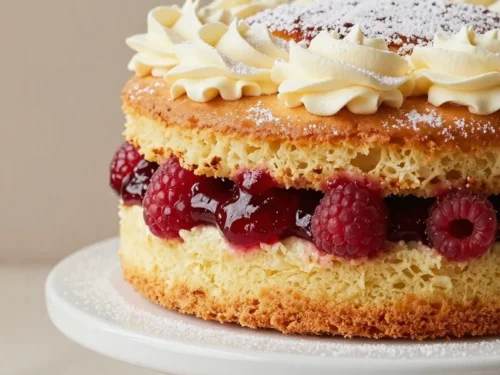
Step 8: Place one cooled cake layer on a serving plate and spread it with jam and buttercream. Add the second layer, then finish the top with buttercream, icing sugar, berries, sprinkles, grated chocolate, or simple piped swirls.
Easy Simple Cake Design Ideas
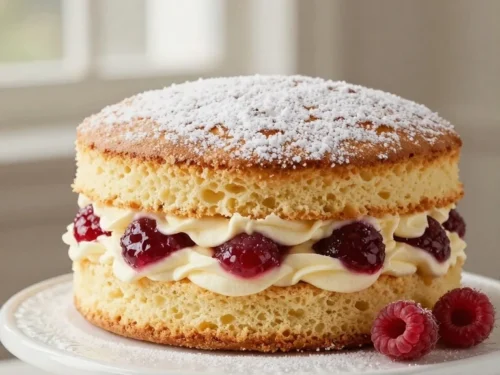
The easiest decoration is often the most charming. Spread buttercream across the top with the back of a spoon, leaving soft swirls and adding a light dusting of icing sugar just before serving.
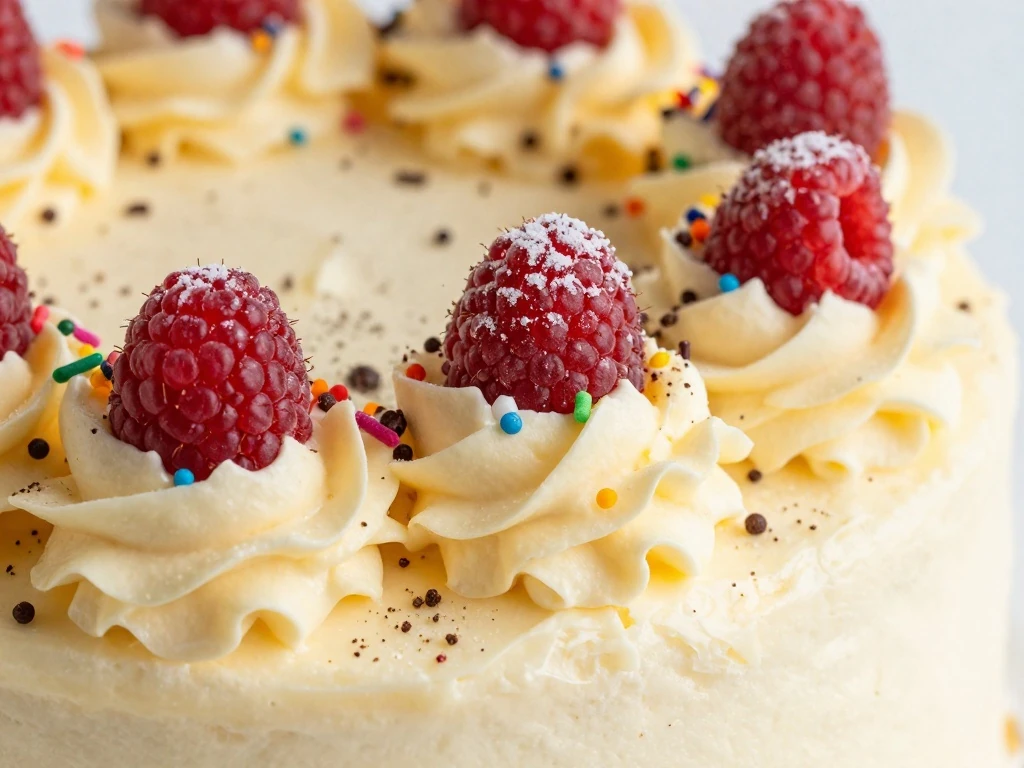
For a fresh finish, arrange fresh berries in a small cluster at the center or around the edge. Strawberries, raspberries, and blueberries bring color, contrast, and a pleasant fruit flavor that complements the jam filling.
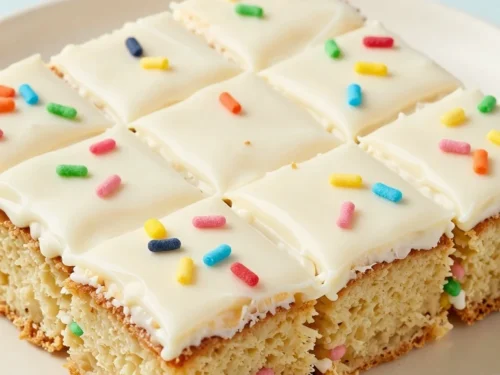
Sprinkles are particularly useful for birthdays and family celebrations. Choose one color for a restrained look, or scatter a mixture over the buttercream while it is still soft so the pieces stay in place.
For a slightly richer appearance, add finely grated chocolate around the top edge or in the center. Keep the decoration light enough that the golden sponge and creamy filling remain the focus.
If you prefer a dessert with a different texture and a tropical profile, consider this creamy cassava cake recipe as another simple celebration option.
Pro Tips for a Light, Neat Cake
Measure carefully: The equal quantities of butter, sugar, eggs, and flour are central to the cake’s classic texture.
Use room-temperature ingredients: Soft butter and room-temperature eggs combine more smoothly and help create a better-aerated batter.
Fold gently: Once the flour is added, mix only until combined. Overmixing can make the sponge less light.
Divide evenly: Weigh the batter between the tins if you want layers of exactly the same height.
Cool fully: Frosting a warm cake may soften the buttercream and cause it to slide from the middle.
Chill before piping: Refrigerate the assembled cake for 15–20 minutes before adding detailed piping or delicate decorations.
Remember that a simple design does not need perfectly sharp edges. A softly swirled buttercream top, a few berries, and a clean cake stand can look polished and inviting.
Serving, Storage, and Make-Ahead Advice
Let the finished cake sit at room temperature briefly before serving so the buttercream is smooth and easy to cut. Use a sharp knife and wipe the blade between slices for tidy portions.
Keep the assembled cake covered in a cool place if serving the same day. If your kitchen is warm, refrigerate it, then allow it to stand at room temperature before serving so the sponge and buttercream regain their best texture.
The unfilled sponge layers can be prepared ahead and cooled completely before wrapping well. Assemble and decorate close to serving time for the freshest appearance, especially when using berries or a dusting of icing sugar.
Simple Cake Designs
A classic 20 cm / 8-inch two-layer Victoria sponge-style cake with vanilla buttercream and optional raspberry or strawberry jam filling. Finish it with fresh berries, sprinkles, grated chocolate, or icing sugar for an easy homemade design.
As neededFresh berries, sprinkles, grated chocolate, or icing sugar
Method
Step-by-Step
Heat the oven to 180°C conventional, 160°C fan, or 350°F. Grease two 20 cm / 8-inch cake tins and line the bases with baking parchment.
Cream the softened butter and caster sugar until pale and fluffy. Beat in the eggs gradually, adding a little flour if the mixture begins to curdle.
Fold in the self-raising flour and baking powder. Add the vanilla extract and enough milk to create a soft dropping consistency, taking care not to overmix.
Divide the batter evenly between the prepared tins and level the surfaces. Bake for 20–25 minutes, until golden, lightly springy in the center, and clean when tested with a skewer.
Cool the cakes in their tins for about 5 minutes, then transfer them to a wire rack. Allow both layers to cool completely before filling or frosting.
For the buttercream, beat the softened butter until smooth. Gradually add the sifted icing sugar, then beat in the milk or cream and vanilla extract until creamy.
Spread the jam and buttercream between the cooled layers. Finish the top with buttercream, icing sugar, fresh berries, sprinkles, grated chocolate, or simple piped decorations.
Notes
Use room-temperature butter and eggs for a smoother, better-aerated batter. Do not overmix after adding the flour. Cool the layers completely before frosting, and chill the assembled cake for 15–20 minutes before piping or decorating if you want especially neat results.
Final Thoughts
Simple cake designs are at their best when they let a well-made sponge do most of the work. This classic two-layer Victoria sponge offers a tender crumb, buttery vanilla flavor, and enough structure for jam, buttercream, berries, sprinkles, or a graceful snowy finish.
Keep the process calm: cream the butter and sugar thoroughly, add the eggs gradually, fold the flour gently, and wait for the layers to cool before decorating. Those small details make the difference between an ordinary cake and one that looks beautifully homemade.
Whether you are baking for a birthday, afternoon tea, or an everyday treat, this recipe gives you a dependable base and plenty of room for creativity. Start with one simple finish, then try a new color, garnish, or piping pattern the next time you bake it.