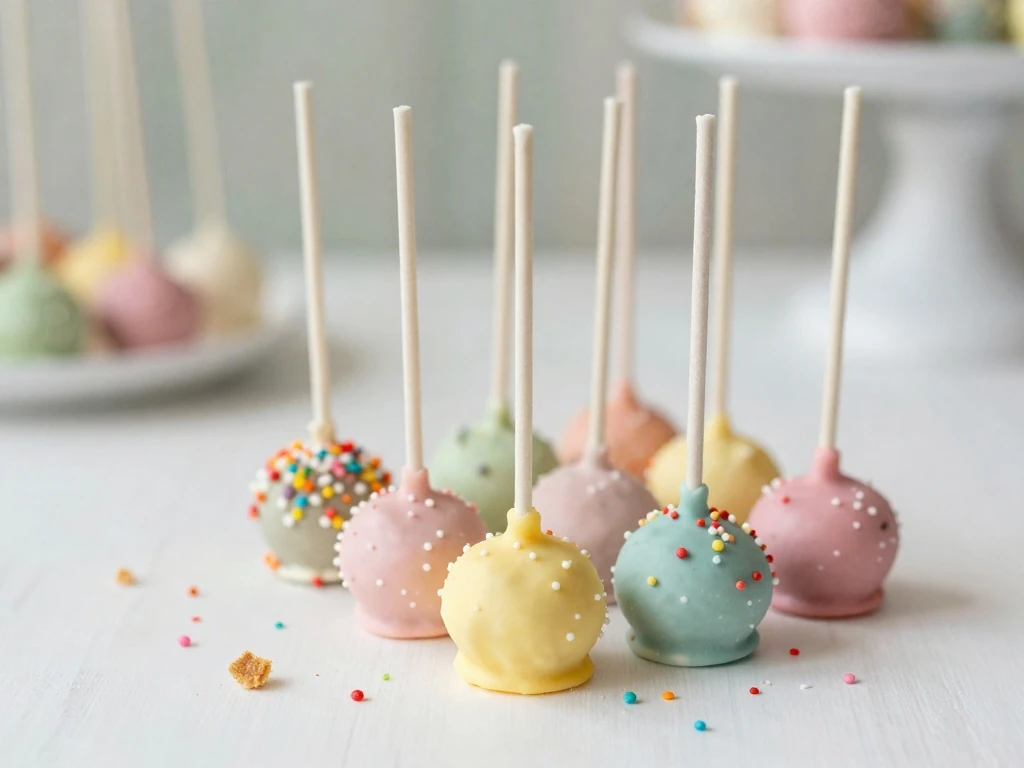
This easy cake pop recipe makes soft, moist, bite-size treats with a tender vanilla cake center and a smooth candy coating. Bake a simple cake, crumble it into fine crumbs, mix it with frosting, roll the mixture into balls, chill, and dip each one in melted candy melts for a cheerful mini dessert that is ready in about 90 minutes.
Every cake pop has a rich, buttery crumb, a creamy frosting texture, and a crisp shell that gives way with the first bite. Add colorful sprinkles, drizzle the tops with contrasting candy melts, or match the decorations to a birthday party, baby shower, holiday table, or everyday sweet craving.
These cake pops are small enough for a single satisfying treat but festive enough to anchor a dessert table. They use a boxed cake mix for dependable results, while the frosting turns ordinary crumbs into a soft mixture that is easy to shape.
The recipe is also flexible. Vanilla cake works beautifully with nearly any candy melt color, but chocolate cake, red velvet cake, lemon cake, and funfetti cake are excellent choices when you want a different flavor.
Beginner-friendly: No piping skills or special cake decorating experience are needed.
Party-ready: One batch makes 24 small portions that guests can enjoy without plates or forks.
Customizable: Change the coating, sprinkles, drizzle, or cake flavor for any occasion.
Make-ahead friendly: The finished pops keep well, so they can be prepared before an event.
Ingredients You’ll Need
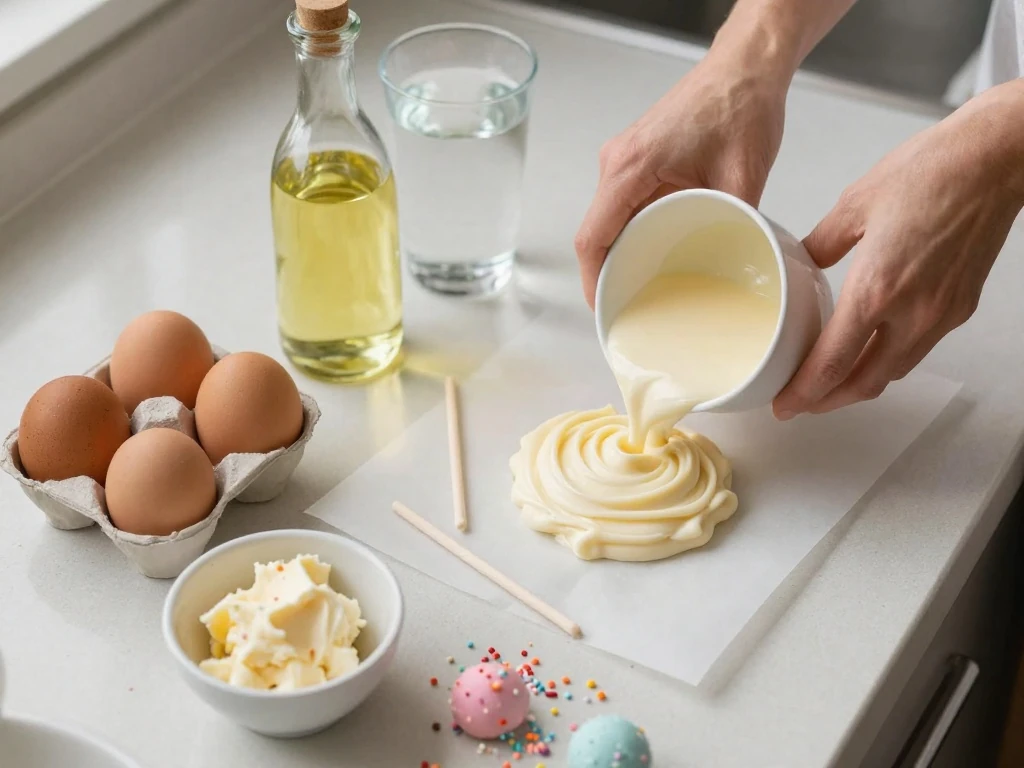
The cake base begins with a standard 15.25-ounce box of vanilla cake mix, three eggs, vegetable oil, and water. Follow the package style listed here rather than adding extra ingredients, because a slightly firm cake is easier to crumble and shape than a very delicate one.
Prepared vanilla frosting binds the crumbs together and adds sweetness. Begin with half a cup, but do not automatically use every drop if the mixture already forms a soft dough.
Candy melts are the easiest coating for beginners because they melt smoothly and set without tempering. White, pink, blue, yellow, chocolate, and bright rainbow colors all work well.
A tablespoon of shortening or refined coconut oil helps thin the coating so it flows around the cake pop. Use refined coconut oil if you prefer a neutral flavor, and keep the cake pop sticks, sprinkles, parchment, and a stand or foam block close by.
How to Make It Step-by-Step
Step 1: Begin by heating your oven to 350°F and preparing a 9-by-13-inch pan with cooking spray. Parchment on the bottom makes the cooled cake easier to remove, although the cake will be crumbled later.
Step 2: Add the cake mix, eggs, oil, and water to a mixing bowl, then beat until the batter looks smooth and no dry pockets remain. Spread it evenly in the pan and bake for 23 to 27 minutes, checking the center with a toothpick near the end of the baking time.
Step 3: Let the cake cool completely on a rack before making the crumbs. Warm cake creates a sticky mixture and can melt the frosting, so give it at least 30 minutes or place it in the refrigerator for a shorter cooling period.
Step 4: Trim away any especially dark edges if you want a pale, uniform interior, then crumble the cake into a large bowl. Use your fingertips to crush large pieces until the texture resembles fine cookie crumbs.
Step 5: Stir in the frosting one tablespoon at a time. The correct mixture should hold when squeezed, feel moist, and roll without cracking; if it feels loose or oily, stop adding frosting and chill it briefly.
Step 6: Portion the mixture with a small cookie scoop or tablespoon measure. Roll each portion between your palms until smooth, aiming for balls about 1 1/2 inches wide so they remain light enough for the sticks.
Step 7: Chill the cake balls for 20 to 30 minutes so they become firm. Melt a few spoonfuls of candy coating, dip the end of each stick into the coating, and push it halfway into a cake ball.
Step 8: Return the assembled pops to the refrigerator for about 10 minutes. This small coating plug helps anchor the stick and reduces the chance that the cake ball will slide down during dipping.
Step 9: Melt the remaining candy melts in a microwave-safe bowl using 20-second intervals, stirring after every interval. Mix in the shortening when the coating is almost smooth, then continue stirring until it is fluid but not hot.
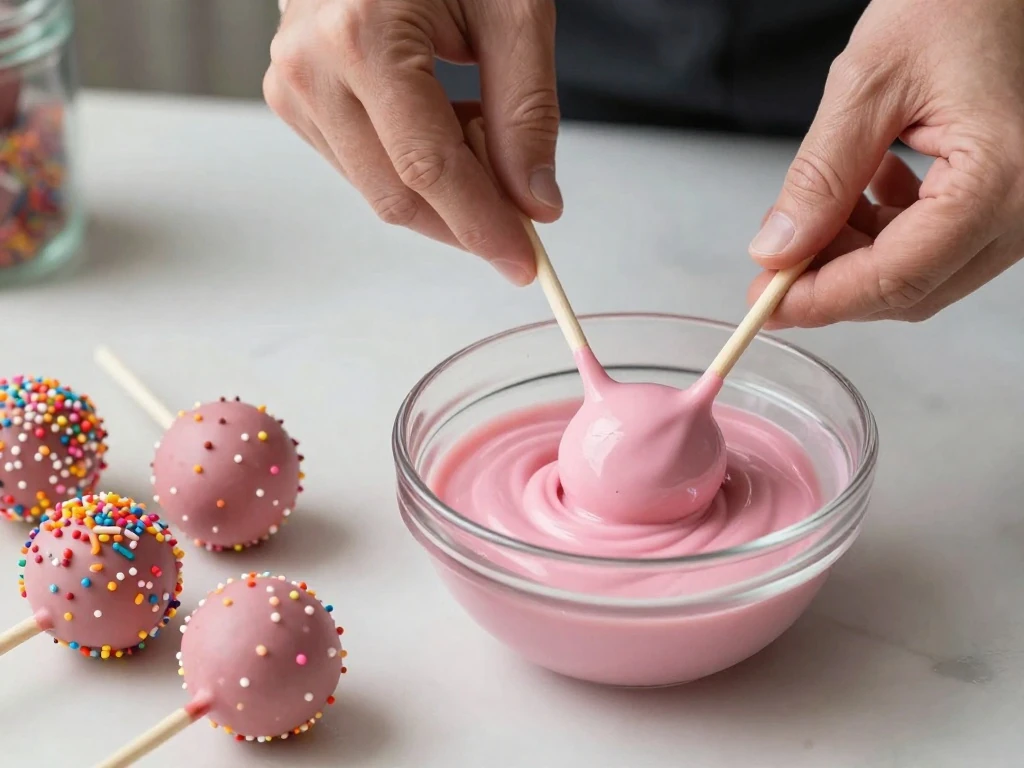
Step 10: Dip one pop straight into the coating until the cake is covered, then lift it straight up. Rotate it gently over the bowl and tap the stick lightly against your hand to encourage excess coating to fall away without shaking the cake loose.
Step 11: Add sprinkles, sanding sugar, or a candy drizzle while the coating is wet. Place the finished pop upright in a stand or foam block, and allow it to set at room temperature for 20 to 30 minutes.
Decorating Ideas for Mini Cake Pops
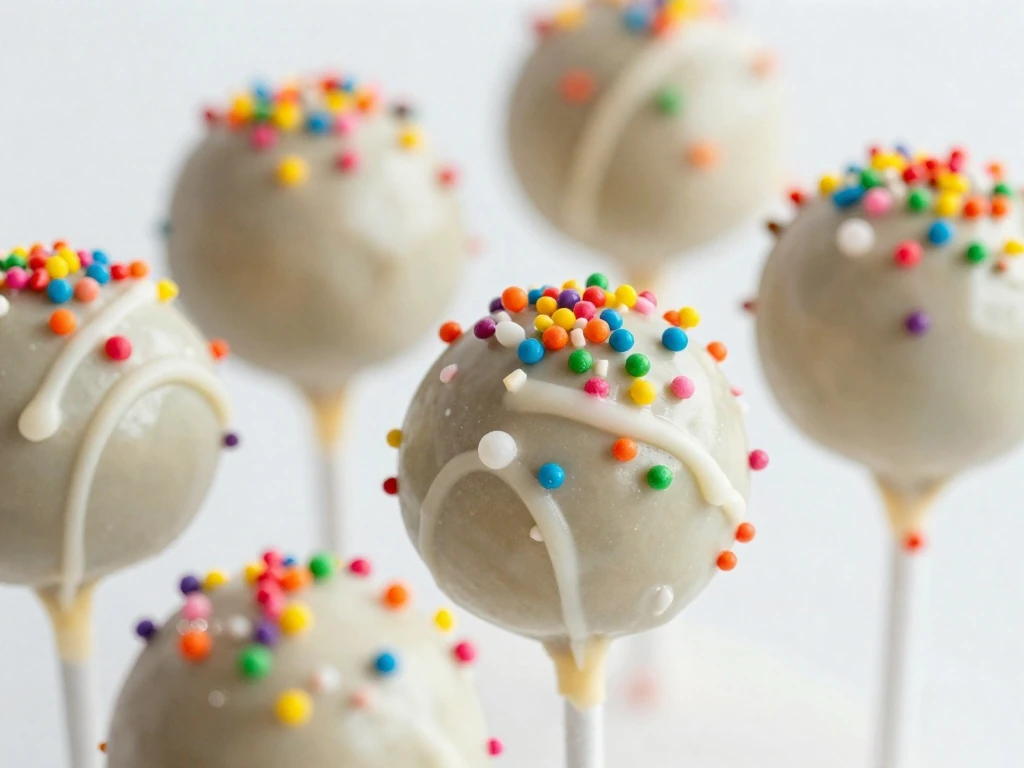
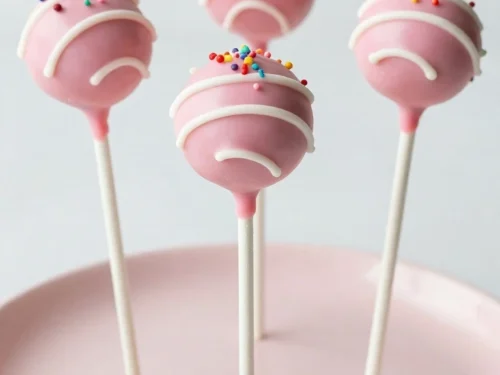
A simple sprinkle finish gives these treats a polished bakery look with very little effort. Choose nonpareils for tiny dots, jimmies for a classic party style, or metallic sanding sugar for a special celebration.
For a two-tone design, let the first coating set completely before drizzling a second color over the top. Put melted candy melts into a small piping bag or a zip-top bag with a tiny corner snipped off, then move the bag back and forth in thin lines.
Use pink coating and heart sprinkles for Valentine’s Day.
Try orange and black decorations for Halloween.
Choose pastel colors for showers, brunches, or spring parties.
Add crushed peppermint to chocolate-coated pops during the holidays.
Use school colors for sports parties and graduation celebrations.
Keep decorations small and light. Heavy candy pieces can pull the coating downward before it sets, especially if the cake pops are large.
Pro Tips for Smooth, Sturdy Cake Pops
The most important tip is to add frosting gradually. Too little frosting causes cracks, while too much makes the cake balls soft, greasy, and difficult to dip.
Uniform sizing helps every pop chill and set at the same rate. A small cookie scoop is useful, but weighing each portion at about 25 grams is even more precise.
Never dip ice-cold cake pops into very hot coating. A large temperature difference can cause cracks, so let the chilled pops rest for a few minutes while you melt the candy.
If the coating is thick, stir in more shortening a quarter teaspoon at a time. Do not add water, milk, or butter, since those ingredients can make candy melts seize and become grainy.
Keep the bowl of coating deep enough to cover the cake pop in one motion. A narrow microwave-safe cup can be easier than a wide bowl when working with a small batch.
Common Problems and Easy Fixes
Cracks usually appear when the cake center is colder than the coating or when the cake ball is too large. Let the pops warm slightly, keep the coating comfortably warm, and make smaller balls for a more reliable finish.
If a pop slides down the stick, it may be too heavy or the stick may not have enough coating around its tip. Chill the assembled pop again, use a thinner layer of cake, and make sure the coated stick reaches the center without coming through the other side.
Dry, crumbly cake balls need a little more frosting, but add it slowly. Wet cake balls can often be rescued by mixing in a few spoonfuls of plain cake crumbs or chilling the mixture until it firms.
Uneven coating is often caused by candy melts that are too thick. Stir patiently, add a small amount of shortening, and tap the stick gently rather than spinning the pop rapidly.
Storage and Serving Advice
Store finished cake pops in an airtight container at room temperature for up to two days. Keep them away from direct sunlight and warm appliances so the candy coating stays firm and glossy.
For longer storage, refrigerate them for up to one week. Place parchment between layers, and let the pops sit at room temperature for 15 to 20 minutes before serving so the cake center becomes soft again.
You can also freeze undecorated cake balls for up to one month. Thaw them in the refrigerator overnight, then let them stand briefly before inserting sticks and dipping so condensation does not spoil the coating.
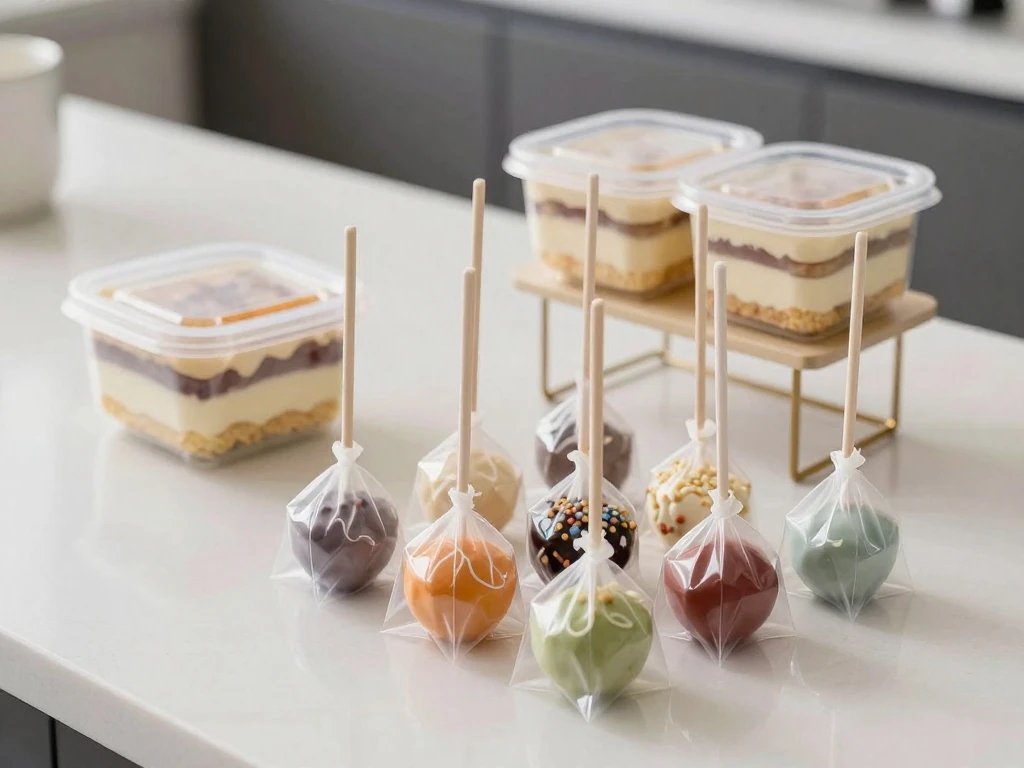
Serve the pops upright in a decorative stand, arrange them in a glass filled with colorful sugar, or wrap individual pieces in clear treat bags. They make charming lunchbox surprises, party favors, dessert table accents, and gifts for anyone who loves a hand-held sweet.
Easy Cake Pop Recipe
Moist vanilla cake and creamy frosting are shaped into bite-size balls, chilled, and dipped in a smooth candy coating. This beginner-friendly recipe makes colorful, party-ready mini desserts.
Heat the oven to 350°F. Grease a 9-by-13-inch baking pan and line the bottom with parchment if desired.
Combine the cake mix, eggs, oil, and water in a large bowl. Beat for about 2 minutes, until the batter is smooth, then bake for 23 to 27 minutes, or until a toothpick inserted in the center comes out clean.
Cool the cake completely before handling it. Break it into a large bowl and rub the pieces between your fingers until the crumbs are fine and even.
Add the frosting a little at a time, stirring after each addition. Stop when the mixture holds together like soft dough without feeling wet or greasy.
Scoop about 1 1/2 tablespoons of mixture for each pop and roll it into a smooth ball. Chill the shaped balls for 20 to 30 minutes.
Melt a small amount of candy coating, dip the tip of each stick into it, and press the coated tip halfway into a cake ball. Chill the assembled pops for another 10 minutes.
Melt the remaining candy melts with the shortening in short microwave intervals, stirring often. Dip each cake pop straight down, lift it out, and gently tap the stick against the bowl to remove excess coating.
Decorate immediately with sprinkles while the coating is still wet. Stand the pops upright in a cake pop stand or a block of foam and let them set completely before serving.
Notes
Use room-temperature cake before crumbling it, and add frosting gradually because different cakes need different amounts. Store finished cake pops in an airtight container at room temperature for 2 days or in the refrigerator for up to 1 week.
Final Thoughts
This easy cake pop recipe turns a few familiar ingredients into cheerful mini desserts with a soft cake center and crisp candy shell. The process is forgiving, and small imperfections disappear beneath sprinkles, drizzle, or a second coat of candy melts.
Make the cake balls a day ahead, decorate them when convenient, and choose colors that fit your celebration. Once you master the simple dipping method, you can switch flavors and toppings endlessly while keeping the same reliable technique.
For the best result, remember three things: cool the cake completely, add frosting gradually, and keep the coating smooth but not overheated. Follow those steps, and you will have attractive, delicious cake pops that are easy to share and even more fun to eat.