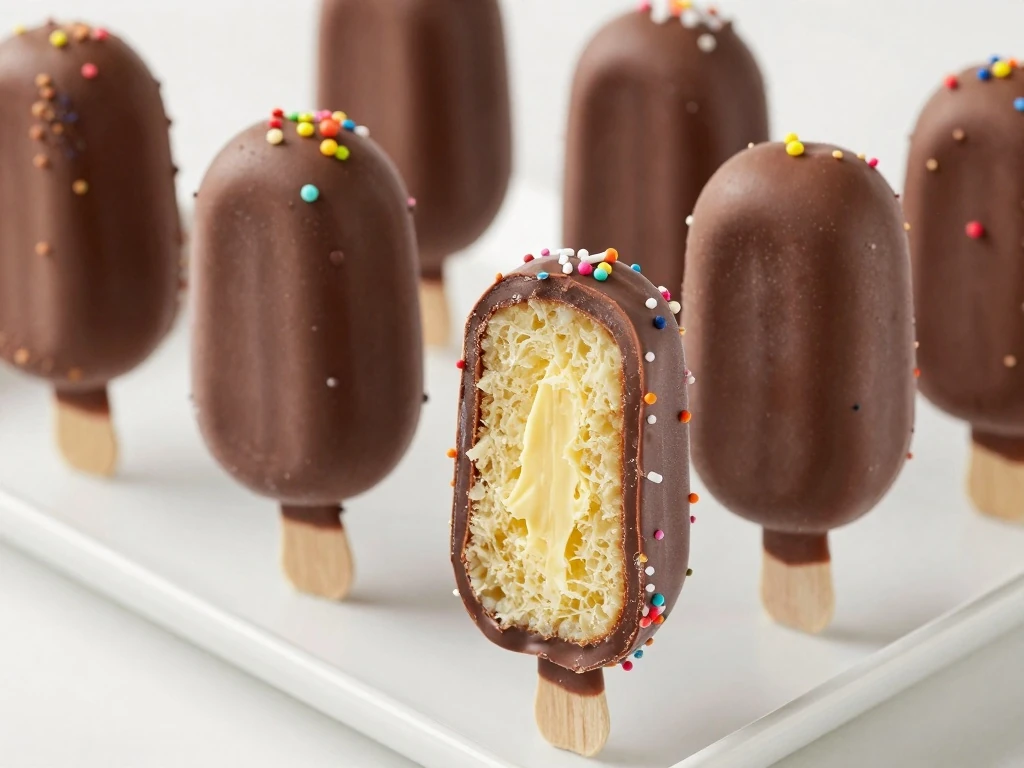
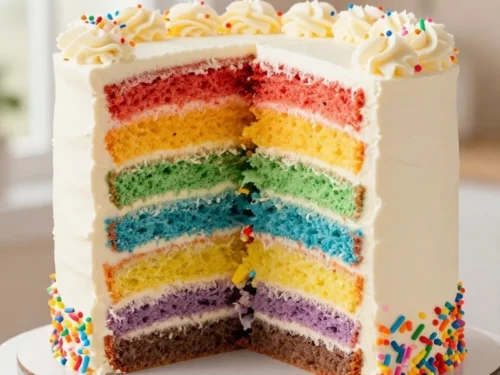
This easy cakesicles recipe makes 8–10 delicious chocolate-covered cake popsicles with a tender, frosting-bound cake center and a crisp candy-melt shell. You can use a freshly baked 8-inch cake or leftover cake, and the finished treats take about 1½ hours including the 25–30 minute bake time and 30–45 minutes of chilling.
Each cakesicle has the nostalgic flavor of classic cake and buttercream wrapped in a satisfying chocolate coating. Add sprinkles, a contrasting drizzle, or colored candy melts for a party-ready dessert that looks special but is simple enough for beginners.
These easy cakesicles combine the best parts of cake pops and chocolate bars in one tidy handheld dessert. The cake center is soft and buttery, while the outer shell sets firm enough to provide a pleasant snap with every bite.
This classic version is especially forgiving because it does not require tempered chocolate. Candy melts, almond bark, and compound chocolate set firmly with ordinary chilling, making them dependable choices for a first batch.
Beginner-friendly: The filling comes together without special cake-decorating skills.
Flexible: Use vanilla, chocolate, red velvet, or leftover celebration cake.
Party-ready: Sprinkles and drizzle make each cakesicle easy to customize.
Make-ahead: Finished treats keep refrigerated for 4–5 days.
Ingredients You’ll Need
Start with one cooled 8-inch cake and about 300–350 g of fine crumbs. A boxed cake mix is a convenient option, and the package commonly calls for 3 eggs, 240 ml water, and 120 ml vegetable oil, although you should follow the directions on your specific box.
Buttercream binds the crumbs into a moldable filling. Use 150–175 g, or approximately ½–¾ cup, and add it gradually because the exact amount depends on how moist and tender your cake is.
For the shell, prepare 400–500 g of candy melts, almond bark, or compound chocolate. One teaspoon of vegetable shortening or coconut oil is optional and can help thin a coating that feels too thick for brushing.
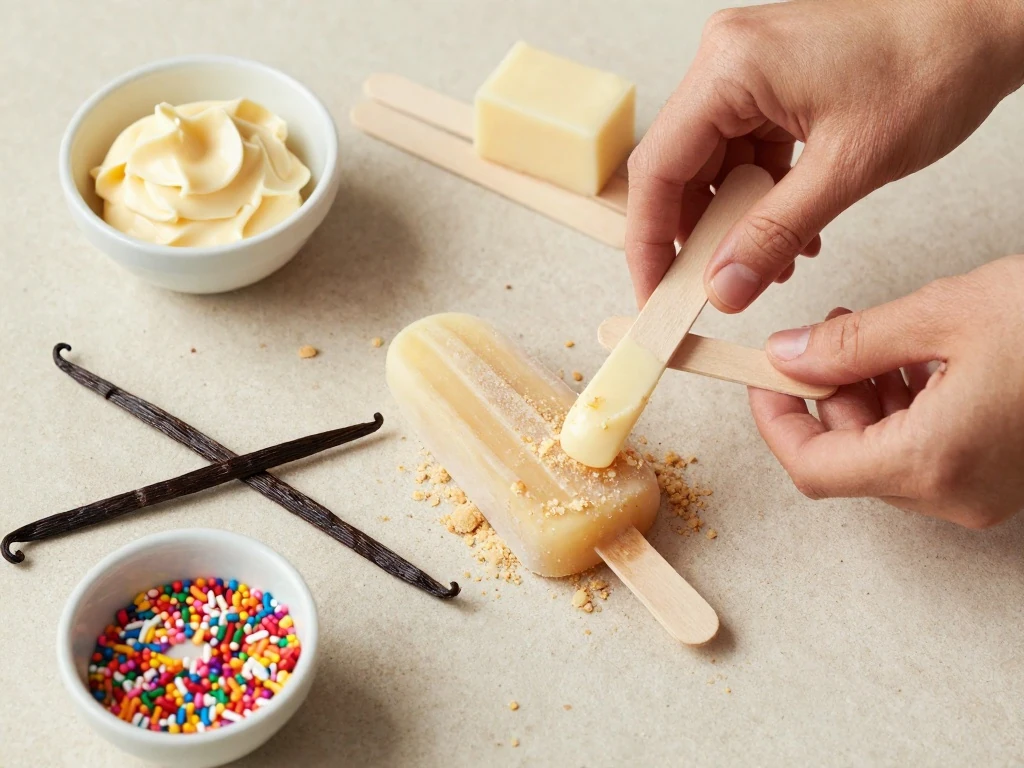
You will also need 8–10 wooden popsicle sticks and any decorations you like. Vanilla extract is optional, but ½ teaspoon can add a warm bakery note to a mild cake filling.
How to Make It Step-by-Step
Step 1: Bake the cake according to the package directions if using a mix, or bake your chosen 8-inch cake until done. The baking time is generally 25–30 minutes, and the cake must cool completely so the buttercream does not melt into a greasy mixture.
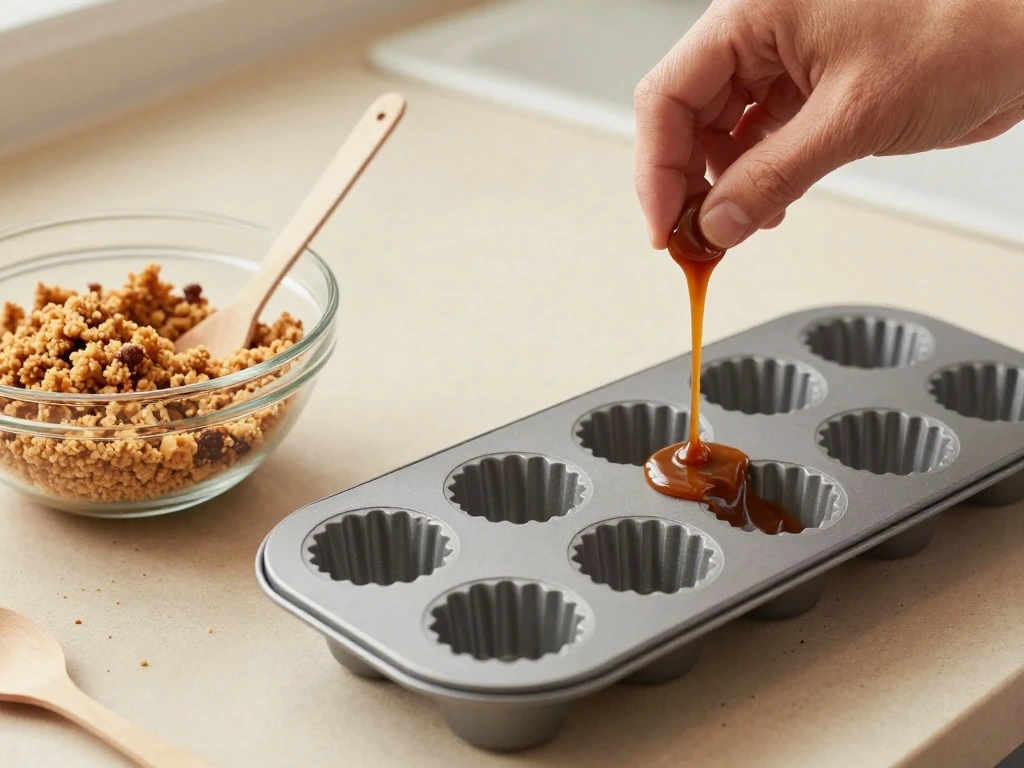
Step 2: Break the cooled cake into very fine, even crumbs using your hands or a food processor. If you are using leftover cake, remove any very hard or deeply browned edges so the filling stays soft and smooth.
Step 3: Add the buttercream a little at a time, stirring thoroughly between additions. The mixture should resemble soft dough that holds together when pressed, not a wet or oily paste; stir in the optional vanilla extract if desired.
Step 4: Place about two-thirds of the candy melts or compound chocolate in a microwave-safe bowl. Heat in 20–30-second bursts, stirring after each one, until smooth, and add the shortening or coconut oil if the coating needs a more brushable consistency.
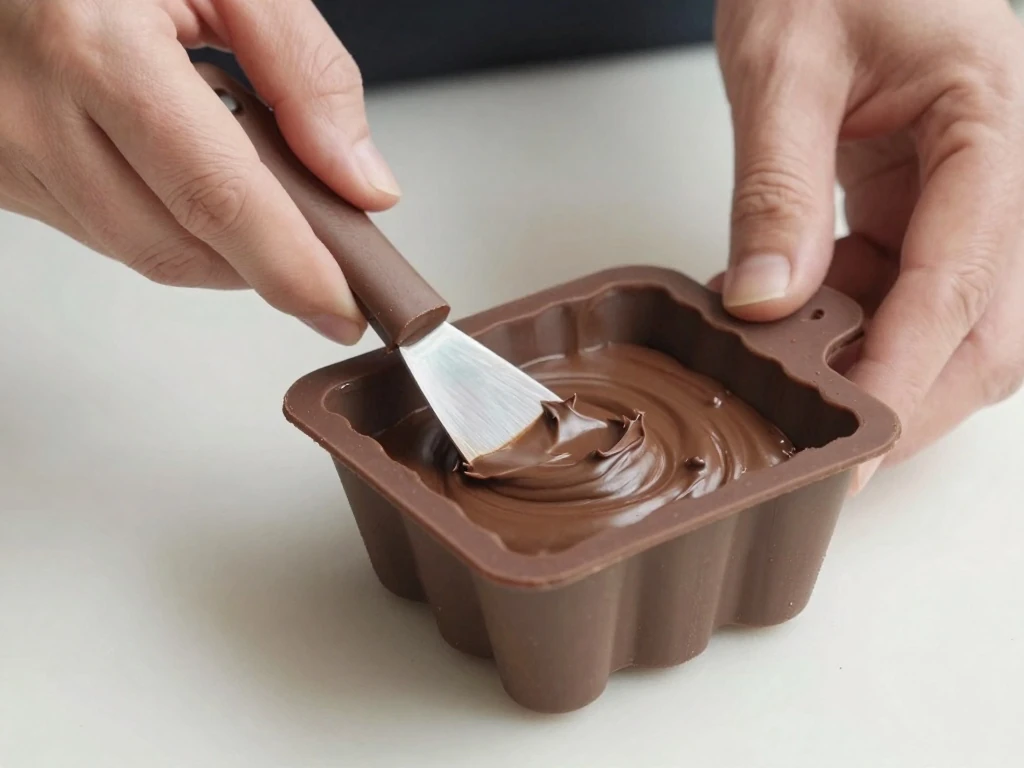
Step 5: Spoon approximately 1 tablespoon of melted coating into each cakesicle cavity. Brush or spread it across the base and sides in a fairly thick, even layer, especially near the rim and around the opening for the stick.
Step 6: Insert a wooden stick into every mold before the chocolate sets. Chill the molds for 5–10 minutes, checking that the shell feels firm rather than soft or tacky.
Step 7: Press the cake mixture into the shells, working it into the corners and firmly around each stick. Leave a small amount of room at the top so the final coating can close the cakesicle without overflowing.
Step 8: Spoon more melted coating over the filling and smooth it into a level back. Chill for 20–30 minutes, or until completely firm, before gently flexing the silicone mold and releasing the cakesicles.
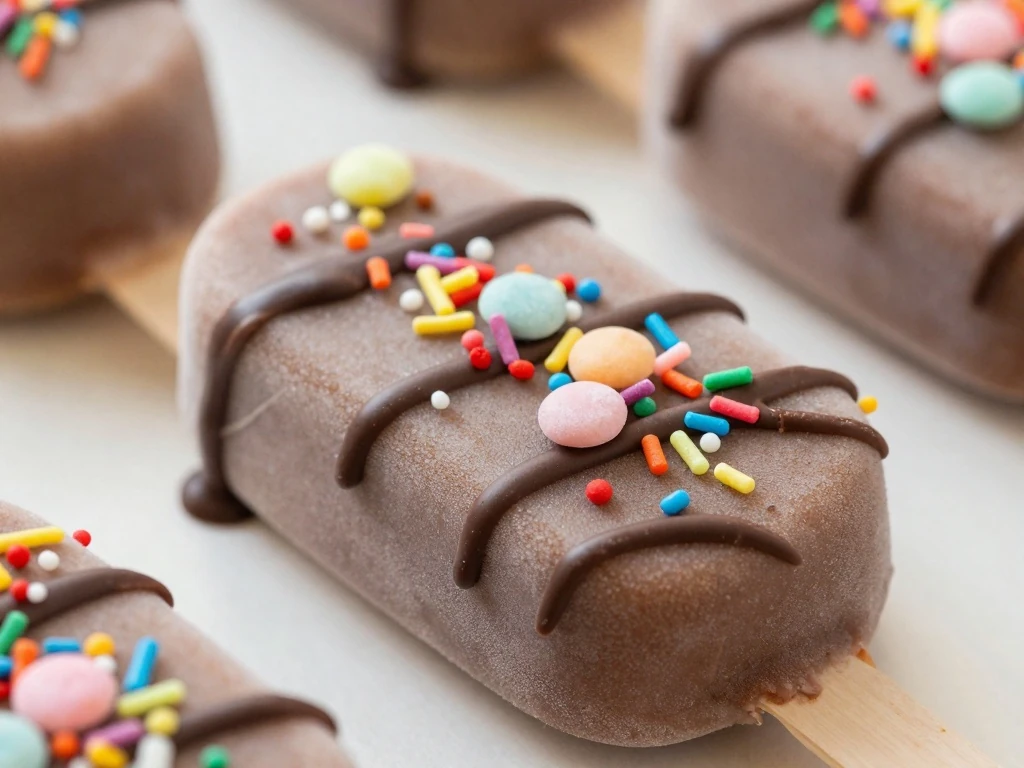
Step 9: Decorate the cakesicles with a drizzle of melted chocolate, sprinkles, or small accents made from colored candy melts. Let the finish set before arranging the treats on a platter or wrapping them individually.
Pro Tips for a Firm, Smooth Shell
The shell is the protective layer that lets a cakesicle hold its shape, so do not spread the first coating too thinly. A slightly thicker layer around the edges and stick opening helps prevent cracks when the silicone mold is flexed.
Adding frosting gradually is the most important filling tip. A useful starting point is about 2 parts cake crumbs to 1 part frosting by weight, but stop mixing as soon as the crumbs hold together; excess frosting can make the center soft, oily, and difficult to remove.
Keep the melted coating warm enough to spread but never hot enough to melt the cake filling. If it thickens while you work, return it to the microwave for a short 20-second burst and stir until smooth.
For clean edges, avoid overfilling the cavities. Press the cake mixture below the rim, then use a final layer of coating to seal the top, scraping away excess with a small spatula before chilling.
Decorating Ideas for Classic Cakesicles
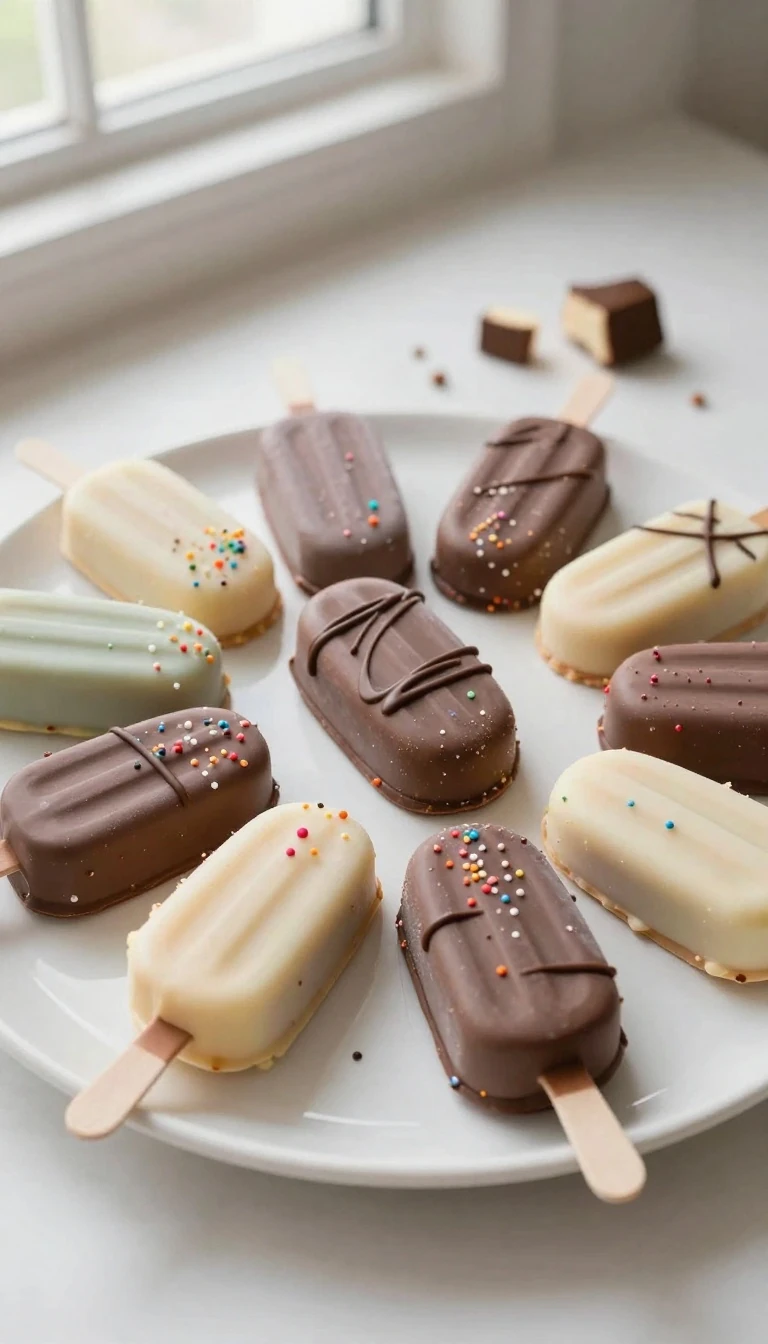
Classic vanilla cake with white candy melts looks beautiful with rainbow sprinkles, while chocolate cake pairs well with milk chocolate or dark compound coating. Pastel candy melts can turn the same simple recipe into a fitting dessert for baby showers, spring gatherings, or birthday tables.
For a simple finish, drizzle a contrasting color across the firm shell in thin lines. Add sprinkles while the drizzle is still soft so they adhere neatly rather than sliding off.
Use white shell coating with colorful confetti sprinkles for birthdays.
Try chocolate drizzle over vanilla shells for a bakery-style finish.
Add gold or silver sprinkles for an elegant celebration.
Match the candy-melt color to a party theme or seasonal table.
Storage & Serving
Store finished cakesicles in an airtight container in the refrigerator for 4–5 days. Place parchment between layers if stacking them, and keep the container away from strong-smelling foods because the shell can absorb nearby aromas.
Let the cakesicles sit briefly at room temperature before serving. This softens the cake center slightly while keeping the chocolate shell pleasantly firm.
If you are preparing them for an event, make the shells and filling ahead, decorate once the cakesicles are fully firm, and arrange them shortly before guests arrive. Their wooden sticks make them easy to serve without plates or forks.
Easy Cakesicles Recipe
Classic cakesicles made with fine cake crumbs, buttercream frosting, and a firm candy-melt shell. This recipe yields 8–10 treats and is ideal for birthdays, bake sales, celebrations, and easy homemade gifts.
1cake, about 300-350 g crumbsBaked 8-inch (20-cm) cake, cooled and finely crumbled
150-175g, approximately ½-¾ cupButtercream frosting
½teaspoonVanilla extract, optional
Chocolate Shell
400-500gCandy melts, almond bark, or compound chocolate
1teaspoonVegetable shortening or coconut oil, optional
Finishing
8-10sticksWooden popsicle sticks
As neededSprinkles, drizzle, or other decorations
Optional Easy Cake Base
1box, about 430-450 gCake mix
3 eggs, 240 ml water, 120 ml oilCake mix ingredients, commonly eggs, water, and vegetable oil
Method
Step-by-Step
Bake an 8-inch cake from scratch or prepare a 430–450 g boxed cake mix according to its package directions, commonly using 3 eggs, 240 ml water, and 120 ml vegetable oil. Bake for 25–30 minutes, or according to the package, then cool the cake completely before continuing.
Break the cooled cake into very fine crumbs, trimming away any very hard or browned edges from leftover cake. Add the buttercream gradually, mixing after each addition until the crumbs hold together like soft dough.
Melt about two-thirds of the candy melts, almond bark, or compound chocolate in a microwave-safe bowl using 20–30-second bursts. Stir well after every burst, and mix in 1 teaspoon of shortening or coconut oil if the coating needs to be thinner.
Spoon about 1 tablespoon of melted coating into each cakesicle cavity. Use a pastry brush or small spatula to cover the base and sides thoroughly, paying special attention to the edges and stick opening.
Insert one wooden popsicle stick into each mold while the coating is still soft. Chill the filled molds for 5–10 minutes, until the first shell is firm enough to hold its shape.
Press the cake mixture into each chilled shell, leaving a small amount of room at the top for the final chocolate layer. Pack the mixture firmly around the stick and into the corners, but stop before compressing it into a heavy, dense paste.
Cover each cake filling with more melted coating and smooth the surface with a small spatula. Chill the cakesicles for 20–30 minutes, or until the shell is completely firm.
Gently flex the silicone mold to release each cakesicle instead of pulling forcefully on the stick. Finish with melted chocolate, sprinkles, or colored candy melts, then allow the decorations to set before serving.
Notes
A useful starting ratio is about 2 parts cake crumbs to 1 part frosting by weight. Refrigerated cakesicles keep for 4–5 days in an airtight container; let them sit briefly at room temperature before serving.
Final Thoughts
This easy cakesicles recipe is a dependable way to turn a simple cake into a charming, chocolate-coated treat. With fine crumbs, just enough buttercream, and a properly chilled shell, you get a soft center and a neat finish in every bite.
Remember to build a sturdy first chocolate layer, add the frosting slowly, and give the cakesicles enough time to firm up before removing them from the mold. Once you have mastered the classic version, change the cake flavor, shell color, and decorations to create a new batch for any occasion.
Make these cakesicles ahead, keep them chilled in an airtight container, and allow them a brief rest at room temperature before serving. They are simple, festive, and wonderfully satisfying for both everyday baking and special celebrations.