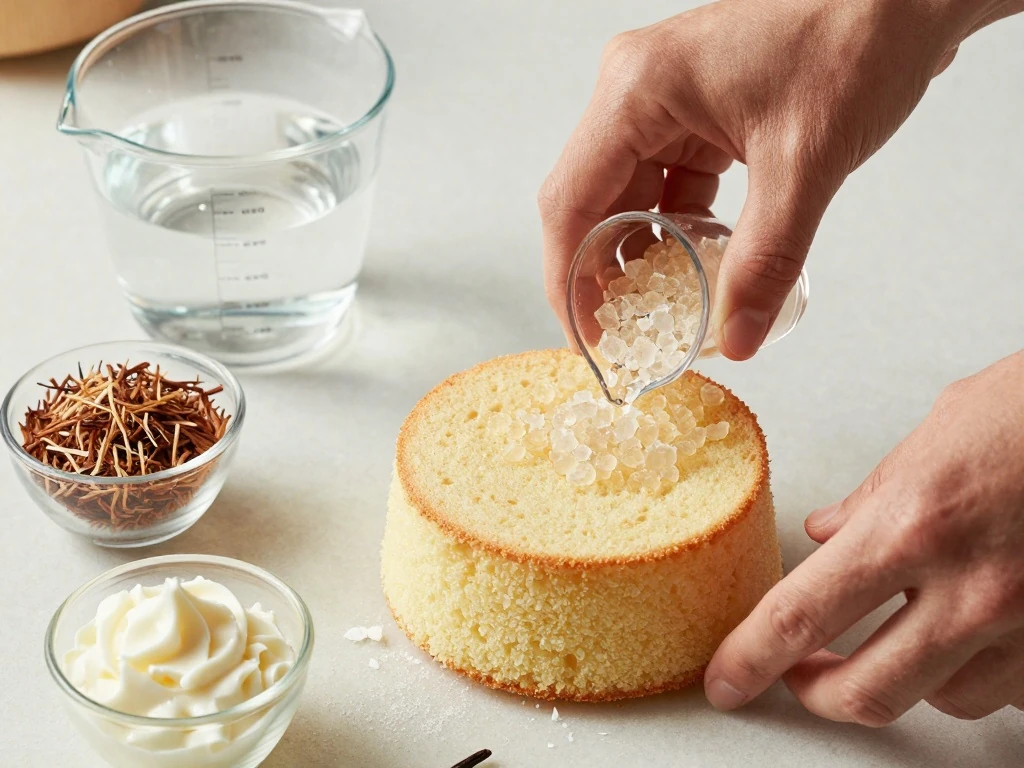
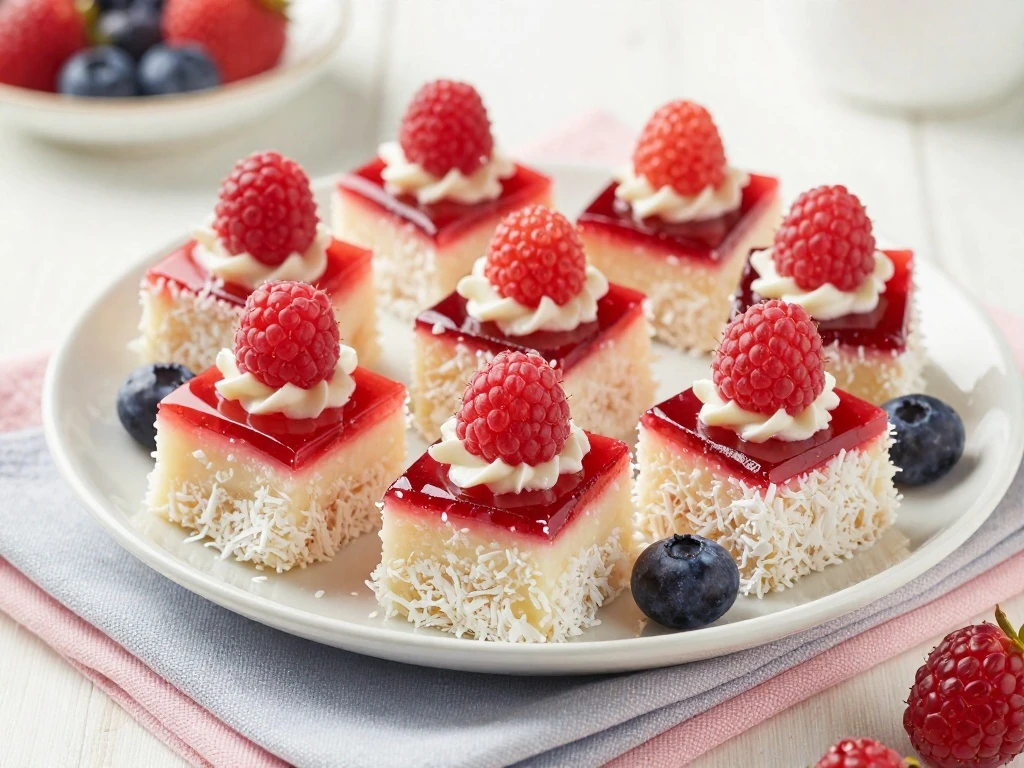
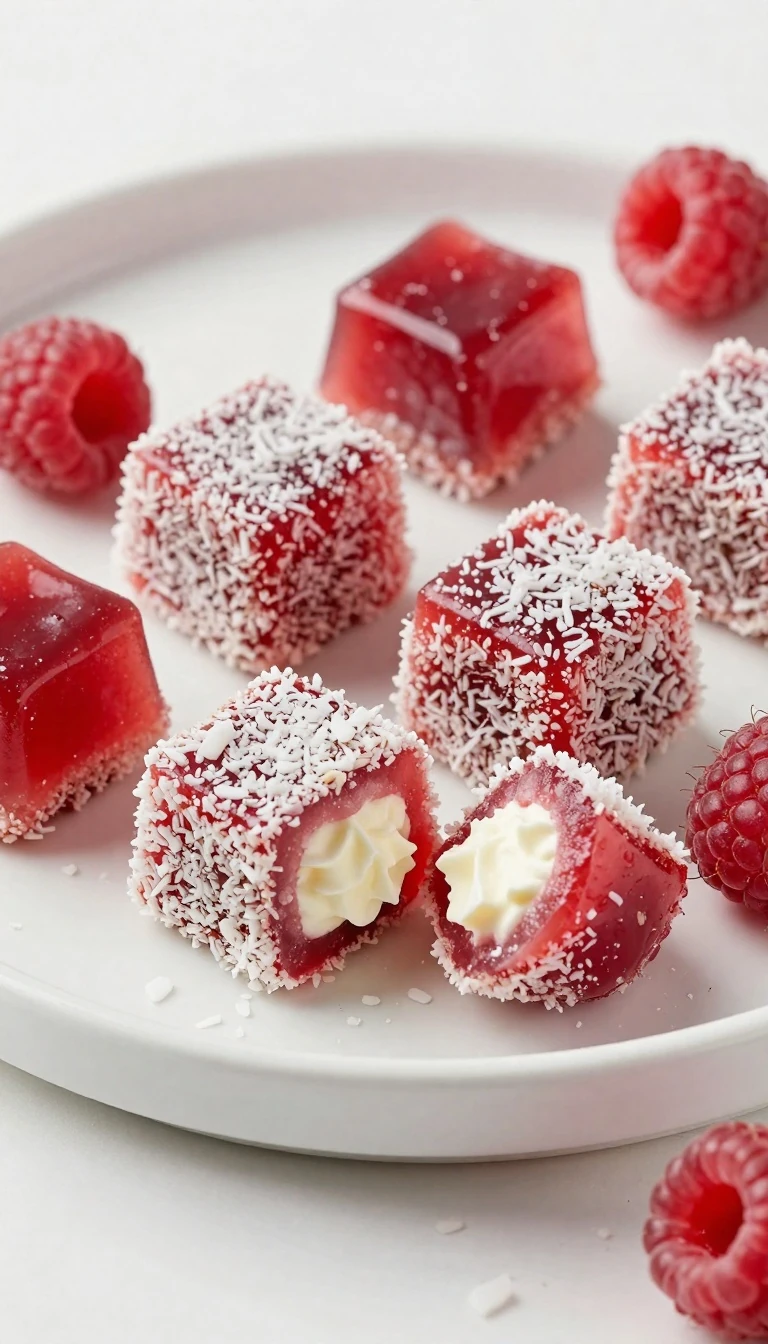
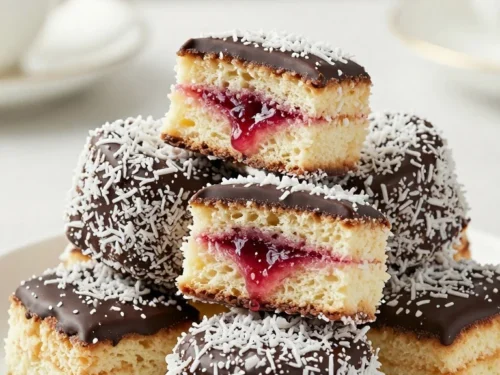
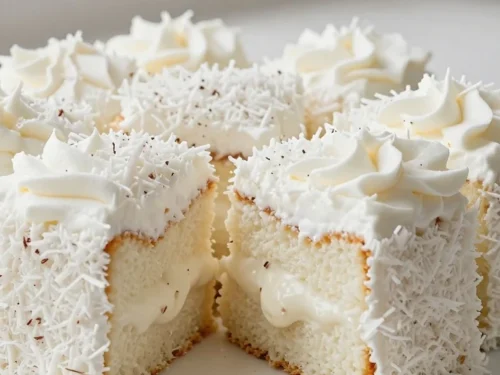
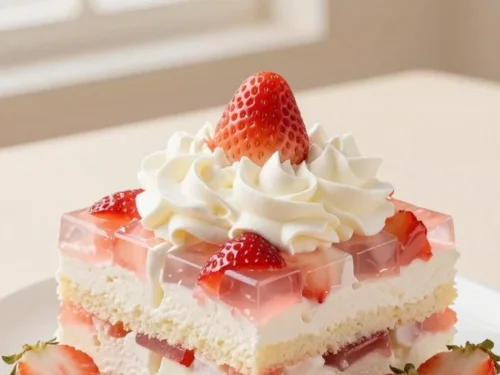
This jelly cake recipe makes classic Australian-style treats from a plain sponge cake, raspberry or strawberry jelly, desiccated coconut, and sweetened whipped cream. The sponge is cut into small squares, briefly dipped in cool, partly thickened jelly, rolled in coconut, chilled, then split and filled with cream.
Every bite combines tender vanilla sponge, bright berry flavor, a pleasantly chewy coconut coating, and cloud-soft cream. Using a purchased day-old sponge keeps preparation simple, and the finished cakes are ready in about 1½–2½ hours, including 1–2 hours of chilling time.
Jelly cakes are wonderfully simple, but they look like something made for a special party table. Their jewel-colored coating makes each square cheerful, while the coconut gives the outside a snowy finish and a gentle texture.
The flavor is balanced rather than overly sweet. Berry jelly brings a lively fruit note, the sponge adds a mild buttery sweetness, and whipped cream softens every mouthful.
This is also a practical occasion dessert because the cake requires no cooking when you start with a purchased sponge. It is a lovely choice for afternoon tea, school celebrations, birthdays, baby showers, Christmas gatherings, or a nostalgic Australian-style dessert platter.
If you enjoy chilled layered desserts for celebrations, you may also like this airy party cake, which has the same crowd-friendly appeal in a different format.
Ingredients You’ll Need
The ingredient list is short, so the quality and temperature of each item matter. Choose one packet of raspberry or strawberry jelly crystals, about 85 g (3 oz), for the colorful outer coating.
Jelly: 1 packet raspberry or strawberry jelly crystals, 250 ml (1 cup) boiling water, and 250 ml (1 cup) cold water.
Sponge: 1 plain sponge cake, about 20 cm (8 in) round or square. A purchased cake is convenient, and a day-old sponge is easier to dip.
Coconut: 1–1½ cups, or about 90–135 g, of desiccated coconut for rolling.
Cream filling: 300 ml (1¼ cups) chilled thickened or heavy cream, 2 tablespoons icing sugar, and 1 teaspoon vanilla extract if desired.
Desiccated coconut is the traditional choice because its fine strands cling neatly to the jelly. Keep the cream refrigerated until you are ready to whip it, and have a lined tray ready before dipping begins.
How to Make It Step-by-Step
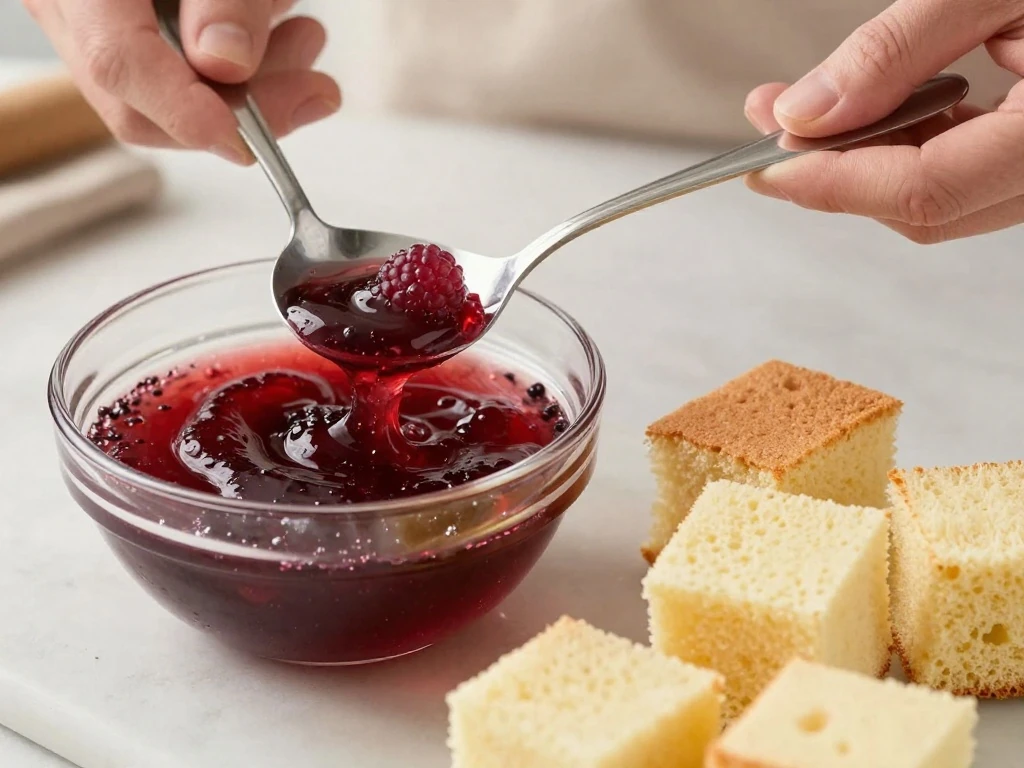
Step 1: Prepare the jelly coating first. Stir the jelly crystals into the boiling water until completely dissolved, then add the cold water and refrigerate the mixture for approximately 1 hour, or until it is cold and beginning to thicken without becoming firm.
Step 2: Prepare the sponge while the jelly chills. Trim away any uneven edges if necessary, then cut the cake into neat 4–5 cm (1½–2 in) squares or cubes; uniform pieces will be easier to dip and serve.
Step 3: Set up the coating station. Put the coconut in a shallow dish, line a tray with baking paper, and place the chilled, partly thickened jelly nearby so each cake can move quickly from jelly to coconut.
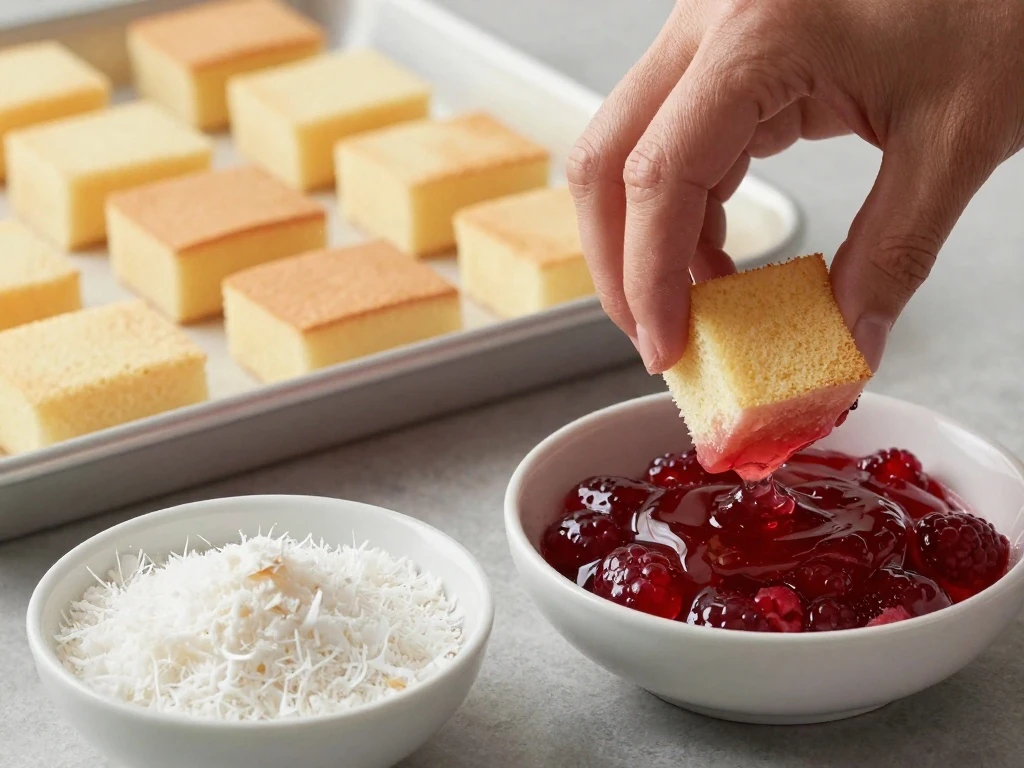
Step 4: Dip one sponge piece briefly into the jelly, turning it gently to cover all sides. Lift it out promptly rather than leaving it submerged, since a long soak can make the sponge fragile and wet.
Step 5: Roll the coated sponge in the coconut immediately. Turn it with care until the jelly surface is covered, then place it on the lined tray and repeat with the remaining sponge pieces.
Step 6: Refrigerate the coconut-coated cakes for 30–60 minutes. This short chill allows the jelly coating to firm and makes the cakes easier to split without tearing.
Step 7: Make the cream filling just before assembling. Whip the chilled cream with the icing sugar and optional vanilla until soft-to-medium peaks form; stop as soon as the cream holds its shape, because over-whipping can make it grainy.
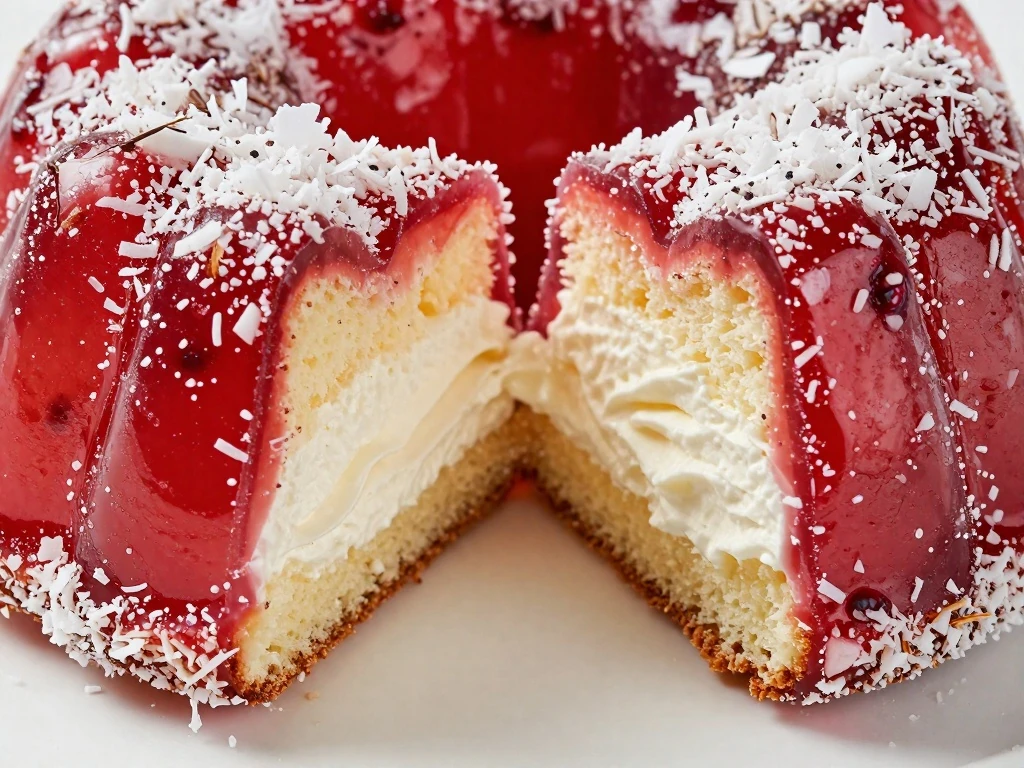
Step 8: Split each jelly cake horizontally with a small serrated knife. Pipe or spoon whipped cream onto the bottom half, replace the top, and chill the finished cakes until you are ready to serve them.
How to Get the Jelly Texture Right
The jelly stage is the most important detail in this recipe. It should be cool and just beginning to thicken, with enough fluidity to coat the sponge but enough body to stay on its surface.
If the jelly is completely liquid, it may soak deeply into the cake and make the squares difficult to handle. If it has fully set, it will resist the sponge and create an uneven coating.
Check it after about an hour. If it still looks very thin, return it to the refrigerator for a little longer and stir gently before dipping.
Pro Tips for Neat, Fluffy Jelly Cakes
Use a slightly stale or day-old sponge whenever possible. Fresh sponge is delicate and can crumble or compress during dipping, while a day-old cake absorbs flavor without breaking apart as easily.
Cut the sponge with a sharp knife for clean edges.
Work with one cake at a time so the jelly does not sit on the sponge longer than necessary.
Use two forks or a small pair of tongs for turning, but avoid squeezing the cake.
Keep the coconut dish shallow so you can roll each piece without pressing down.
Whip the cream to soft-to-medium peaks for a tender filling that is easy to pipe or spoon.
Chill the coated cakes before cutting them so the jelly and coconut have time to firm.
For another celebration-friendly bake with a distinctive texture, take a look at this crunchy occasion cake. It makes a useful addition to a dessert table when you want more than one style of treat.
Serving Ideas for Special Occasions
Arrange the jelly cakes in rows on a white platter so the berry color and coconut coating stand out. For a relaxed gathering, place them in small paper cases, which makes them easier to pick up and keeps the cream from touching the serving plate.
Raspberry jelly pairs naturally with fresh raspberries, while strawberry jelly works beautifully with sliced strawberries. A few berries around the platter provide color without changing the traditional recipe.
Serve the cakes chilled alongside tea, coffee, or a glass of cold milk. Because each piece is small and rich enough to feel special, they are well suited to buffets where guests want to sample several desserts.
Storage and Make-Ahead Advice
Jelly cakes are best served fresh while the cream is light and the coconut remains pleasantly textured. Keep filled cakes refrigerated in a covered container until serving.
You can prepare the jelly and coat the sponge pieces ahead of time, then chill them for 30–60 minutes before filling. For the freshest cream, whip it and assemble the cakes close to serving time.
Do not leave cream-filled cakes at room temperature for extended periods. If you are preparing a large party spread, take out only the number you expect to serve and return the rest to the refrigerator.
If you prefer a fruit-forward cake made with a convenient mix, this easy peach cake idea is another welcoming option for family occasions.
Jelly Cake Recipe
Small Australian-style sponge cakes soaked in raspberry or strawberry jelly, coated with desiccated coconut, and filled with lightly sweetened whipped cream. They are colorful, nostalgic, and ideal for afternoon tea, birthdays, picnics, and celebrations.
1packet, about 85 g (3 oz)Raspberry or strawberry jelly crystals
250ml (1 cup)Boiling water
250ml (1 cup)Cold water
Cake and Coating
120 cm (8 in) round or square cakePlain sponge cake, preferably day-old
1–1½cups, about 90–135 gDesiccated coconut
Whipped Cream Filling
300ml (1¼ cups)Thickened or heavy cream, chilled
2tablespoonsIcing or confectioners’ sugar
1teaspoon, optionalVanilla extract
Method
Step-by-Step
Dissolve the jelly crystals in 250 ml (1 cup) of boiling water, stirring until no crystals remain. Stir in 250 ml (1 cup) of cold water, then refrigerate for approximately 1 hour, until the jelly is cold and beginning to thicken but is not fully set.
Trim the sponge if needed and cut it into small 4–5 cm (1½–2 in) squares or cubes. Place the desiccated coconut in a shallow dish and line a tray with baking paper.
Dip each sponge piece briefly into the partly thickened jelly, turning carefully to coat all sides. Do not leave the cake submerged, because it can absorb too much liquid and become soggy.
Immediately roll each jelly-coated sponge piece in the coconut until the outside is covered. Set the coated cakes on the lined tray and refrigerate for 30–60 minutes, until the coating firms.
Whip the chilled cream with the icing sugar and optional vanilla until soft-to-medium peaks form. Split each chilled jelly cake horizontally, pipe or spoon in the whipped cream, and replace the top.
Chill the filled cakes until serving so the cream stays cool and the layers hold together. Serve fresh from the refrigerator for the best contrast between the soft cake, coconut, jelly, and cream.
Notes
A slightly stale or day-old sponge absorbs the jelly more successfully than a very fresh cake. The jelly must be cool and only partly thickened: completely liquid jelly can make the sponge wet, while fully set jelly will not coat evenly. Keep filled cakes refrigerated and serve chilled.
Final Thoughts
This jelly cake recipe turns a simple sponge into a bright, nostalgic Australian treat with very little fuss. The key is patience: chill the jelly until partly thickened, dip each cake briefly, coat it straight away in coconut, and give the finished pieces time to firm before adding cream.
Once assembled, the cakes are soft, fruity, creamy, and wonderfully easy to share. Make them with raspberry or strawberry jelly, arrange them on your prettiest platter, and enjoy a dessert that brings color and homemade charm to any occasion.