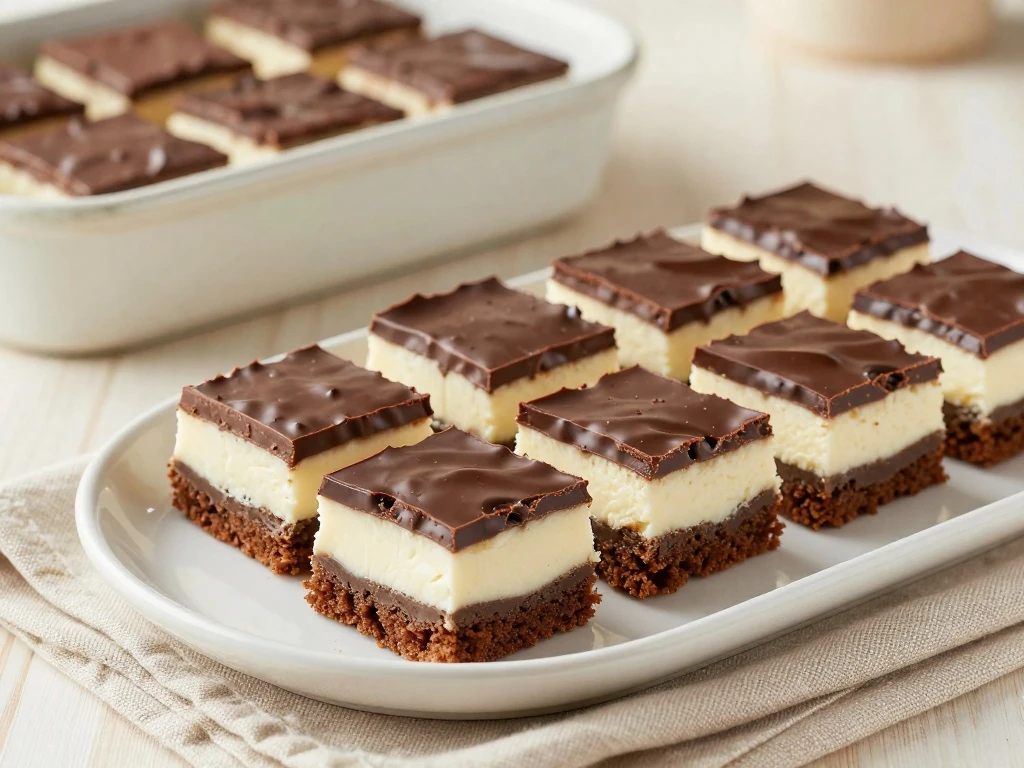
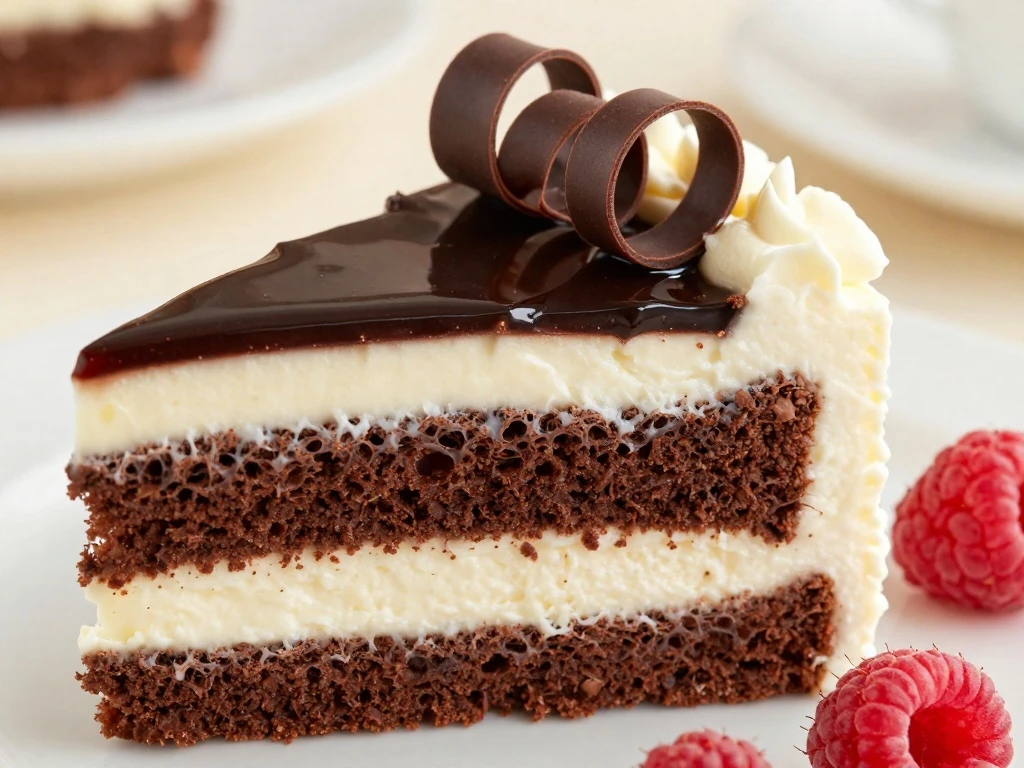
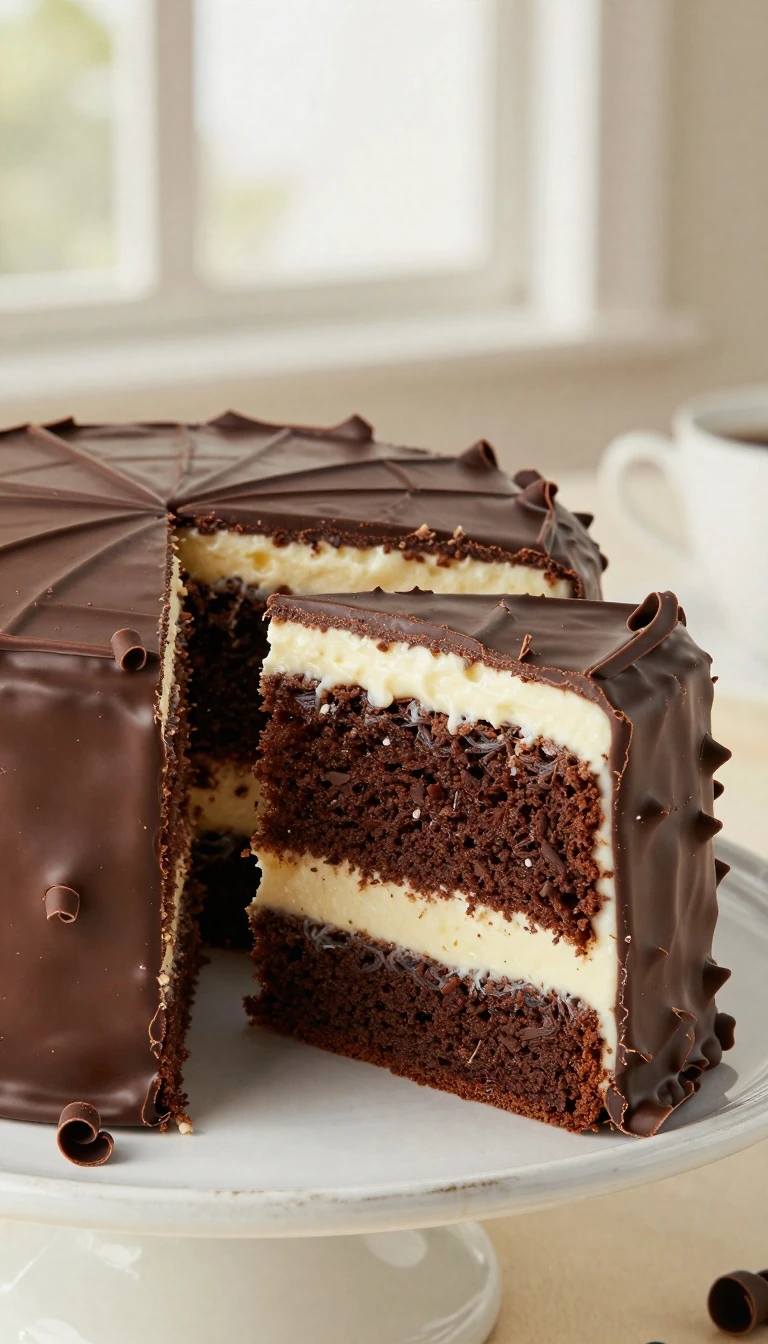
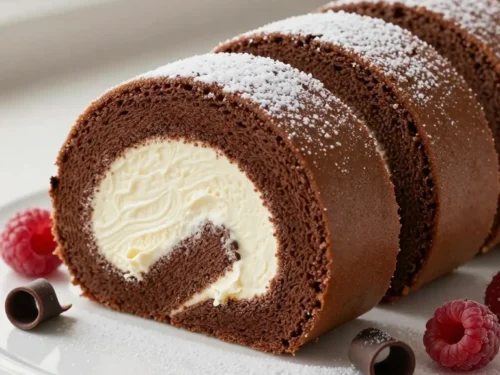
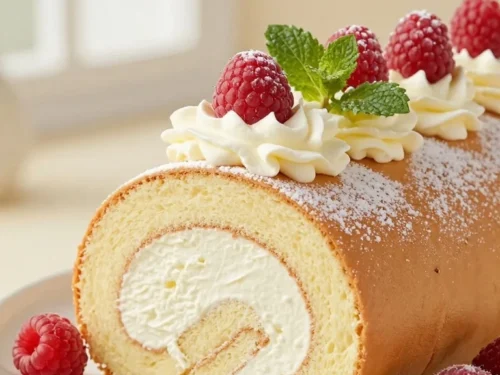
This nostalgic Ho Ho cake recipe makes a tender chocolate sheet cake filled with sweet, fluffy vanilla cream and covered in glossy chocolate ganache. Bake the cake in a 9×13-inch pan, spread on the cooked cream filling, roll or layer it according to your preferred presentation, then finish it with a smooth chocolate topping for a homemade version of the classic snack cake.
Every bite brings together soft chocolate cake, cool marshmallow-like filling, and rich chocolate frosting. It is an easy dessert for birthdays, potlucks, holidays, or any afternoon when you want the familiar taste of a chocolate cream snack cake made from scratch.
This Ho Ho cake has all the charm of a lunchbox favorite, but the homemade version tastes fresher and more generous. The chocolate cake stays tender from the buttermilk and oil, while the cooked flour filling creates a creamy center that is sweet without being heavy.
The recipe is also forgiving. You do not need special cake-decorating equipment, and the ganache hides small imperfections while giving the finished dessert a polished chocolate finish.
Classic flavor: Chocolate, vanilla cream, and glossy ganache make a familiar combination.
Easy preparation: The cake bakes in one rectangular pan and is finished with simple spreading and chilling.
Make-ahead friendly: The dessert slices beautifully after a few hours in the refrigerator.
Party ready: Small bars are easy to arrange on a dessert tray and serve without plates and forks.
Ingredients You’ll Need
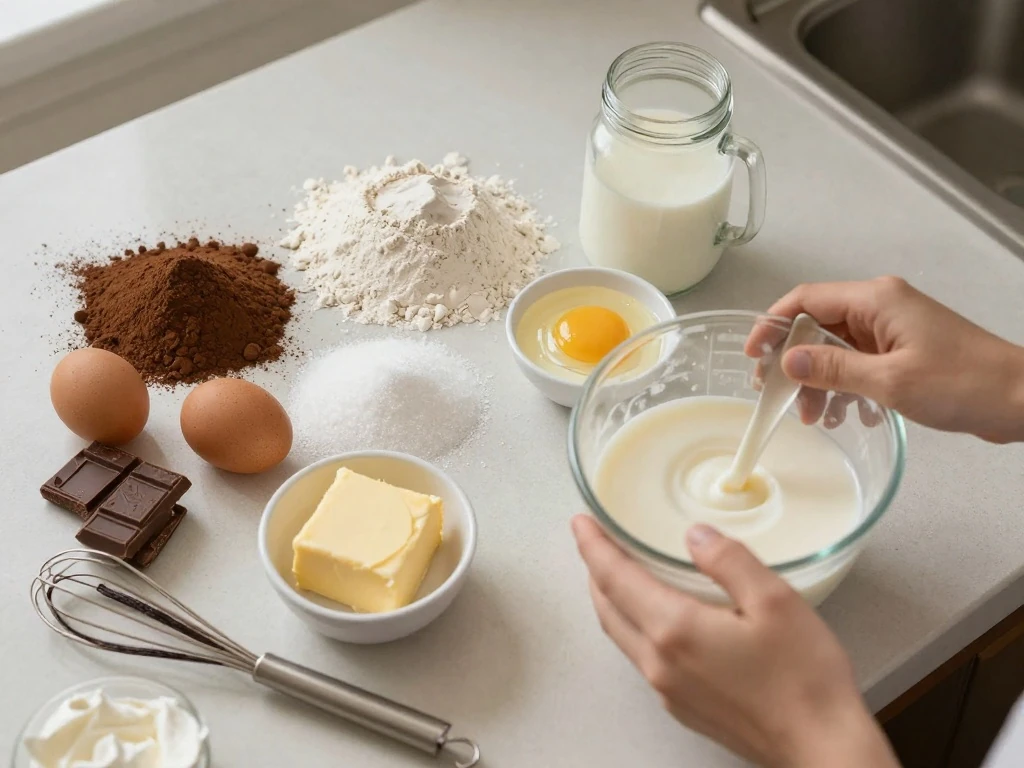
The cake begins with everyday pantry ingredients, including flour, cocoa powder, sugar, eggs, buttermilk, and oil. Dutch-process or natural cocoa powder can work here, although natural cocoa gives the cake a slightly brighter chocolate flavor when paired with baking soda.
Buttermilk adds gentle tang and helps keep the crumb soft. If you do not have buttermilk, stir 1 tablespoon of lemon juice into a cup of milk and let it stand for 5 minutes before using it.
The filling uses a cooked milk-and-flour base. This old-fashioned method may seem unusual, but cooling the mixture fully before adding it to the butter is the key to a silky, stable cream that does not taste floury.
For the topping, use semisweet chocolate for a balanced flavor. Dark chocolate creates a deeper finish, while milk chocolate makes the cake sweeter and closer to a candy-counter style treat.
How to Make It Step-by-Step
Step 1: Begin by heating the oven to 350°F and preparing the pan with grease and parchment. The parchment overhang acts like a sling, making it much easier to move the chilled cake without damaging the soft layers.
Step 2: Combine the dry ingredients before adding the wet ingredients. Once the batter comes together, stir in the boiling water slowly; it will look thin, but that liquid produces a moist, tender chocolate crumb.
Step 3: Bake until the center springs back lightly when touched. Avoid overbaking, because even a few extra minutes can make a thin sheet cake dry around the edges.
Step 4: Cool the cake completely before adding the filling. Warm cake will soften the cream and can cause it to slide, so allow at least 45 minutes of cooling time before assembling.
Step 5: Cook the flour and milk together until the mixture thickens. Scrape the bottom and corners of the saucepan constantly to prevent lumps, then cover the surface while it cools to keep a skin from forming.
Step 6: Whip the butter and sugars until very light before incorporating the cooled milk mixture. Add the milk mixture gradually, and keep beating until the filling changes from slightly loose to fluffy and spreadable.
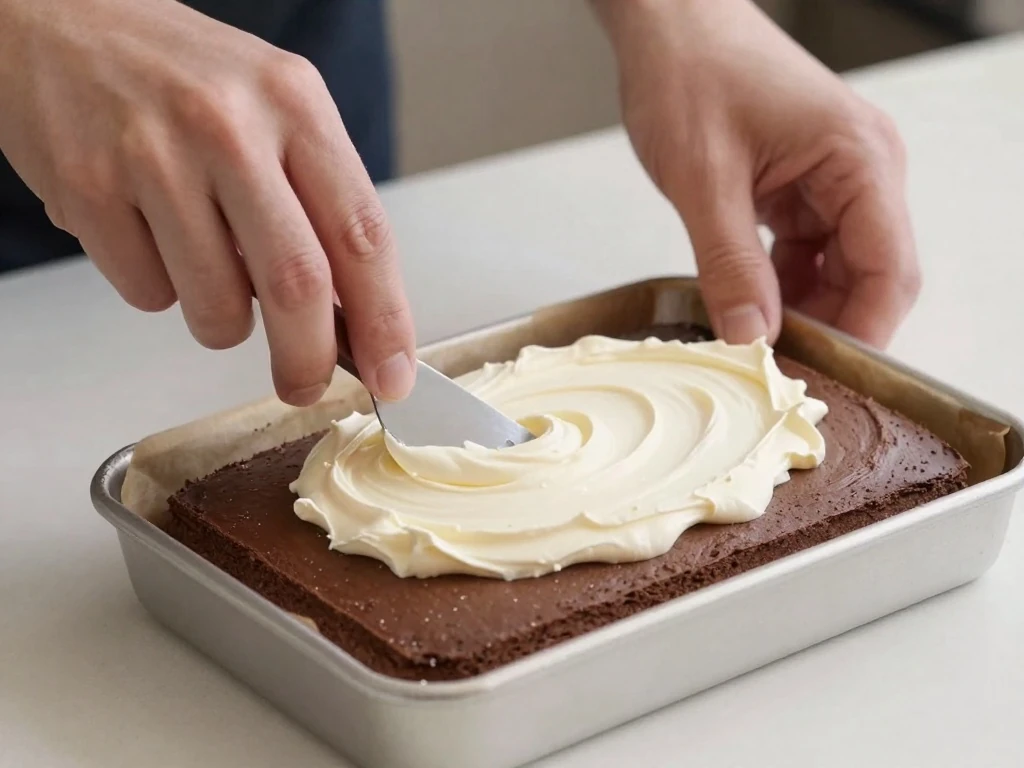
Step 7: Spread the filling in an even layer over the cake. A small offset spatula works well, but the back of a spoon is perfectly suitable for creating a smooth surface.
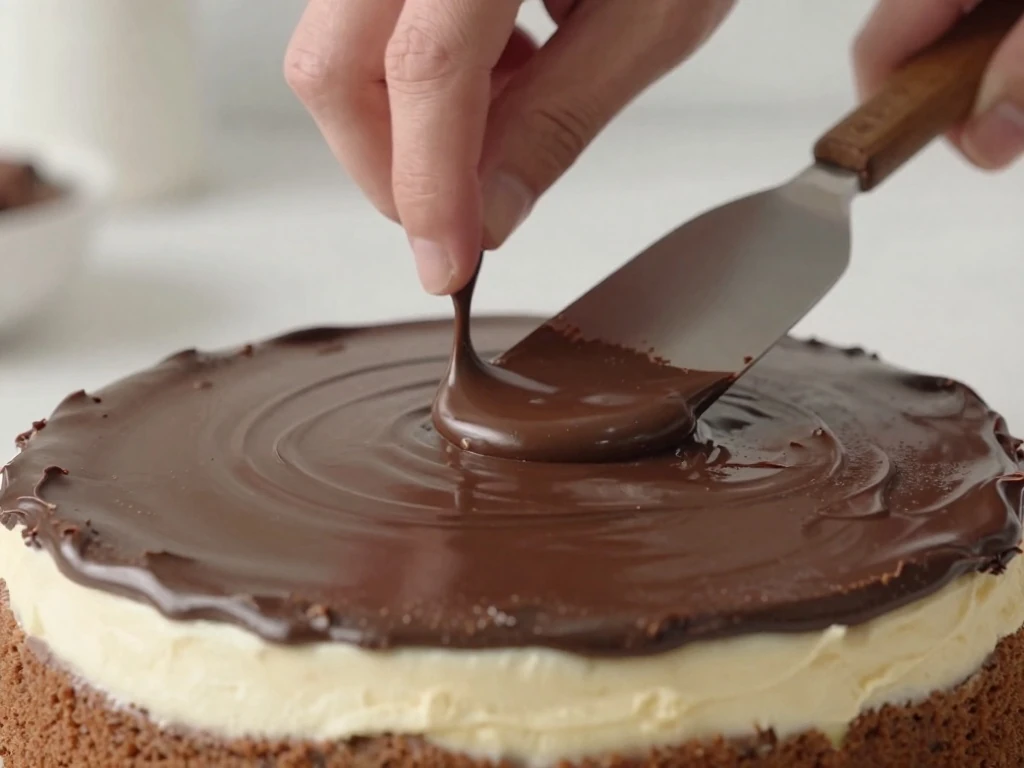
Step 8: Prepare the ganache by pouring hot cream over the chocolate and allowing it to sit briefly. Whisk from the center outward until the mixture turns shiny, then stir in the butter for extra smoothness.
Step 9: Cover the chilled filling with ganache and refrigerate until firm. For the neatest bars, use a long sharp knife warmed under hot water, dry it carefully, and make one clean cut at a time.
Pro Tips for the Best Ho Ho Cake
Measure flour by spooning it into a dry measuring cup and leveling the top. Too much flour can make the cake dense and can also make the filling stiff, so accurate measuring matters in both components.
Bring the butter to cool room temperature rather than melting it. Soft butter traps air when beaten, which gives the filling its light texture and prevents a greasy mouthfeel.
Use room-temperature eggs and buttermilk for a smoother batter.
Do not pour ganache over warm filling; the layers should be cold and firm.
If the ganache becomes too thick, warm it gently for a few seconds and stir.
If the filling looks curdled, continue beating; the mixture often becomes smooth as it warms slightly.
Trim the cake edges only if you want perfectly straight sides.
For a fun snack-cake appearance, cut the cake into narrow rectangles and drizzle a little extra ganache across the top. A few chocolate curls or a light dusting of cocoa powder also make the bars look special without adding much work.
Serving Suggestions
Serve Ho Ho cake cold for the firmest cream layer, or let it rest at room temperature for 10 to 15 minutes so the chocolate topping softens slightly. The flavor is especially good with coffee, cold milk, or a scoop of vanilla ice cream.
For birthdays, arrange the bars on a platter with the cut sides facing up so the white filling shows clearly. You can also add colorful sprinkles immediately after spreading the ganache, while the topping is still soft.
If you prefer a more dramatic dessert, serve larger squares with fresh raspberries or sliced strawberries. The fruit adds brightness to the rich chocolate and makes the cake feel right at home on a holiday dessert table.
Storage and Make-Ahead Advice
Keep the finished cake covered in the refrigerator for up to 4 days. A cake carrier or a tightly sealed container prevents the chocolate from absorbing refrigerator odors and keeps the cream layer fresh.
The unfrosted cake can be baked one day ahead, cooled, wrapped well, and stored at room temperature. The filling can also be prepared a day ahead and refrigerated, but let it soften slightly and beat it again before spreading.
To freeze the cake, chill it until the ganache is firm, cut it into bars, and wrap each piece in plastic wrap followed by foil. Freeze for up to 2 months, then thaw the bars overnight in the refrigerator for the best texture.
Do not leave the completed cake at room temperature for more than 2 hours because the dairy-based filling needs to stay cold. If serving outdoors, place the platter over a bowl of ice or bring out small batches at a time.
Nostalgic Ho Ho Cake
A tender chocolate sheet cake is spread with sweet vanilla cream filling and covered in silky chocolate ganache. This nostalgic dessert has the familiar flavor of a classic Ho Ho snack cake in a generous homemade format.
2cupsSemisweet chocolate chips or chopped chocolate
1cupHeavy cream
2tablespoonsUnsalted butter
Method
Step-by-Step
Preheat the oven to 350°F. Grease a 9x13-inch baking pan, line it with parchment paper, and leave a little parchment overhang on the long sides for easy lifting.
Whisk the flour, sugar, cocoa powder, baking powder, baking soda, and salt in a large bowl. Add the eggs, buttermilk, oil, and vanilla, then beat until the batter is smooth before carefully stirring in the boiling water.
Pour the thin batter into the prepared pan and bake for 23 to 27 minutes. The cake is ready when the center springs back lightly and a toothpick inserted in the middle comes out with a few moist crumbs.
Cool the cake completely in the pan. For a classic layered Ho Ho shape, leave the cake in the pan; for a rolled presentation, lift it out, trim the edges, and work carefully because the cake is soft.
Make the filling by whisking the flour and milk in a saucepan over medium heat until thick and pudding-like, about 5 to 7 minutes. Transfer it to a bowl, press plastic wrap directly onto the surface, and cool it completely.
Beat the softened butter, confectioners' sugar, granulated sugar, and vanilla until pale and fluffy. Add the cooled milk mixture one spoonful at a time, beating well after each addition until the filling is smooth and airy.
Spread the cream filling evenly over the cooled cake, keeping the layer level from edge to edge. Chill the filled cake for at least 30 minutes so the filling firms before the chocolate topping is added.
Place the chocolate and butter in a heatproof bowl. Warm the heavy cream until steaming but not boiling, pour it over the chocolate, rest for 2 minutes, and whisk until glossy.
Pour the ganache over the chilled cake and spread it gently with an offset spatula. Refrigerate for at least 1 hour, then use the parchment handles to lift the cake and cut it into bars.
Notes
For clean slices, chill the cake thoroughly and wipe the knife between cuts. Store covered in the refrigerator for up to 4 days. Let slices sit at room temperature for 10 to 15 minutes before serving.
Final Thoughts
This nostalgic Ho Ho cake recipe turns a beloved packaged treat into a rich, homemade dessert with soft chocolate cake, creamy vanilla filling, and a smooth ganache crown. It is simple enough for a relaxed weekend bake but special enough to earn a place on a birthday or holiday table.
Take your time cooling each layer, beat the filling until fluffy, and chill the cake before slicing. Those small steps create tidy bars with a satisfying contrast of textures in every bite.
Make a batch when you want a dessert that feels familiar, comforting, and generous. Once your family tastes the homemade version, it may become the chocolate cake they request again and again.