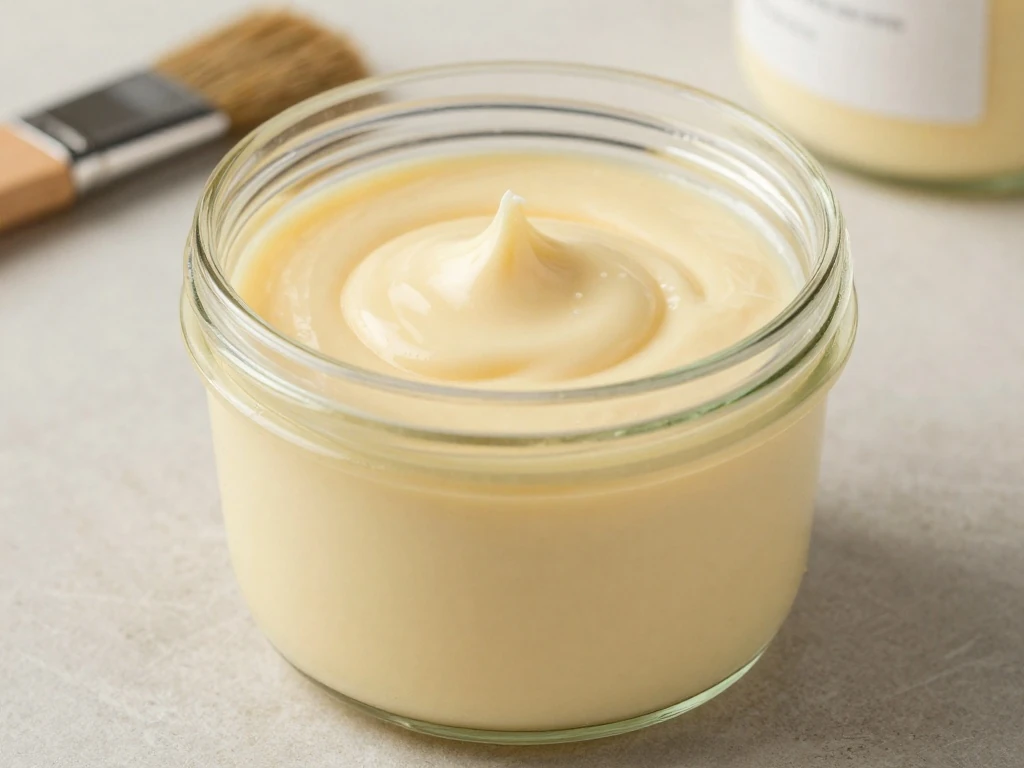
Never Fail Cake Goop is an easy homemade pan release made with equal parts vegetable shortening, neutral-flavored vegetable oil, and all-purpose flour. For the small batch, combine 1/2 cup of each ingredient, whisk until completely smooth, then brush a thin, even coating over the bottom and sides of your cake pan before adding batter.
This no-cook cake release helps cakes turn out of ordinary, shaped, tube, and decorative pans with clean edges and fewer broken corners. The mixture is smooth and brushable, and when used correctly, it usually eliminates the need for parchment paper while leaving your cake’s crust intact rather than greasy.
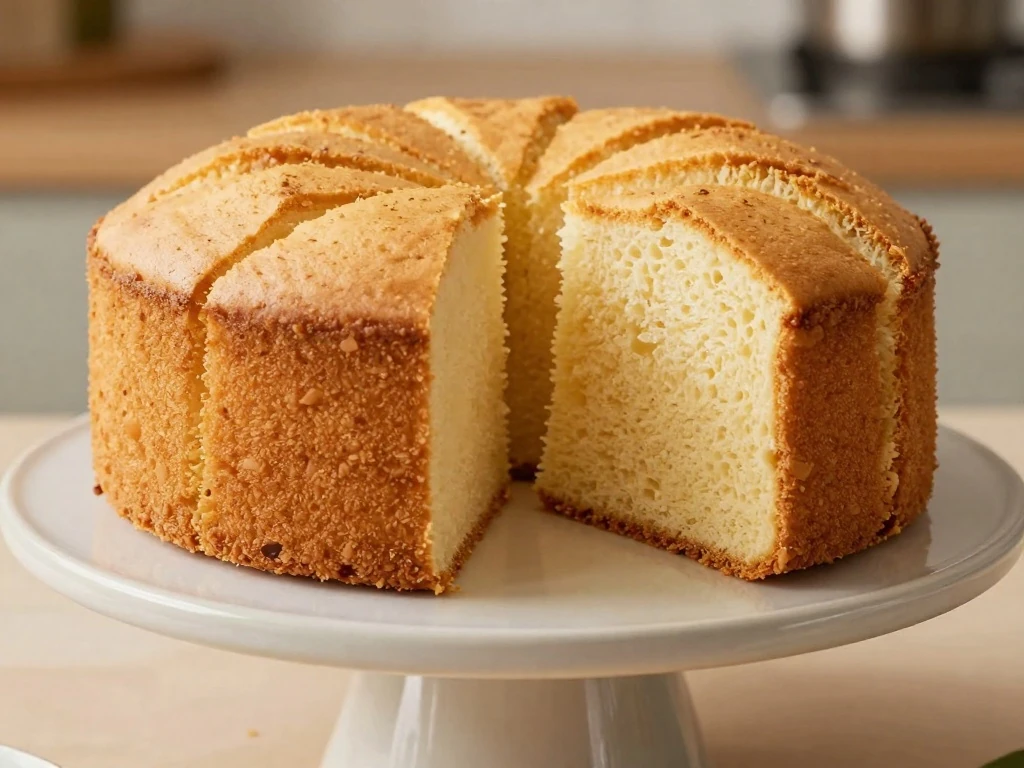
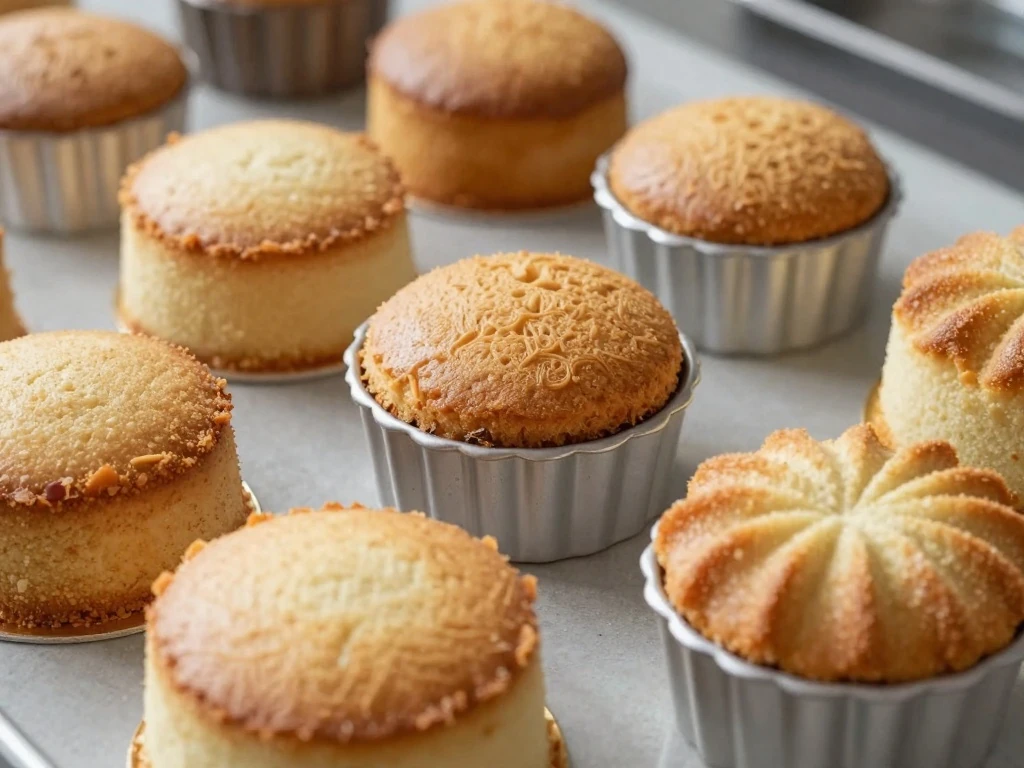
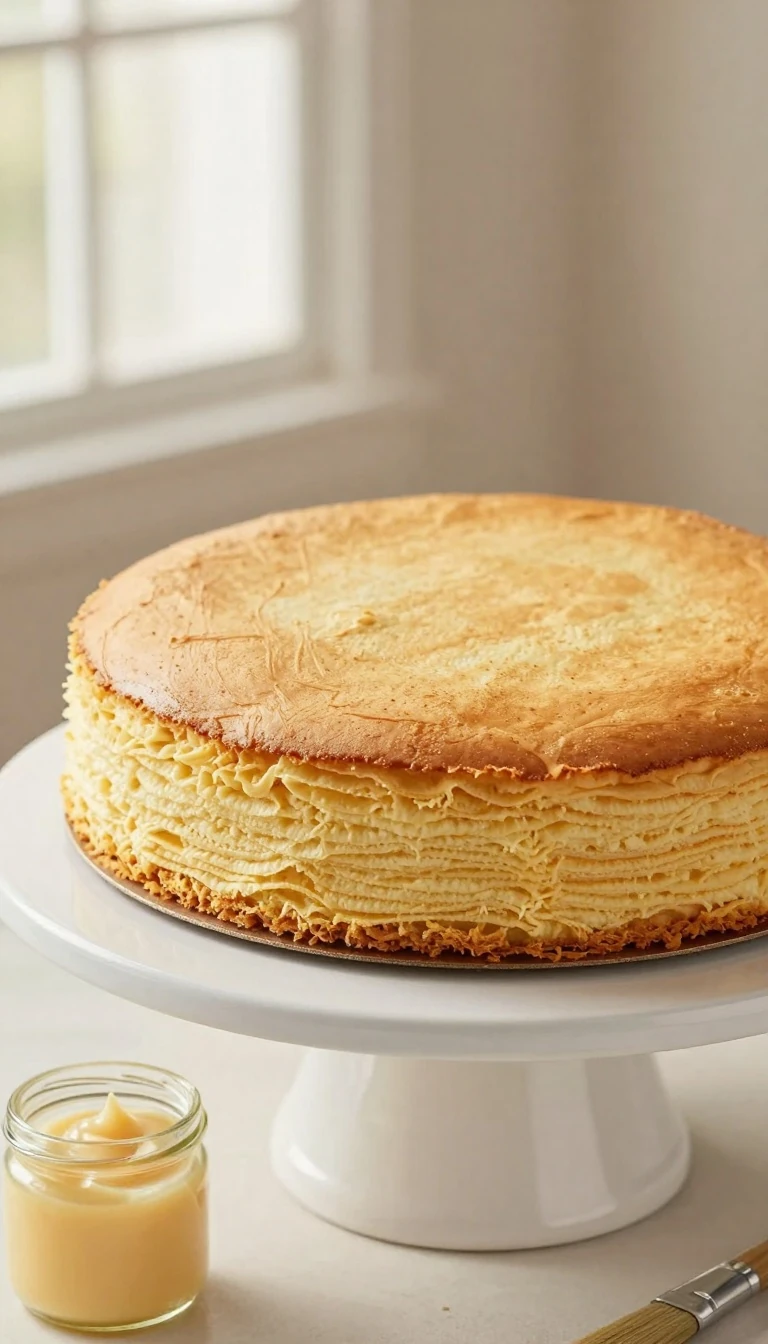
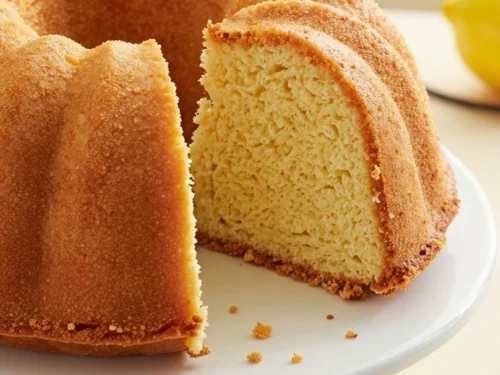
There is nothing more disappointing than baking a beautiful cake only to have half of it cling to the pan. This Never Fail Cake Goop recipe gives you a dependable, homemade coating that helps cakes release with their sides, corners, and decorative details still looking sharp.
The formula is wonderfully simple: equal parts shortening, oil, and flour by volume. The shortening provides a rich, solid coating, the oil keeps the mixture brushable, and the flour helps create a fine barrier between the batter and the pan.
Because this is a no-cook mixture, it comes together in about five minutes. There is no saucepan, melting, or chilling required before use, making it especially useful when you are already preparing a cake batter and want a quick alternative to greasing and flouring separately.
Uses only three familiar ingredients.
Works well on round, square, loaf, tube, and decorative cake pans.
Can usually replace parchment paper when the pan is thoroughly coated.
Is easy to scale with the equal-parts formula.
Ingredients You’ll Need
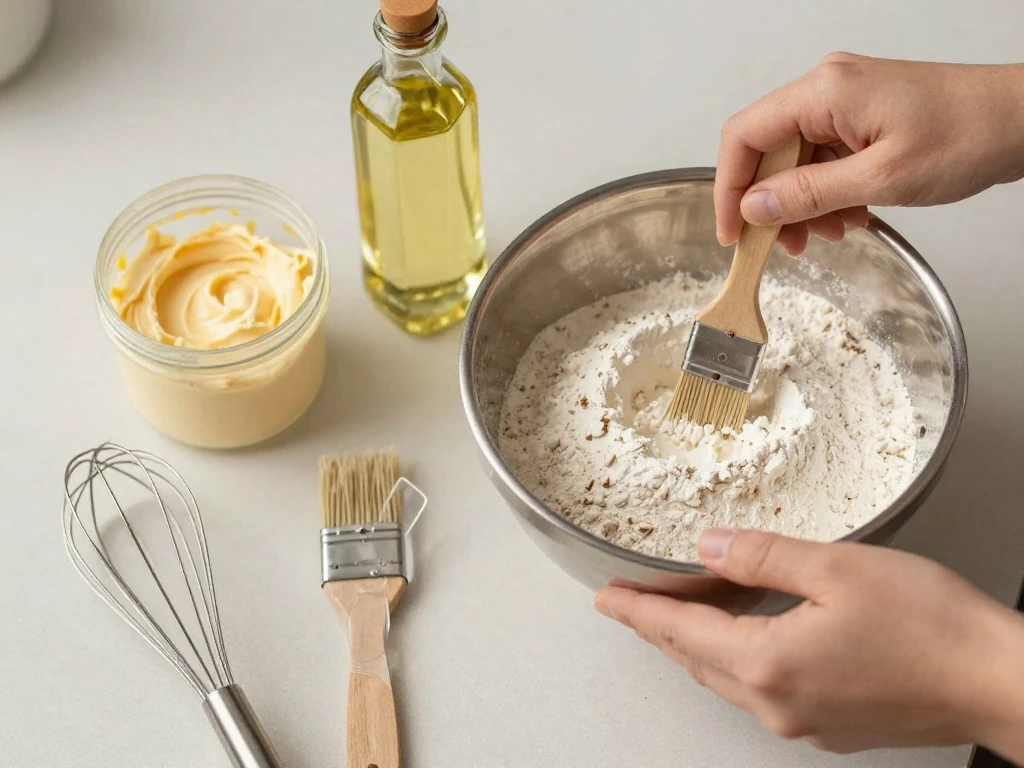
For the small batch, measure 1/2 cup vegetable shortening, 1/2 cup neutral-flavored vegetable oil, and 1/2 cup all-purpose flour. Together, these ingredients make about 1 1/2 cups of cake goop, enough for multiple baking projects depending on the size and shape of your pans.
Choose an oil with a mild flavor, such as a standard neutral vegetable oil. Strongly flavored oils can add an unwanted taste to delicate cakes, while a neutral oil lets the cake itself remain the focus.
All-purpose flour is the practical choice because it blends smoothly and is widely available. Use volume measurements consistently for this equal-parts recipe, and make sure the shortening is soft enough to mix without leaving firm pieces in the bowl.
How to Make It Step-by-Step
Step 1: Add the vegetable shortening, neutral-flavored vegetable oil, and all-purpose flour to a clean mixing bowl. Scrape the shortening from the measuring cup completely so the proportions remain equal, then check that the flour is measured level rather than heaped.
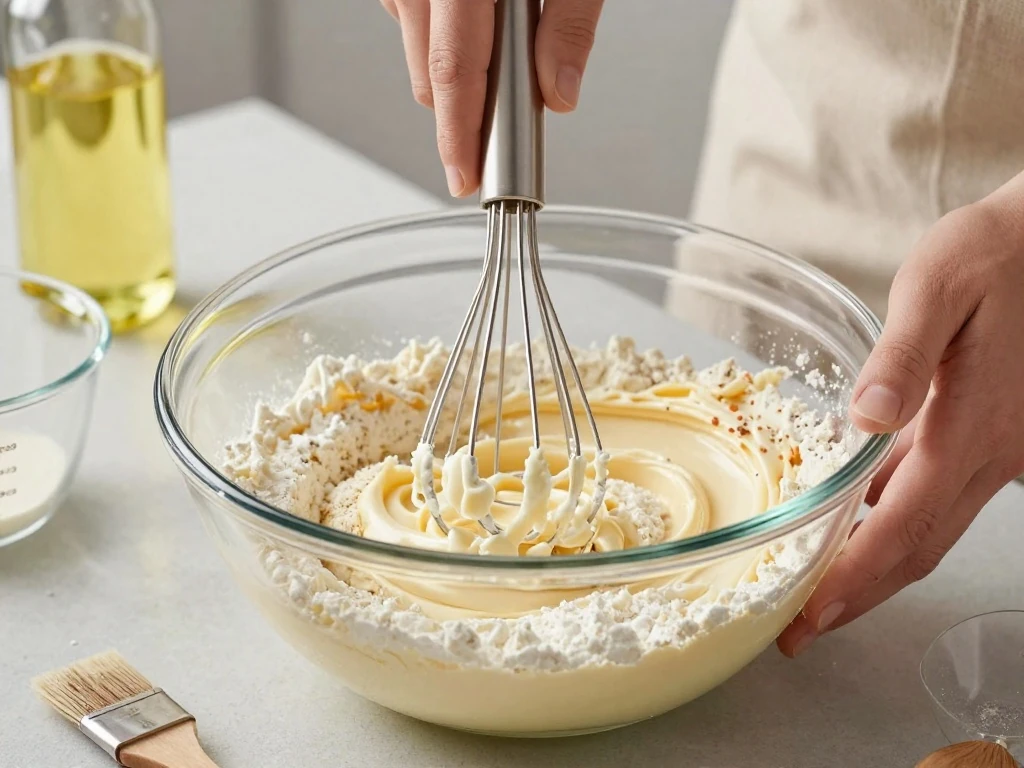
Step 2: Whisk or beat the ingredients together until the mixture is completely smooth. Continue mixing until there are no visible lumps of flour or shortening and the color and texture look even throughout.
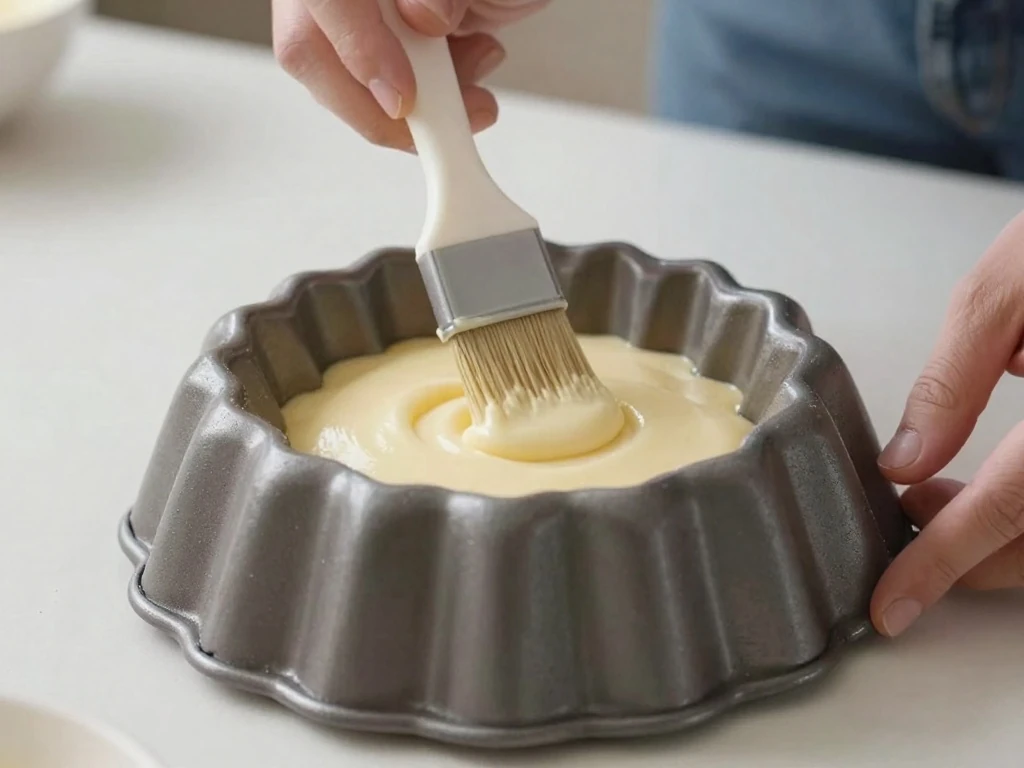
Step 3: Prepare your cake pan with a pastry brush. Brush a thin, even layer over the entire bottom and all sides, paying special attention to corners, seams, ridges, and the center tube of a Bundt-style or other decorative pan.
Step 4: Inspect the pan under good light before adding the batter. Every surface that will touch the cake should have a light coating, but the mixture should not collect in thick puddles or brush marks.
Step 5: Add the batter immediately after coating the pan. This keeps the prepared surface ready for the bake and prevents the goop from settling unevenly while the pan waits.
Step 6: Store leftover cake goop in a clean, airtight container. Give it a stir before the next use if the oil has separated, and use a pastry brush to restore a smooth, even texture as you coat the pan.
Pro Tips for Perfect Release
The most important rule is to use a thin, complete coating. More is not better here: a heavy layer can make the cake’s edges greasy, change the crust, or leave excess release mixture around decorative details.
A pastry brush is the best tool for this job because its bristles can reach into corners and grooves. A silicone pastry brush is easy to clean, while a traditional soft pastry brush can provide delicate control on intricate pans.
Start with a clean, dry pan so the goop adheres evenly.
Brush from the center outward on flat pans to avoid missing the edges.
Rotate the pan as you work on tall sides or shaped designs.
Check the center tube and narrow ridges of decorative pans carefully.
Stir the mixture before use if any separation is visible.
For most cakes, a thoroughly coated pan does not need parchment paper. If a recipe specifically requires parchment for a delicate or unusually sticky preparation, follow that recipe’s directions, but for everyday cakes this coating is designed to stand on its own.
Storage and Keeping Quality
Transfer extra cake goop to a clean, airtight container as soon as you finish coating the pan. A covered container protects the mixture from kitchen dust, odors, and accidental moisture.
Many published versions recommend room-temperature storage for short-term use. Refrigerating the mixture extends its keeping quality, but the shortening firms up and the goop becomes less brushable.
If refrigerated, allow the container to sit until the mixture softens enough to spread easily, then stir it thoroughly before coating a pan. Do not add extra oil simply because the chilled mixture feels firm; the texture will change as it warms.
Best Pans and Uses
Never Fail Cake Goop is particularly helpful for pans with detailed designs that are difficult to line with parchment. Use it on round and square layer pans, loaf pans, tube pans, and decorative pans with ridges or carved patterns.
It is also useful when baking cakes that need to be turned out whole for decorating. Clean release preserves the cake’s silhouette, giving you a stronger starting point for frosting, glazing, dusting with powdered sugar, or serving plain.
Before applying it to a pan, consider the recipe and the pan material. The coating is intended for standard cake-baking use, and the pan should still be filled and baked according to the cake recipe’s directions.
How to Scale the Formula
The standard formula is equal parts shortening, oil, and flour by volume. To make a larger batch, use 1 cup of each ingredient, following the same mixing and storage instructions.
Scaling is convenient when you bake frequently or use several pans at once. Keep the proportions equal, mix the larger batch until perfectly smooth, and transfer it to a suitably sized airtight container.
For a first try, the 1/2-cup-each batch is a practical amount. It makes about 1 1/2 cups without committing you to a large container, and it gives you enough to test the coating on several cake pans.
Never Fail Cake Goop Pan Release
A simple three-ingredient, no-cook cake release made from shortening, neutral oil, and flour. Brush a thin coating into cake pans before adding batter for an easy, clean release.
Add the vegetable shortening, neutral-flavored vegetable oil, and all-purpose flour to a mixing bowl.
Whisk or beat the ingredients until the mixture is completely smooth, evenly blended, and free of visible flour or shortening lumps.
Use a pastry brush to spread a thin, complete coating over the bottom and sides of the cake pan, including corners and decorative details.
Add the cake batter immediately after coating the pan. Store any extra cake goop in a clean, airtight container.
Notes
Apply a thin layer rather than a thick one, since excess mixture can leave greasy edges or affect the cake’s crust. Stir before using if the mixture has separated. Room-temperature storage is commonly used for short-term keeping, while refrigeration extends its keeping quality but makes the mixture firmer.
Final Thoughts
This three-ingredient Never Fail Cake Goop recipe is one of the easiest ways to prepare a cake pan for reliable release. Mix 1/2 cup each of shortening, neutral oil, and all-purpose flour, brush on a thin complete layer, and add your batter immediately.
Once you make a batch, you will appreciate how quickly it solves a common baking problem. Keep it covered, stir it before use if needed, and remember that careful coverage matters more than applying a thick coating.
Whether you are baking a simple loaf cake or a detailed decorative cake, this smooth homemade pan release can help protect the shape and finish you worked hard to create.