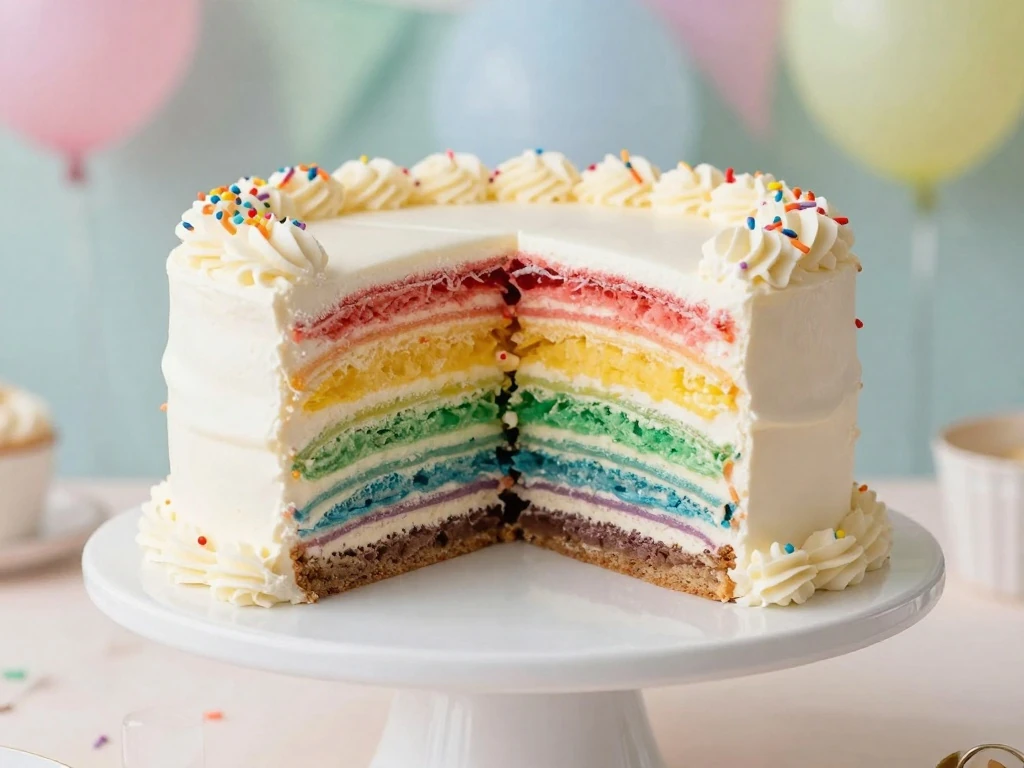
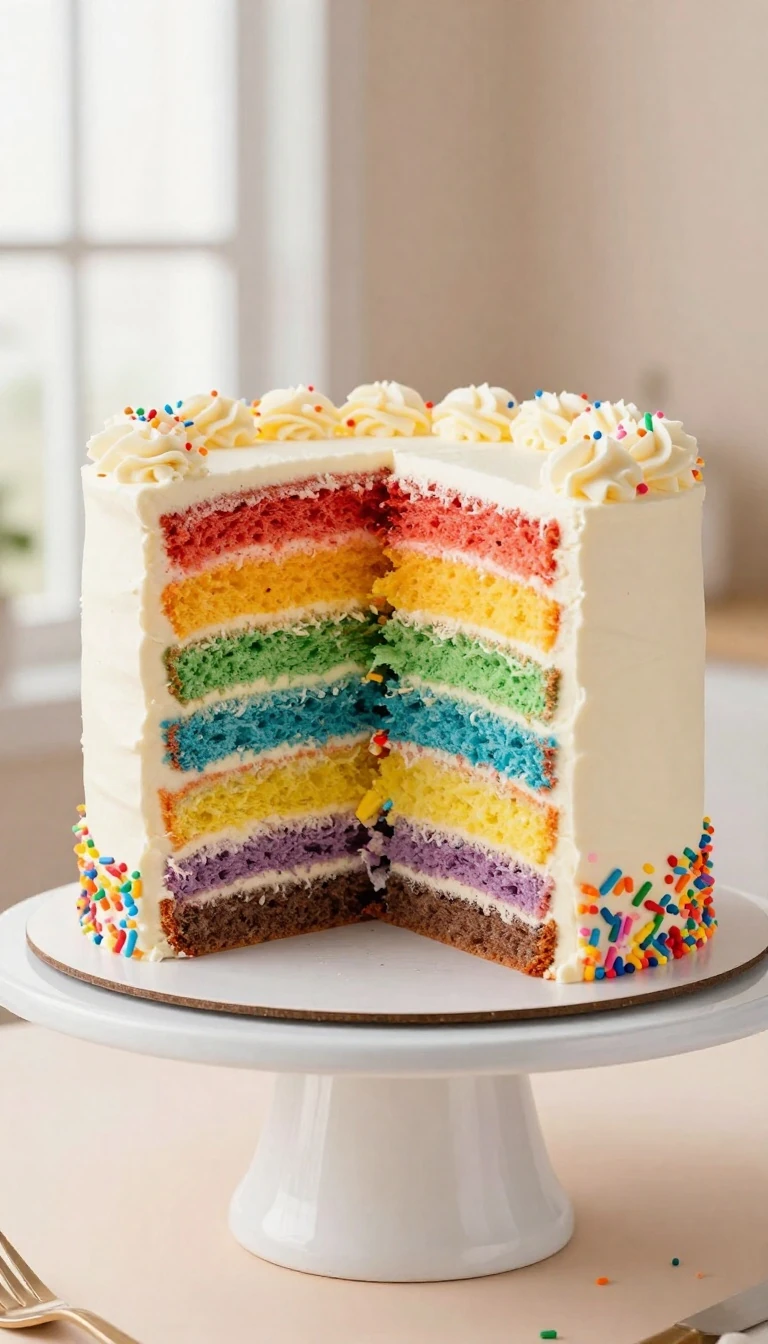
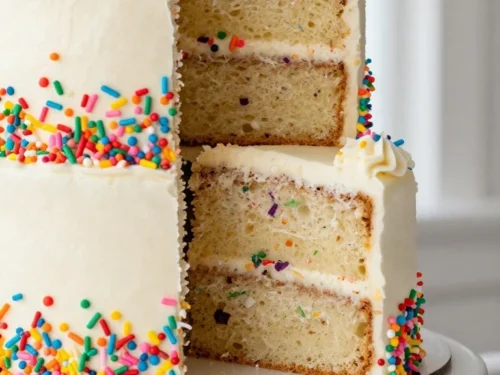
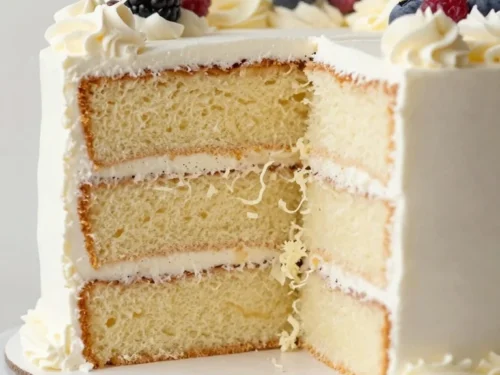
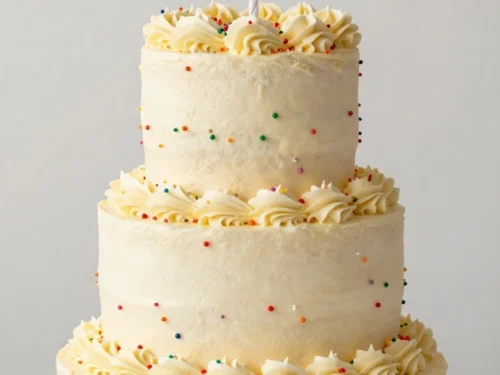
This easy rainbow cake recipe makes a bright, cheerful layer cake with six colorful vanilla sponge layers and creamy white buttercream. To make it, prepare one simple cake batter, divide it evenly among six bowls, tint each portion red, orange, yellow, green, blue, or purple, bake the layers, then stack and frost them.
Every slice is soft, buttery, and lightly sweet, with a smooth vanilla frosting that balances the colorful cake. It is a wonderful choice for birthdays, pride celebrations, school parties, baby showers, holidays, and any occasion that deserves a joyful dessert without complicated decorating skills.
This rainbow cake looks like a bakery centerpiece, yet the method is based on a familiar vanilla cake batter. You do not need specialty decorating equipment, advanced piping skills, or a complicated filling to create a memorable dessert.
The cake has a tender crumb and a classic vanilla flavor that appeals to both children and adults. The white buttercream makes the colored layers stand out beautifully, while sprinkles add a little crunch and a festive finish.
It is also easy to adapt for different celebrations. Use traditional rainbow colors for a birthday, soft pastel shades for a baby shower, school-friendly colors for a classroom party, or two favorite colors for a personalized anniversary cake.
Bright, colorful layers make every slice exciting.
The vanilla flavor pairs well with chocolate, lemon, coconut, or berry decorations.
The cake can be baked a day ahead, which makes party planning easier.
Simple buttercream covers small frosting imperfections.
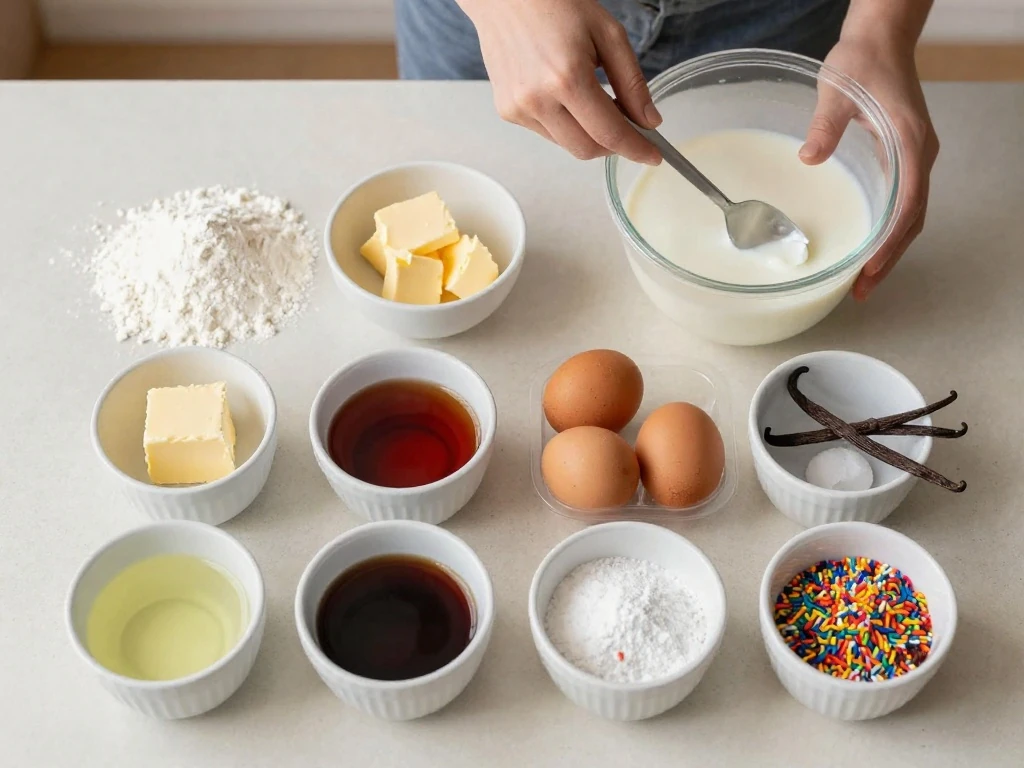
Ingredients You’ll Need
All-purpose flour gives the cake enough structure to support six layers while keeping the crumb soft. Baking powder provides the lift, and a small amount of salt sharpens the vanilla flavor rather than making the cake taste salty.
Room-temperature butter, eggs, and milk blend more evenly than cold ingredients. Set them on the counter about 30 to 45 minutes before baking, or place the eggs in warm water for a few minutes if you forgot to plan ahead.
Gel food coloring is the best choice for this recipe because it creates bold colors without adding much liquid. Liquid coloring can work, but you may need more of it, and too much can make the batter thinner or produce paler layers.
For the buttercream, use real unsalted butter and sifted powdered sugar if it is especially lumpy. Heavy cream creates a rich, smooth frosting, while whole milk makes a slightly lighter frosting that is still creamy and easy to spread.
Use vanilla extract for a warm, familiar flavor.
Choose a white or very pale buttercream so the rainbow colors remain the star.
Keep rainbow sprinkles, mini candies, or shredded coconut nearby for decoration.
How to Make It Step-by-Step
Step 1: Preheat your oven to 350°F and position the racks so air can circulate around the pans. Grease six 6-inch cake pans, line the bottoms with parchment, and lightly flour the sides; if you own only two or three pans, plan to bake the layers in batches.
Step 2: In a medium bowl, whisk the flour, baking powder, and salt until evenly combined. In a large bowl, beat the softened butter and sugar for three to four minutes, until the mixture looks pale and fluffy, because this helps create a lighter cake.
Step 3: Add the eggs one at a time, beating well after each addition so the batter stays smooth. Mix in the vanilla, scraping down the bowl with a spatula to make sure the butter mixture is evenly blended.
Step 4: Add the flour mixture in three additions, alternating with the milk in two additions. Begin and finish with the dry ingredients, and mix only until no dry streaks remain to avoid a dense or chewy crumb.
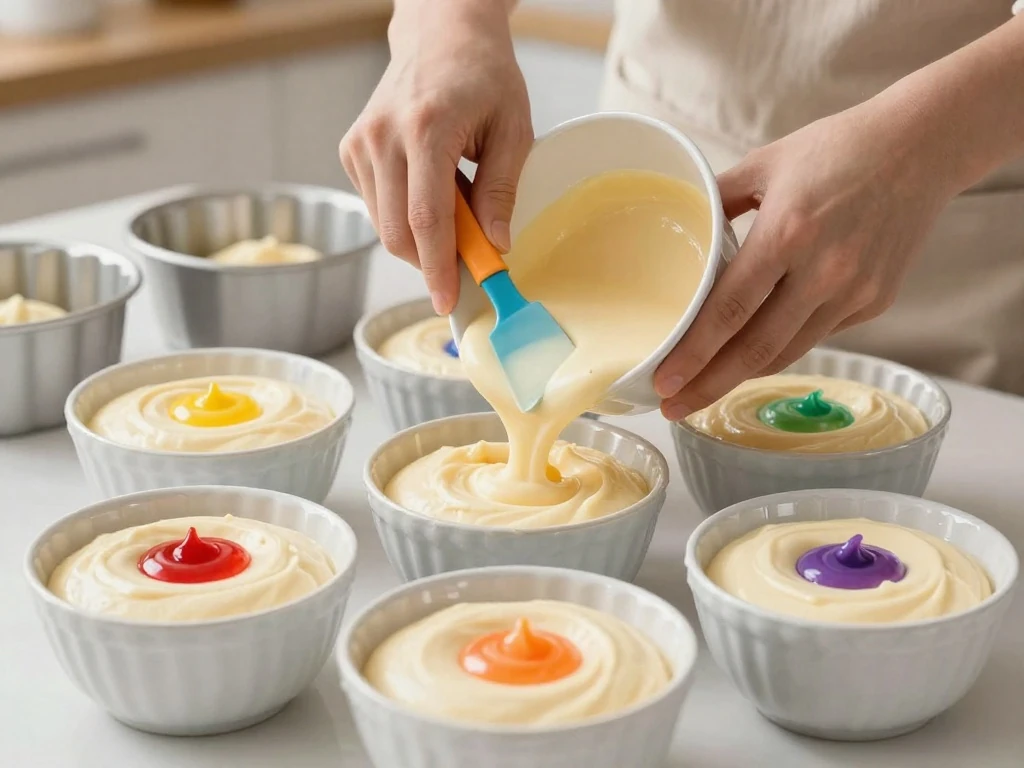
Step 5: Divide the batter evenly among six bowls; a kitchen scale makes this especially accurate. Tint the portions red, orange, yellow, green, blue, and purple, adding coloring a little at a time until each shade is vivid but not overly dark.
Step 6: Spread each colored batter into its prepared pan and smooth the surface with a small offset spatula. Bake for 16 to 20 minutes, rotating the pans once if needed, until the centers spring back lightly and a toothpick comes out with a few moist crumbs.
Step 7: Let the cakes cool in their pans for 10 minutes before turning them onto a wire rack. Remove the parchment, allow the layers to cool completely, and chill them for at least 30 minutes so they are firmer and easier to stack.
Step 8: Make the buttercream by beating the softened butter until creamy, then adding the powdered sugar gradually. Mix in the vanilla and cream, beat until fluffy, and adjust the texture with a teaspoon of cream for softer frosting or a little powdered sugar for thicker frosting.
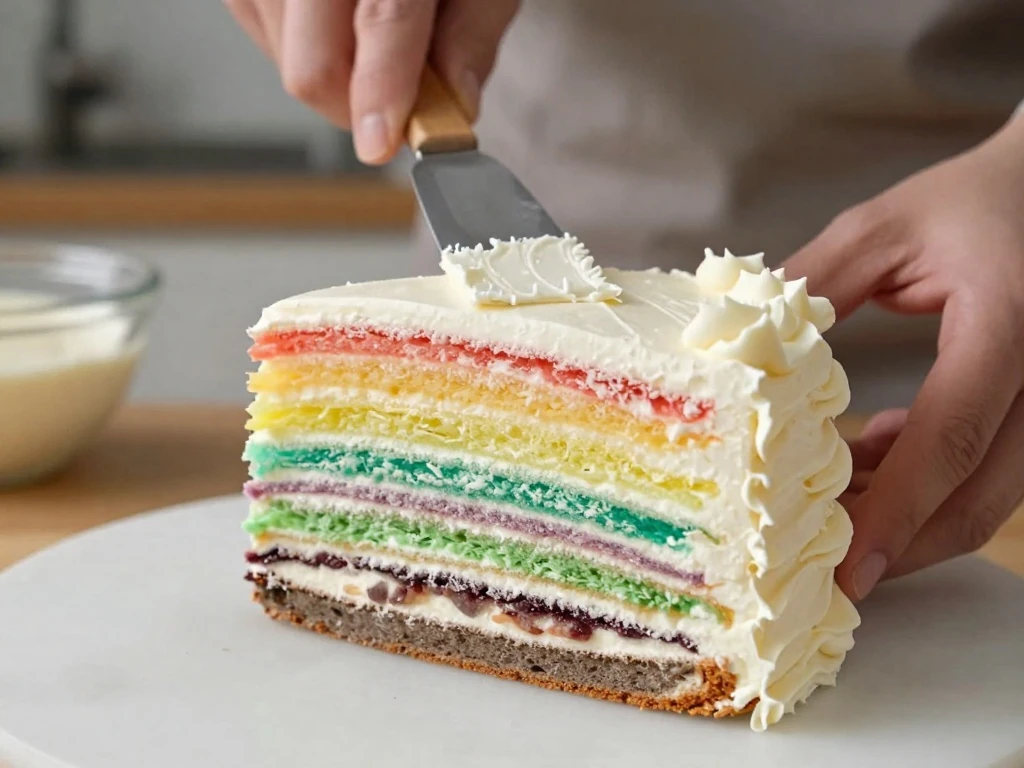
Step 9: Place the purple layer on a cake board or serving plate and spread a thin, even layer of buttercream over it. Continue stacking in rainbow order, adding frosting between every layer and checking from the side to keep the cake straight.
Step 10: Cover the entire cake with a thin crumb coat, then refrigerate it for 20 to 30 minutes. Add the final layer of buttercream, smooth the sides, decorate the top with sprinkles, and chill briefly before slicing with a sharp knife.
Frosting and Assembly
A successful rainbow cake depends as much on careful assembly as it does on baking. If the layers have domed tops, gently trim them with a serrated knife after chilling so each cake sits flat and the finished stack does not lean.
Start with a small dab of buttercream beneath the first layer to keep it from sliding. Use about one-third to one-half cup of frosting between each layer, spreading it close to the edge without pushing so hard that crumbs mix into the buttercream.
The crumb coat does not need to look perfect. Its job is to trap loose crumbs and create a firm surface for the final coat, so chill the cake before smoothing on the remaining frosting.
For clean sides, place the cake on a rotating stand if available and use a bench scraper. For a more relaxed appearance, create soft swirls with the back of a spoon and finish with sprinkles around the top edge or bottom border.
Decorating Ideas for Every Occasion
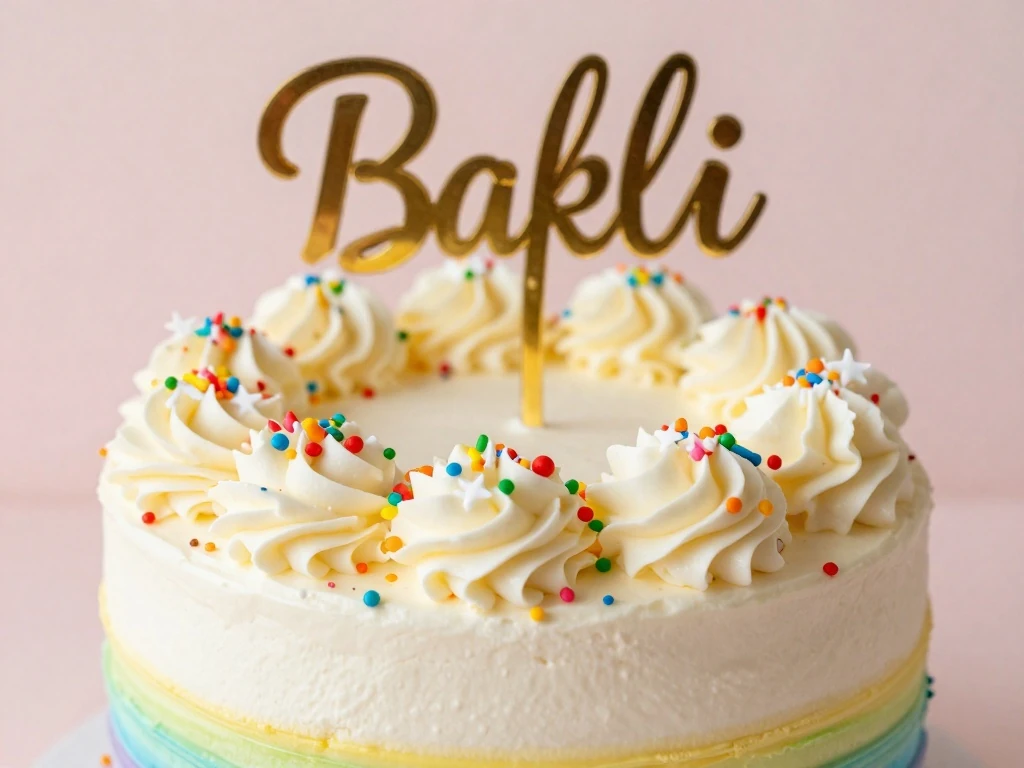
For a child’s birthday, cover the top with rainbow sprinkles and add colorful sugar candies around the base. Small star candies, edible confetti, or a simple number topper can make the cake feel personalized without requiring detailed piping.
A pastel rainbow cake works beautifully for a baby shower or spring gathering. Tint the batter with gentle shades, use white buttercream, and decorate with pearl sprinkles, tiny sugar flowers, or a few delicate meringues.
For a pride celebration, use strong, saturated colors and finish the cake with a smooth white exterior. You can also pipe small buttercream rosettes around the top, adding a different color to each rosette for a festive border.
If you prefer a less decorated cake, leave the sides simply frosted and cut a neat slice at the table. The colorful interior provides all the visual interest, especially when served on plain white plates.
Baking Tips for Bright Even Layers
Measure the batter carefully so the layers finish at a similar height. Uneven portions can be corrected with frosting, but equal amounts produce a straighter cake and make the rainbow sequence easier to see.
Do not overmix after adding the flour. A few tiny streaks can be folded in by hand, while extended mixing develops gluten and may make the cake firm rather than tender.
Watch the baking time closely because thin layers can go from moist to dry quickly. The cakes are ready when the tops spring back gently and the edges begin to pull away from the pans.
Chilling is one of the most useful steps. Cold layers are less fragile, produce fewer crumbs, and allow the buttercream to set between each stage of assembly.
For the clearest colors, add gel coloring before the batter goes into the pans and stir each bowl with a clean spatula. Avoid marbling the colors unless that is the look you want, because even streaks may show through the finished slice.
Storage and Serving Guide
Store the fully decorated cake in a covered container in the refrigerator for up to four days. Buttercream protects the cake from drying, but an airtight cover is still important because refrigerator air can quickly make sponge cake stale.
For the best texture and flavor, remove the cake from the refrigerator 20 to 30 minutes before serving. A slightly softened buttercream is easier to cut, and the vanilla cake tastes fuller when it is not ice cold.
You can bake the cake layers ahead of time and freeze them for up to one month. Wrap each completely cooled layer in plastic wrap and foil, then thaw it in the refrigerator before assembling.
Leftover slices can be wrapped individually and refrigerated for several days. Avoid microwaving the cake, since the frosting can melt unevenly; simply allow each slice to stand at room temperature before eating.
Easy Variations to Try
For a citrus version, replace one teaspoon of vanilla with finely grated lemon or orange zest. A small amount of zest adds freshness without changing the structure of the batter.
Chocolate lovers can spread a thin layer of chocolate buttercream between the rainbow layers while keeping the outside white. Another option is to add mini chocolate chips to the batter, although the colorful layers will have small dark flecks.
To make cupcakes, divide the colored batter among lined muffin cups and bake until the tops spring back. You can spoon small amounts of each color into every liner for mini rainbow swirls, then finish the cupcakes with vanilla frosting.
For a taller party cake, bake the recipe in two 8-inch pans, split each cooled cake into layers, and tint the portions in alternating colors. The baking time will change, so begin checking the cakes a few minutes before the expected finish time.
Easy Rainbow Cake Recipe
A soft six-layer vanilla rainbow cake covered with fluffy vanilla buttercream and cheerful sprinkles. This colorful celebration cake is simple enough for beginners and impressive enough for birthdays and special occasions.
Preheat the oven to 350°F. Grease and line six 6-inch cake pans, or bake the batter in batches if you have fewer pans.
Whisk together the flour, baking powder, and salt. Beat the butter and sugar until pale and fluffy, then add the eggs one at a time followed by the vanilla.
Add the dry ingredients in three additions, alternating with the milk. Mix only until the batter is smooth.
Divide the batter evenly among six bowls and tint each bowl a different rainbow color. Spread each color into a prepared pan and bake for 16 to 20 minutes.
Cool the cake layers in their pans for 10 minutes, then transfer them to a rack. Chill the layers before assembling.
Beat the butter until creamy, gradually add the powdered sugar, then mix in the vanilla and cream. Stack the layers with buttercream between them, cover the cake with a thin crumb coat, chill, and finish with a final layer of frosting.
Decorate with sprinkles and chill the cake briefly before slicing. Let it sit at room temperature for 20 to 30 minutes before serving.
Notes
Use gel food coloring for strong, clear shades without thinning the batter. Store the covered cake in the refrigerator for up to four days and bring it to room temperature before serving.
Final Thoughts
This easy rainbow cake recipe proves that a celebration dessert can be colorful, homemade, and approachable. The process is simple: make a reliable vanilla batter, divide and tint it, bake thin layers, then use fluffy buttercream to bring everything together.
Give yourself enough time to cool and chill the layers, since patience makes stacking much easier. Even if the frosting is not perfectly smooth, the bright rainbow center will create a wonderful surprise when the first slice is served.
Make the cake your own with pastel colors, bold shades, playful sprinkles, fresh berries, or a personalized topper. However you decorate it, this cheerful cake is sure to bring smiles to the table and make any occasion feel special.