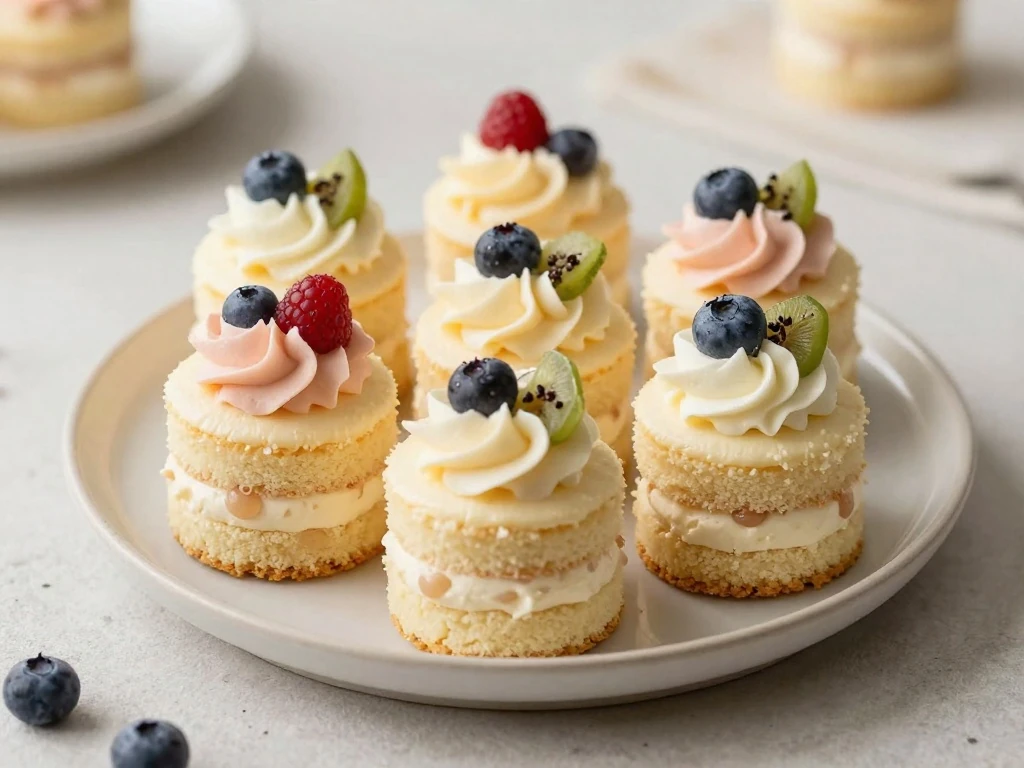
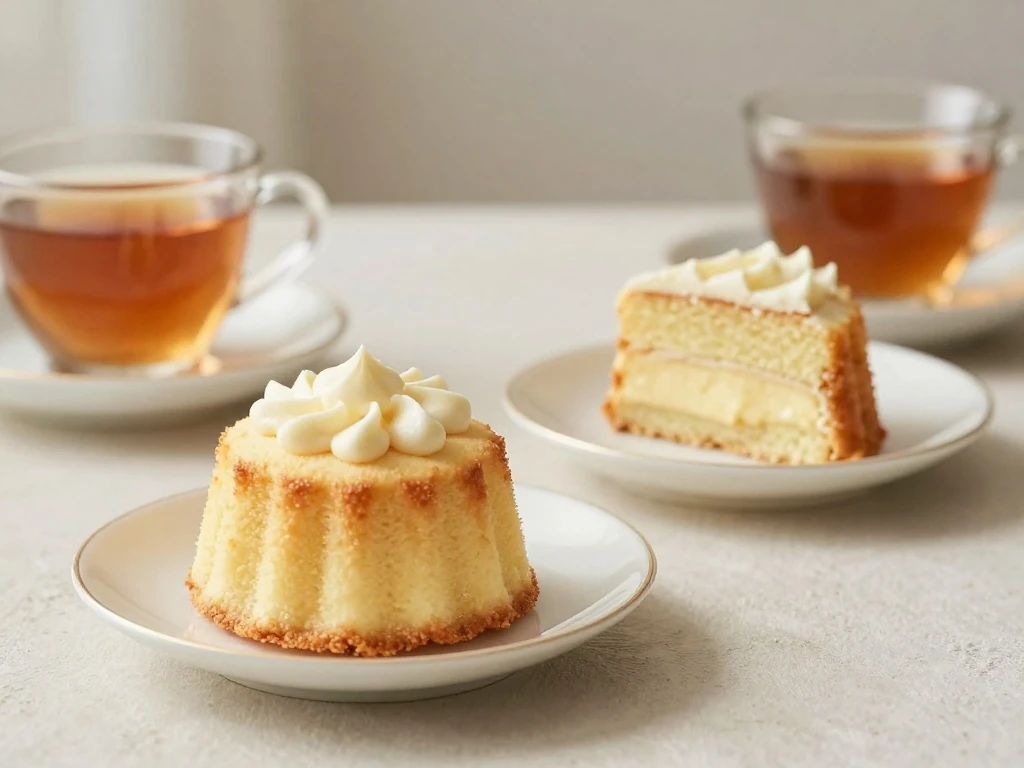
This easy mini cake recipe makes six charming individual cakes with tender vanilla layers, creamy buttercream, and a pretty berry garnish. Bake the small cakes in a muffin pan, split each one into layers, then stack and frost them for a simple dessert that looks special without requiring advanced decorating skills.
Each mini cake has soft, buttery crumbs, a light vanilla flavor, and just enough frosting to make every bite rich but not heavy. They are perfect for birthdays, afternoon tea, baby showers, dinner parties, or whenever you want a portion-controlled treat that feels more festive than an ordinary cupcake.
Mini cakes have all the charm of a layer cake without the pressure of baking and decorating a large centerpiece. Since each guest receives an individual dessert, serving is tidy, portions are easy to manage, and every cake can be decorated in a slightly different way.
The batter uses familiar pantry ingredients and comes together in one main mixing bowl. A standard muffin pan gives the cakes their petite shape, while a quick vanilla buttercream turns each little round into a layered bakery-style dessert.
Beginner-friendly: No special mini cake pans or complicated techniques are needed.
Quick to bake: The small cakes are ready in about 18 minutes.
Easy to customize: Change the frosting color, filling, garnish, or cake flavor.
Great for parties: Six individual cakes make a lovely dessert table addition.
Ingredients You’ll Need
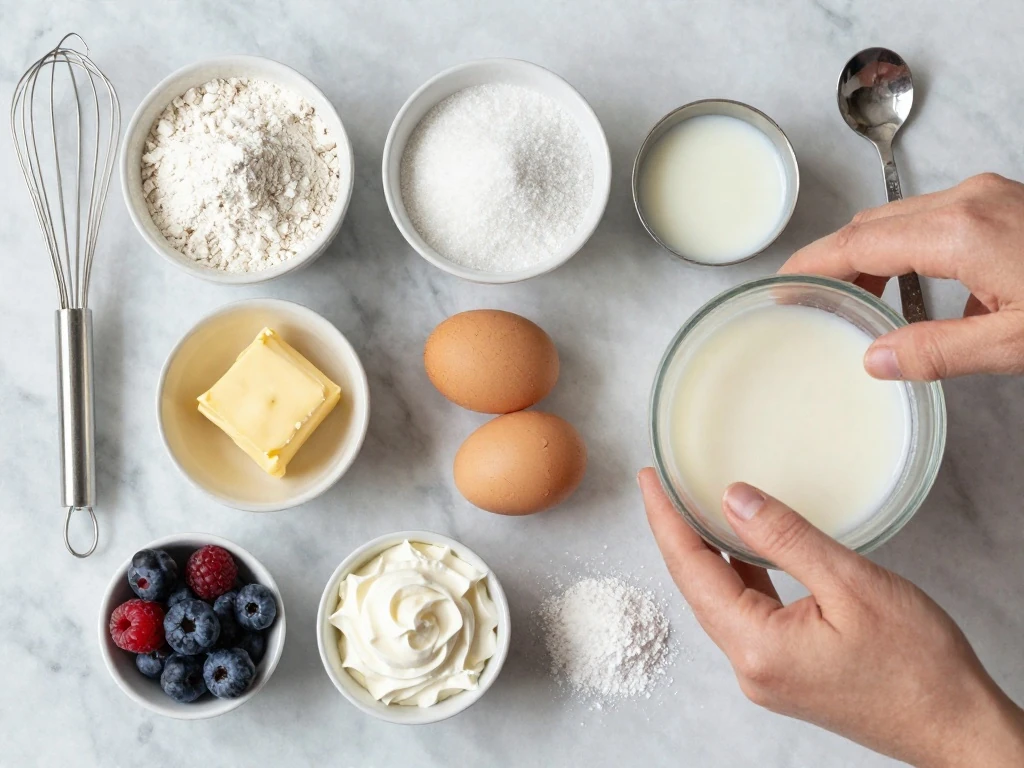
All-purpose flour creates a soft but sturdy crumb that can be sliced into layers. Granulated sugar adds sweetness and helps the cakes brown lightly, while baking powder provides the lift needed for tall, tender little cakes.
Softened butter gives the cake a rich flavor and helps it blend smoothly with the egg. Whole milk keeps the crumb moist, and vanilla extract rounds out the flavor with a warm, familiar bakery note.
For the buttercream, use unsalted butter so you can control the salt level. Powdered sugar dissolves easily into the frosting, while a spoonful or two of cream creates a spreadable texture that holds its shape between the layers.
Use fresh baking powder for the best rise.
Bring the egg, butter, and milk to room temperature before mixing.
Choose berries that are dry and firm if you plan to decorate the cakes in advance.
For a chocolate version, replace 2 tablespoons of flour with unsweetened cocoa powder.
Equipment You’ll Need
A standard 12-cup muffin pan is the most convenient pan for this recipe, although you will use only six wells. You will also need mixing bowls, a whisk, a hand mixer or stand mixer, a cooling rack, and a small offset spatula or piping bag.
Parchment rounds are optional, but they make cake removal especially easy. If you do not have a piping bag, place the buttercream in a zip-top bag, snip off one corner, and use it to pipe simple swirls.
How to Make It Step-by-Step
Step 1: Begin by heating the oven to 350°F (175°C), giving it enough time to reach a steady temperature before the batter is ready. Grease six muffin wells thoroughly, paying attention to the sides, and add parchment rounds to the bottoms if you want the cakes to release with minimal effort.
Step 2: Whisk the flour, sugar, baking powder, and salt in a medium bowl until the dry ingredients are evenly distributed. In another bowl, beat the softened butter, egg, and vanilla until smooth, then stir in the milk; a few small streaks of butter are fine at this point.
Step 3: Pour the wet ingredients into the dry ingredients and stir gently with a whisk or spatula. Stop mixing as soon as the batter looks smooth because overmixing can make the finished cakes chewy instead of soft.
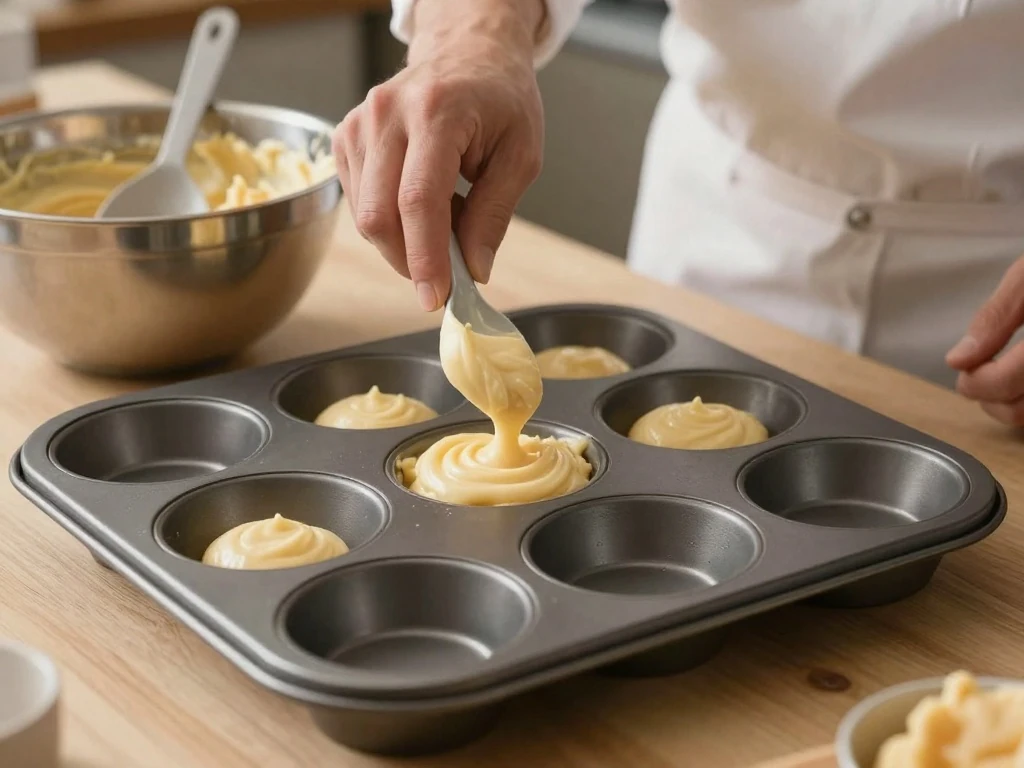
Step 4: Divide the batter evenly among six muffin wells, filling each about two-thirds full. An ice cream scoop or two-tablespoon cookie scoop helps keep the cakes the same size, which makes stacking and decorating much easier.
Step 5: Bake for 16 to 18 minutes, checking at the 16-minute mark. The cakes are ready when the tops spring back lightly and a toothpick inserted into the center comes out clean or with a few moist crumbs.
Step 6: Let the cakes cool in the pan for 5 minutes, then move them to a wire rack. They must be completely cool before slicing or frosting, since warm cake can crumble and cause the buttercream to melt.
Step 7: While the cakes cool, beat the softened butter for about 2 minutes until it looks pale and airy. Add the powdered sugar in three additions, mixing slowly at first, then beat in the vanilla and cream until the frosting is smooth, fluffy, and easy to spread.
Step 8: Use a serrated knife to trim any rounded tops, then slice each cake horizontally into two even layers. Spread or pipe a small amount of buttercream on the first layer, place the second layer on top, and cover the top and sides with another thin coat.
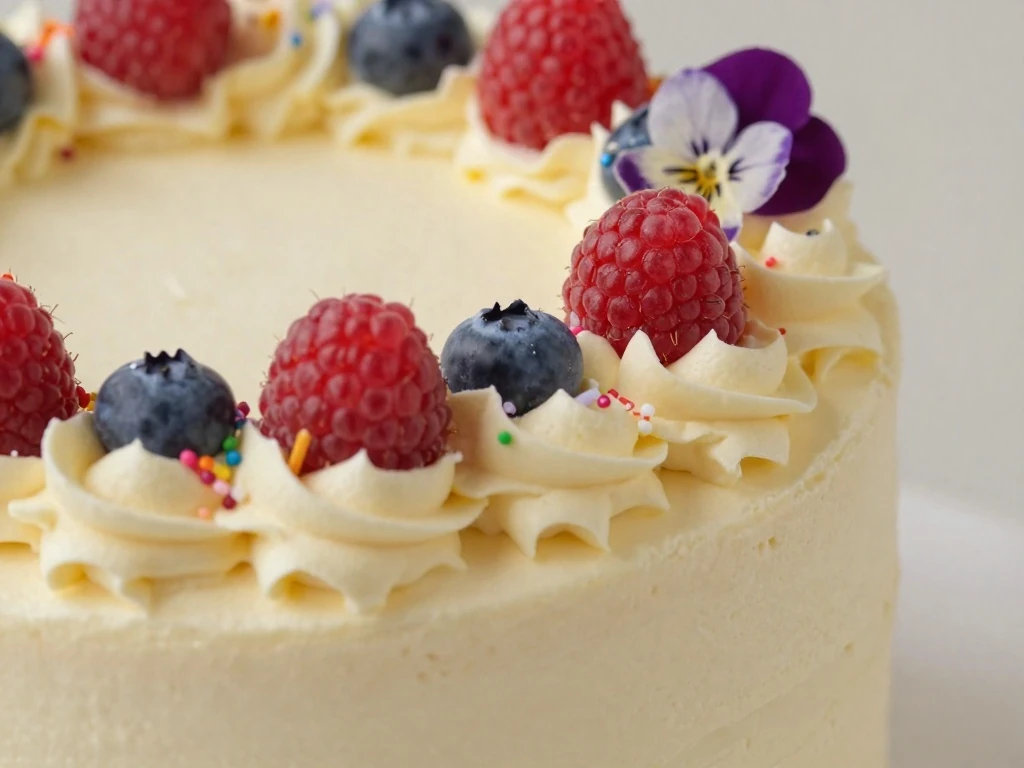
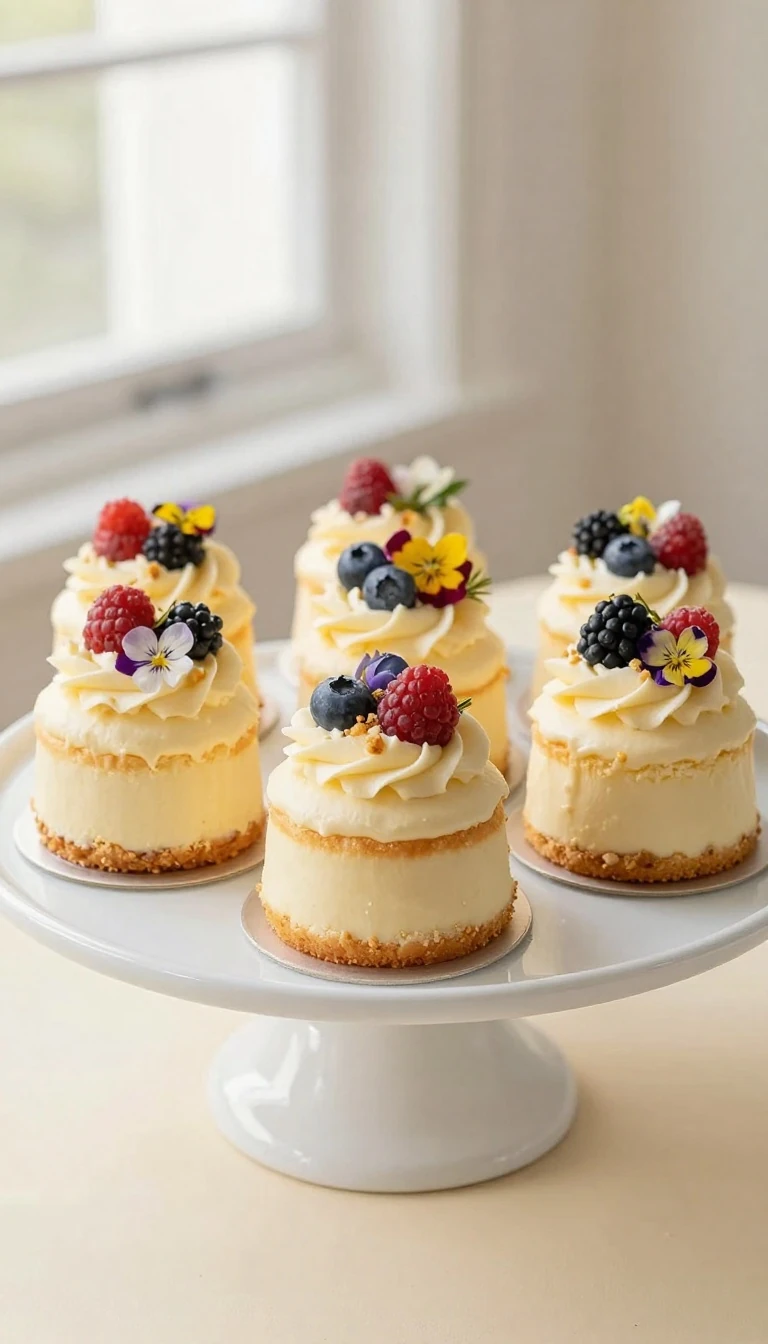
Step 9: Finish each mini cake with fresh berries, sprinkles, chocolate curls, or tiny edible flowers. Chill the decorated cakes for about 20 minutes so the frosting firms up, then bring them to room temperature before serving for the softest texture.
Frosting and Decoration Ideas
Classic vanilla buttercream is a dependable choice because it is sweet, creamy, and easy to color. Add a drop of pastel pink, blue, yellow, or lavender gel coloring for a celebration theme, or leave the frosting white for a clean and elegant finish.
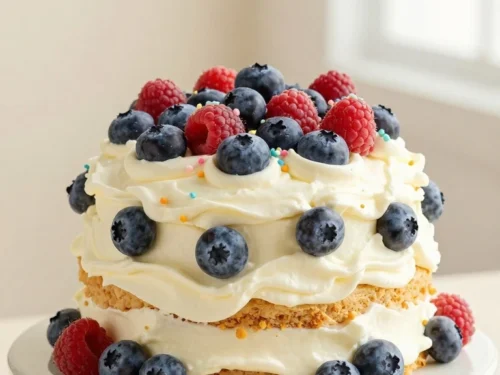
For a fresh contrast, tuck a few thin strawberry slices between the cake layers and add blueberries or raspberries on top. Lemon zest, toasted coconut, mini chocolate chips, crushed cookies, and colorful sprinkles also work well without requiring elaborate piping.
Berry cakes: Add raspberry jam between the layers and finish with fresh raspberries.
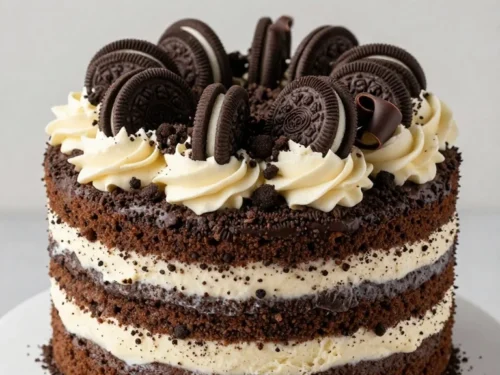
Chocolate cakes: Use chocolate frosting and top with chocolate curls.
Lemon cakes: Add 1 teaspoon of lemon zest to the batter and use lemon buttercream.
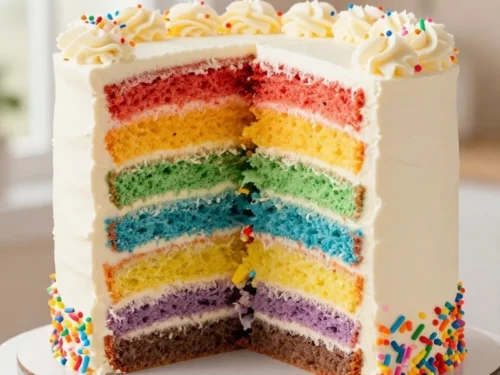
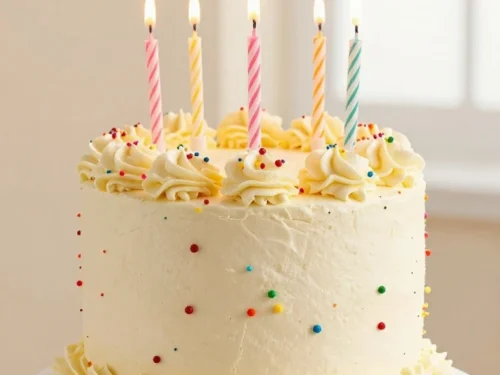
Birthday cakes: Cover the tops with rainbow sprinkles and a single candle.
Pro Tips for Tender Mini Cakes
Measure flour by spooning it into a measuring cup and leveling the top rather than scooping directly from the bag. Too much flour is one of the most common reasons small cakes turn out dry or dense.
Do not fill the muffin wells to the rim, because the batter needs room to rise. If you have extra batter, place it in a small greased ramekin rather than overfilling the six wells.
For clean layers, use a gentle sawing motion with a serrated knife and rotate the cake as you cut. If the cakes are delicate, chill them for 15 minutes first; slightly cool crumbs are easier to slice.
Apply a thin crumb coat before the final frosting layer if you want very smooth sides. Refrigerate the cakes for 10 minutes after the crumb coat, then add the final layer of buttercream and garnish.
Storage and Serving
Keep finished mini cakes in an airtight container in the refrigerator for up to 3 days. Place parchment between layers if you need to stack them, and keep fresh fruit decorations dry so they do not release excess moisture onto the frosting.
For the best flavor and texture, remove the cakes from the refrigerator 20 to 30 minutes before serving. The buttercream will soften slightly, and the vanilla cake will taste much richer at cool room temperature.
You can bake the unfrosted cakes one day ahead and wrap them individually in plastic wrap once fully cool. The buttercream can also be made up to 3 days ahead, refrigerated, and re-whipped briefly before use.
Easy Mini Cake Recipe
These soft vanilla mini cakes are baked in a muffin pan, layered with fluffy buttercream, and finished with berries or sprinkles. The recipe makes six individual cakes and is easy enough for a beginner baker.
Heat the oven to 350°F (175°C). Grease six wells of a standard muffin pan and line the bottoms with small parchment rounds if desired.
Whisk the flour, sugar, baking powder, and salt in a medium bowl. In a separate bowl, beat the softened butter, egg, and vanilla until smooth, then stir in the milk.
Add the wet mixture to the dry ingredients and stir just until no dry streaks remain. Divide the batter among six prepared wells, filling each about two-thirds full.
Bake for 16 to 18 minutes, or until the tops spring back lightly when pressed and a toothpick comes out clean. Cool in the pan for 5 minutes, then transfer the cakes to a rack to cool completely.
Beat the butter for 2 minutes until pale and creamy. Add the powdered sugar gradually, then beat in the vanilla and cream until the frosting is smooth and fluffy.
Trim any domed tops from the cooled cakes and slice each cake horizontally into two layers. Pipe or spread frosting between the layers, around the sides, and over the tops.
Decorate with berries, sprinkles, or edible flowers. Chill the mini cakes for 20 minutes before serving so the frosting sets neatly.
Notes
Use room-temperature ingredients for a smooth batter and tender crumb. Store covered in the refrigerator for up to 3 days, and let the cakes sit at room temperature for 20 to 30 minutes before serving.
Final Thoughts
This easy mini cake recipe proves that a beautiful dessert does not need to be difficult or time-consuming. With a muffin pan, a handful of basic ingredients, and a simple swirl of buttercream, you can make petite layer cakes that look polished and taste wonderfully homemade.
Keep the decorations simple for a quick family dessert, or match the colors and toppings to a birthday, shower, holiday, or dinner party. Once you try the vanilla version, experiment with lemon, chocolate, almond, coconut, or fruit-filled variations to create a mini cake for every occasion.
Serve these cakes with coffee, tea, cold milk, or a scoop of vanilla ice cream. Their small size makes them inviting, but their tender crumb and creamy frosting make them memorable long after the last bite.