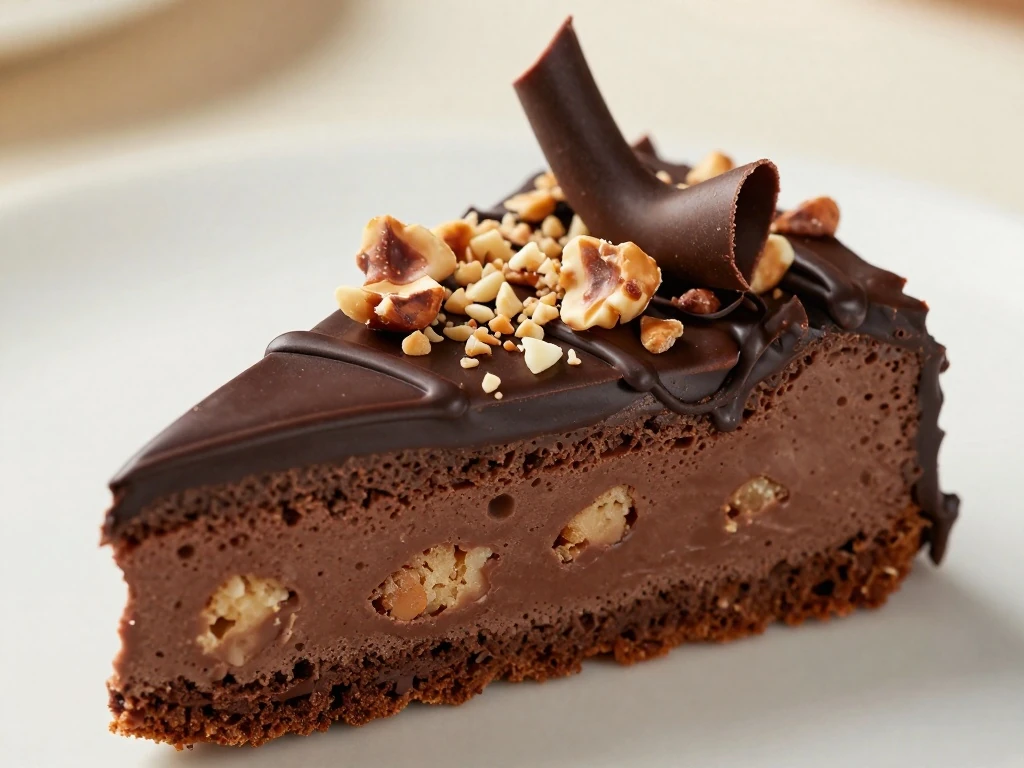
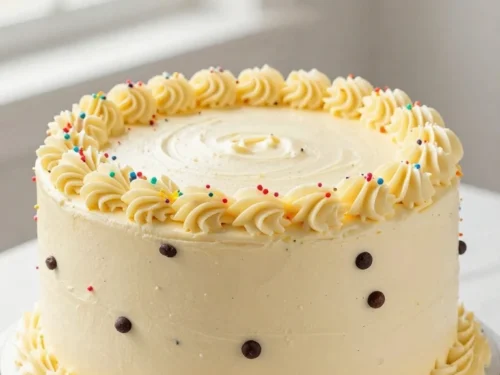
This easy lazy cake recipe is a no-bake chocolate biscuit cake made with crushed cookies, cocoa, butter, sugar, and milk. Melt the chocolate mixture in one saucepan, stir in the biscuits, press everything into a lined loaf pan, and chill until firm for a simple dessert that takes about 15 minutes of hands-on work.
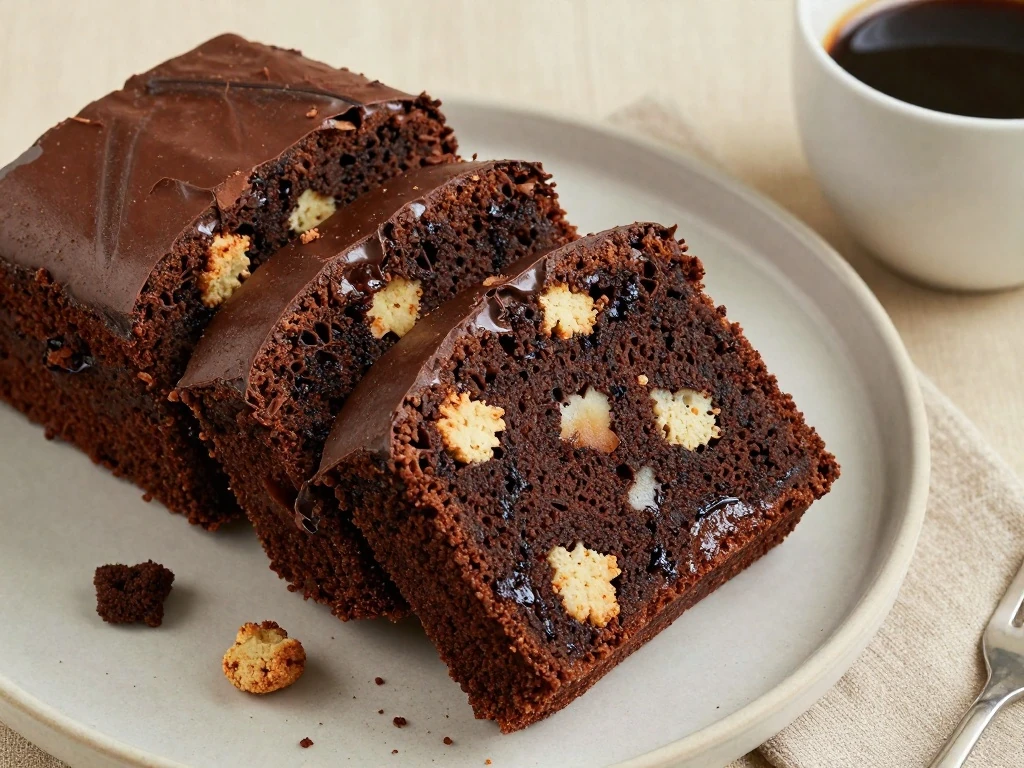
Every slice is rich, fudgy, and pleasantly crunchy, with tender biscuit pieces tucked into a smooth chocolate sauce. It tastes like a cross between chocolate fudge and a crisp cookie bar, making it ideal for birthdays, afternoon coffee, holiday trays, or any time you want homemade dessert without turning on the oven.
Lazy cake earns its name because the method is wonderfully uncomplicated. There is no oven, mixer, rolling pin, or complicated decoration required, yet the finished dessert looks generous and tastes like a carefully made chocolate confection.
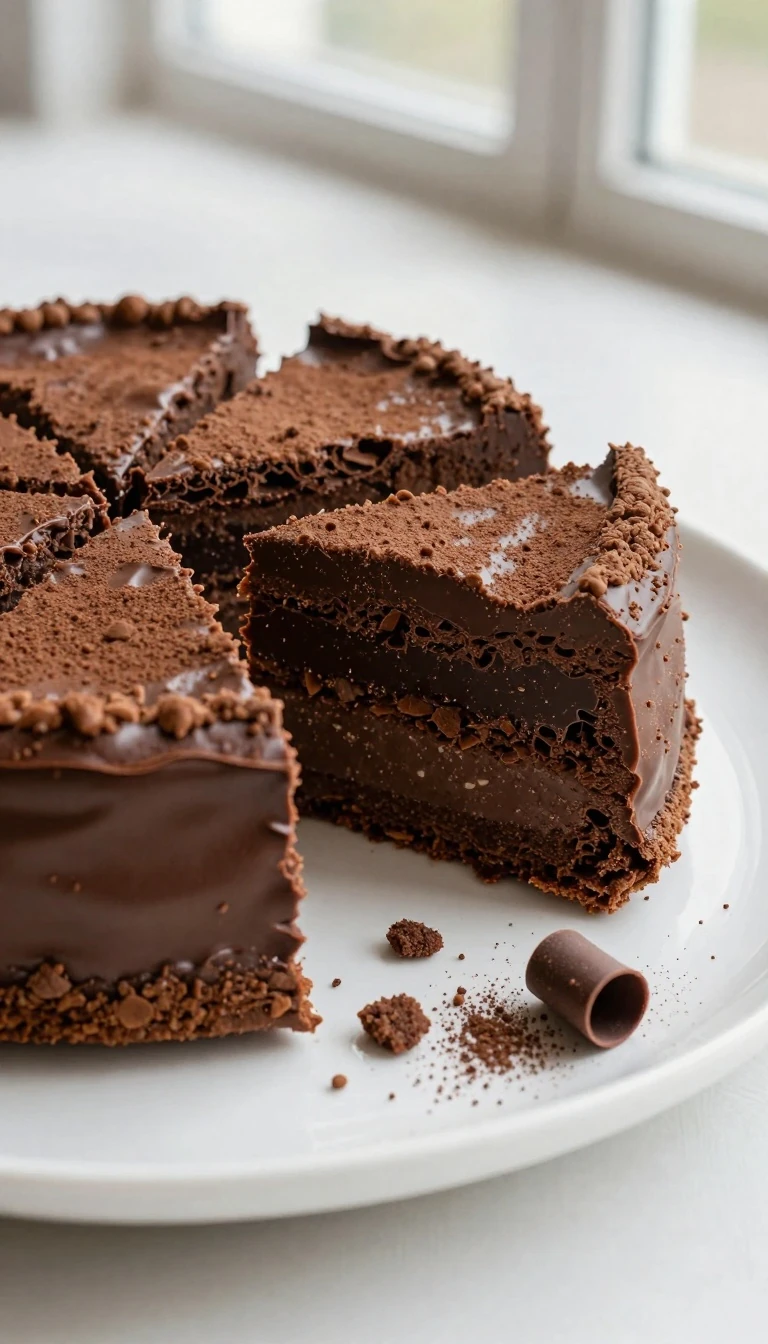
The texture is the main attraction. The cocoa sauce settles around crisp biscuit pieces, creating a slice that is soft and fudgy in some bites, crunchy in others, and rich without being difficult to prepare.
This recipe is also flexible enough for busy kitchens. You can make it a day ahead, prepare it in a loaf pan or square tin, and change the toppings depending on what is already in your pantry.
Only one saucepan and one mixing bowl are needed.
The cake can be prepared ahead for parties and family gatherings.
Plain biscuits, graham crackers, or digestive biscuits all work well.
Children can help with breaking biscuits and adding toppings.
Ingredients You’ll Need
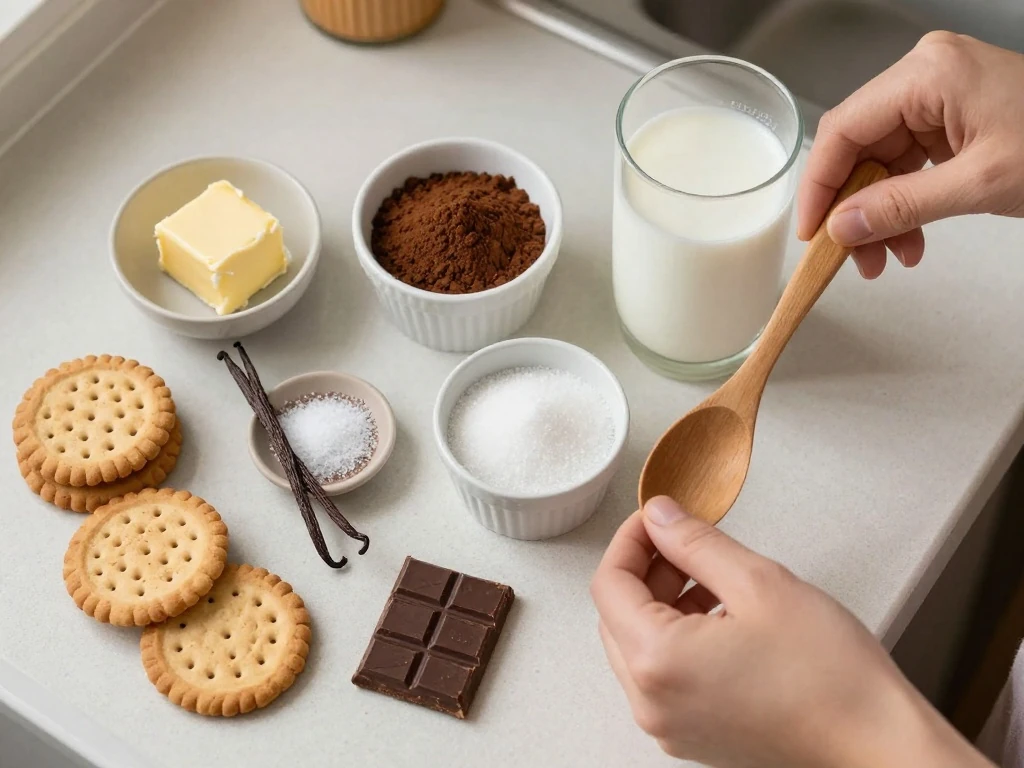
Plain tea biscuits or digestive biscuits form the crunchy structure of this dessert. Choose biscuits with a firm texture so they hold their shape when coated, and break them by hand into a mixture of small and medium chunks.
Butter, milk, sugar, and cocoa powder create the smooth chocolate sauce. Unsalted butter gives you better control over the flavor, while unsweetened cocoa keeps the sweetness balanced and provides a deep chocolate taste.
Vanilla and a small pinch of salt may seem minor, but both ingredients make the chocolate taste fuller. If you enjoy a darker flavor, replace two tablespoons of the cocoa with melted dark chocolate, or stir 75 to 100 grams of melted chocolate into the warm sauce.
Biscuits: Digestives give a hearty, slightly nutty bite, while tea biscuits create a lighter cake.
Cocoa: Use unsweetened cocoa powder, not instant hot chocolate mix.
Milk: Whole milk gives the smoothest sauce, though dairy-free milk can also work.
Optional toppings: Chopped walnuts, toasted hazelnuts, coconut, chocolate curls, or a thin ganache layer.
How to Make It Step-by-Step
Step 1: Prepare the pan before making the chocolate sauce because the mixture begins to thicken as it cools. Line a 9 x 5-inch loaf pan with parchment paper, leaving generous overhang on two sides so the chilled cake can be lifted out easily.
Step 2: Break the biscuits into a large bowl using your hands. Aim for a combination of chunks about half an inch wide and a few smaller crumbs, since this variety gives each slice a pleasing mix of crisp texture and chocolate binding.
Step 3: Add the butter to a saucepan over low heat and let it melt slowly. Whisk in the sugar, cocoa, milk, and salt, stirring until the mixture looks glossy and no dry cocoa pockets remain.
Step 4: Cook the sauce gently for 3 to 4 minutes, stirring often. Avoid a vigorous boil because excessive heat can make the sauce grainy or cause too much liquid to evaporate, which may leave the cake dry.
Step 5: Take the pan off the heat and add the vanilla. Allow the mixture to stand briefly until it is warm but not scalding, then taste carefully and adjust with a tiny pinch more salt if the chocolate flavor needs extra balance.
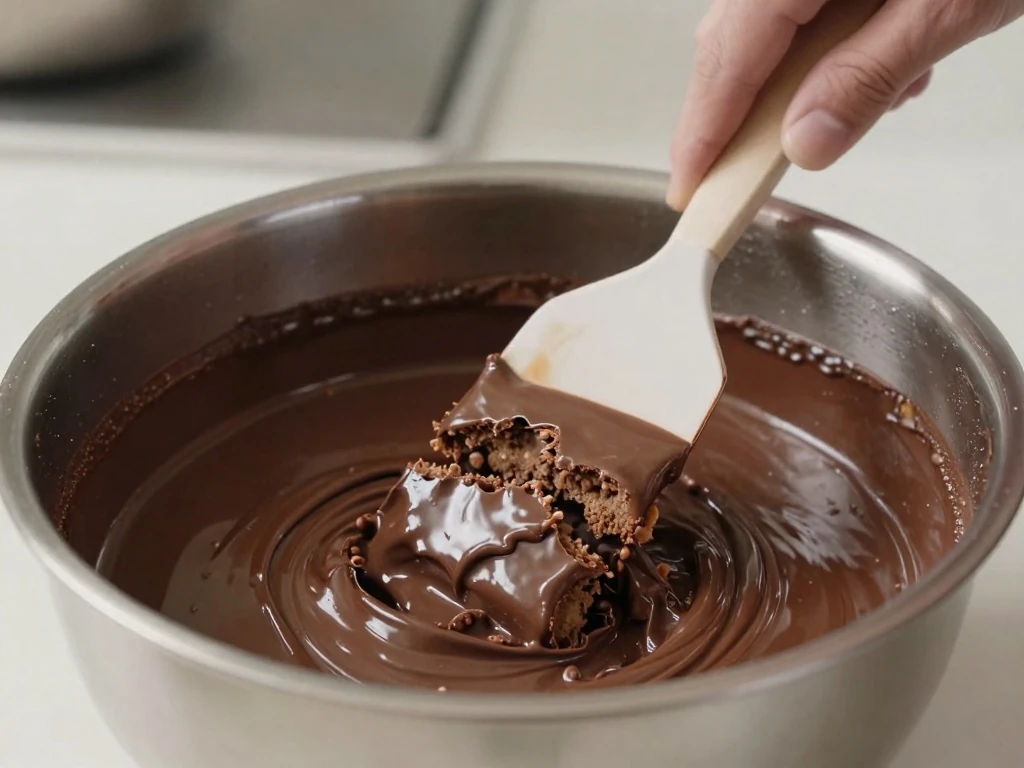
Step 6: Pour the warm sauce over the biscuit pieces and fold with a flexible spatula. Turn the mixture from the bottom of the bowl several times, coating everything evenly while taking care not to crush all the biscuits into crumbs.
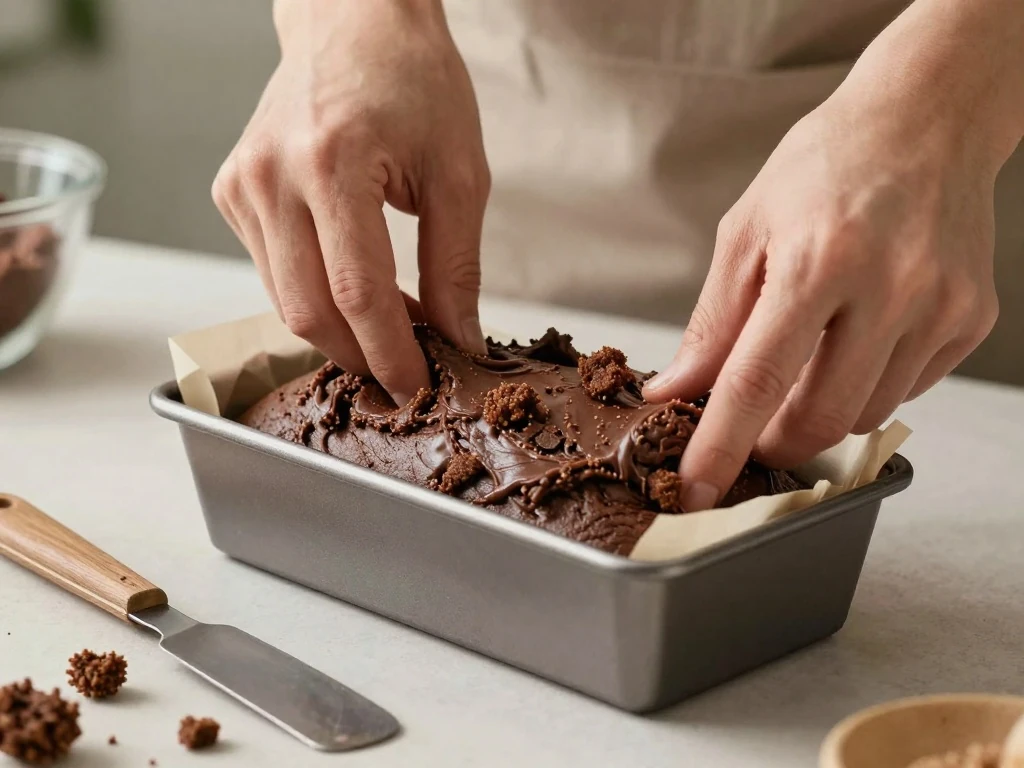
Step 7: Scrape the mixture into the lined pan and press it firmly into an even layer. Pay special attention to the corners and edges, as compacting the cake prevents loose pieces from falling away when it is sliced.
Step 8: Cover the pan with plastic wrap or foil and refrigerate for at least 4 hours. Overnight chilling gives the butter and chocolate time to set fully and produces the neatest, firmest slices.
Step 9: Remove the cake by lifting the parchment overhang and place it on a board. Add a drizzle of melted chocolate, a dusting of cocoa, or chopped nuts, then cut with a sharp knife and serve cold.
Pro Tips for the Best Lazy Cake
Do not pulverize every biscuit. Large pieces give the cake its characteristic mosaic appearance and keep the dessert from becoming heavy or pasty.
Keep the saucepan over low heat throughout the sauce-making stage. A gentle temperature melts the ingredients evenly and preserves a smooth, pourable texture.
Press the mixture firmly but do not mash it aggressively. The goal is to remove air gaps while keeping recognizable biscuit pieces throughout the cake.
For sharper slices, refrigerate the cake overnight rather than stopping at the minimum chilling time.
For a softer texture, leave each slice at room temperature for 5 to 10 minutes before serving.
For extra crunch, add 75 grams of toasted chopped hazelnuts or walnuts.
For a festive version, mix in dried cranberries, mini marshmallows, or crushed peppermint candy.
For a less sweet cake, use bittersweet biscuits and dark chocolate for the topping.
Easy Variations and Serving Ideas
A simple chocolate topping makes this lazy cake look polished. Melt dark chocolate with a teaspoon of neutral oil, pour it over the chilled cake, and let the coating set before slicing.
You can also fold additions into the biscuit mixture just before pressing it into the pan. Toasted nuts bring a warm, savory contrast, while shredded coconut gives the cake a soft tropical note.
Serve thin slices with coffee, espresso, or a glass of cold milk. For a dinner-party dessert, place each slice on a small plate with whipped cream, fresh berries, or a spoonful of vanilla ice cream.
If you prefer individual portions, pack the mixture into silicone muffin cups or small parchment-lined ramekins. Chill them until firm, then serve as bite-size chocolate treats that are easy to arrange on a dessert platter.
Storage and Make-Ahead Advice
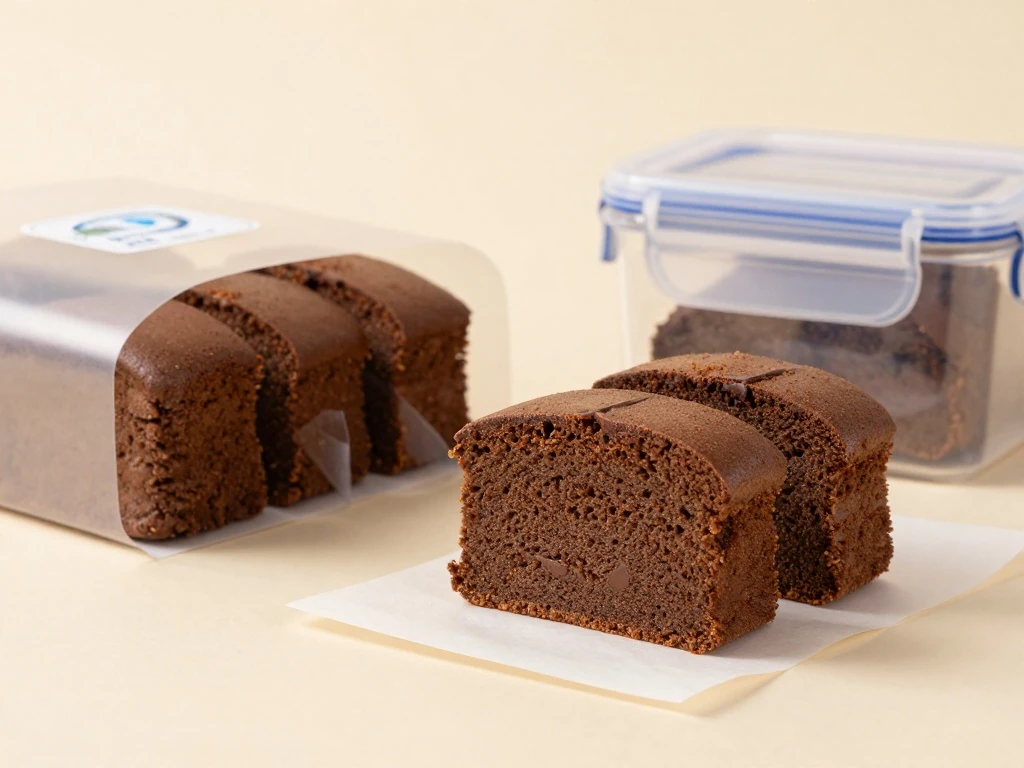
Keep lazy cake in an airtight container in the refrigerator. It stays delicious for up to 7 days, and the biscuit texture gradually becomes more tender while the chocolate flavor remains rich.
To freeze the cake, wrap individual slices in parchment and place them in a freezer-safe container. They can be frozen for up to 2 months and thawed overnight in the refrigerator before serving.
This recipe is especially useful when entertaining because it can be made one or two days ahead. Add delicate toppings such as whipped cream or fresh fruit just before serving so they stay fresh and attractive.
If the cake feels too firm directly from the refrigerator, let it rest briefly at room temperature. Do not microwave the entire cake, as the butter-based chocolate layer can soften unevenly and make the biscuits greasy.
Easy Lazy Cake Recipe
A rich no-bake chocolate biscuit cake prepared with pantry staples and chilled until sliceable. This simple lazy cake has a fudgy texture, crisp cookie pieces, and deep cocoa flavor.
as neededChocolate curls, chopped nuts, or cocoa powder
Method
Step-by-Step
Line a 9 x 5-inch loaf pan with parchment paper, leaving paper overhang on the long sides. Break the biscuits into uneven bite-size pieces in a large bowl, keeping some larger chunks for a satisfying crunch.
Melt the butter in a medium saucepan over low heat. Whisk in the sugar, cocoa powder, milk, and salt until smooth, then cook gently for 3 to 4 minutes without allowing the mixture to boil hard.
Remove the saucepan from the heat and stir in the vanilla extract. Let the chocolate mixture cool for 2 to 3 minutes so it is warm and pourable rather than extremely hot.
Pour the chocolate mixture over the broken biscuits and fold carefully with a spatula until every piece is coated. Work gently so the biscuits stay chunky instead of turning into fine crumbs.
Transfer the mixture to the prepared loaf pan and press it down firmly, especially into the corners. Smooth the top with the back of a spoon, cover the pan, and refrigerate for at least 4 hours.
Lift the chilled cake from the pan using the parchment handles and place it on a cutting board. Drizzle with melted dark chocolate or dust with cocoa, then slice with a sharp knife and serve cold.
Notes
For clean slices, chill the cake overnight and warm the knife under hot water before drying it. Store covered in the refrigerator for up to 7 days, or freeze individual slices for up to 2 months.
Final Thoughts
This easy lazy cake recipe proves that a memorable chocolate dessert does not need complicated equipment or hours of baking. With a handful of everyday ingredients, a short stovetop sauce, and enough chilling time, you get a fudgy biscuit cake with excellent texture and plenty of chocolate flavor.
Make it plain for a quick family treat, or finish it with melted chocolate, nuts, coconut, or colorful sprinkles for a celebration. Once you try the basic method, you can adapt the biscuits and toppings to suit nearly any occasion.
Remember to keep the biscuit pieces chunky, cook the sauce gently, and chill the cake until completely firm. Slice it cold, serve it with coffee or ice cream, and enjoy one of the easiest homemade chocolate desserts you can make.