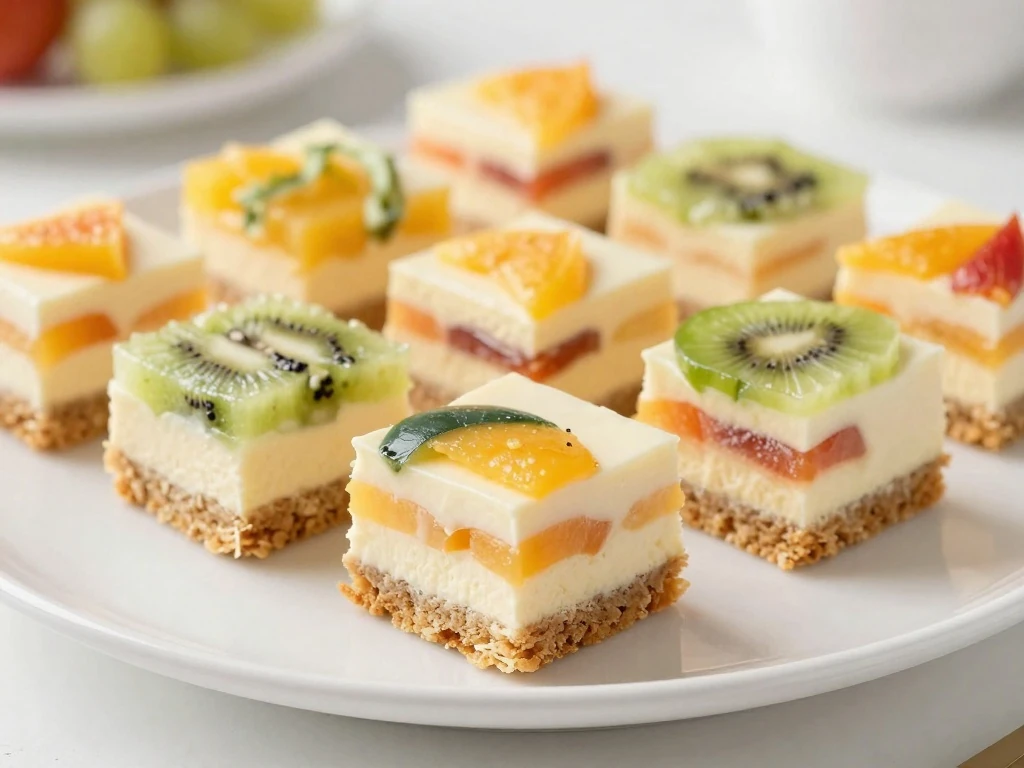
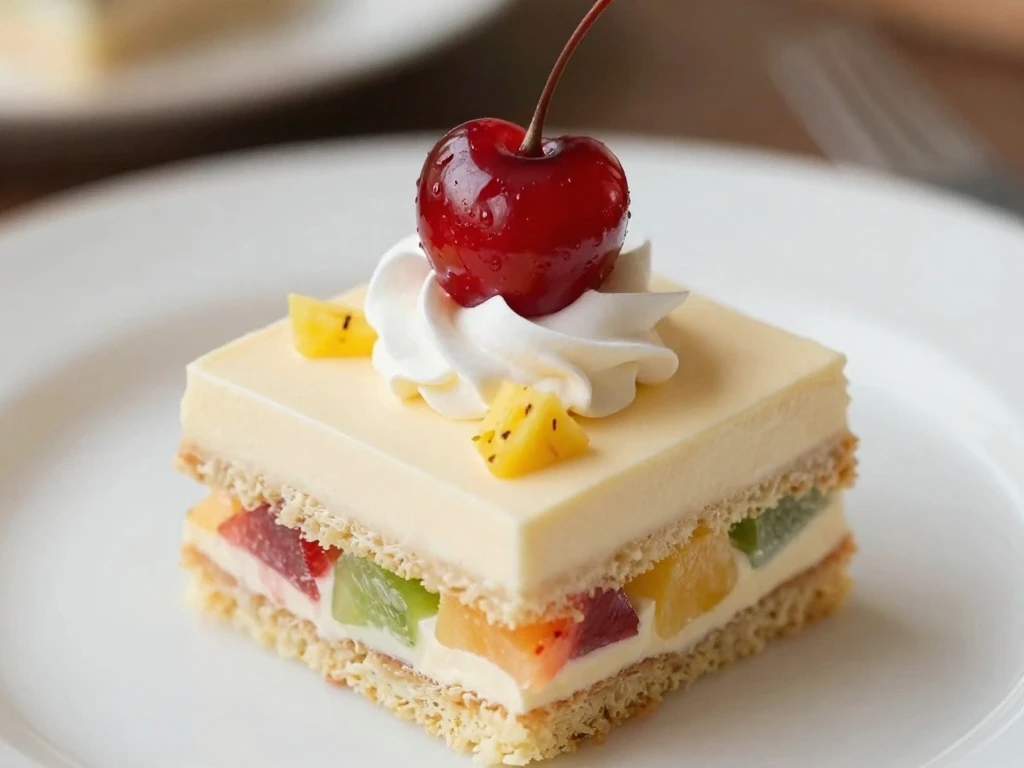
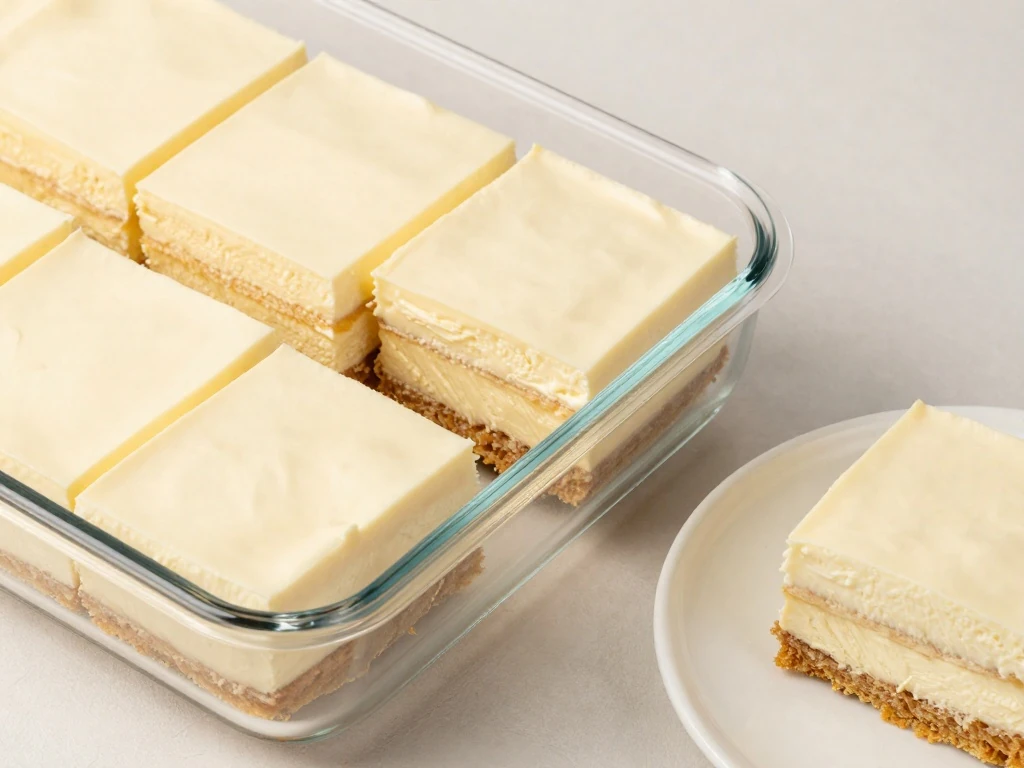
This Dream Cake Recipe is a creamy no-bake fruit dessert made with a buttery graham-cracker crust, sweetened condensed milk, cream cheese, whipped topping, fruit cocktail, and crushed pineapple. It takes about 25–30 minutes to prepare, needs no cooking, and sets in the refrigerator for at least 4 hours, with overnight chilling giving the cleanest slices.
Every bite brings together a crisp, lightly sweet crust and a cool, fluffy filling packed with juicy fruit. The lemon juice keeps the condensed-milk mixture from tasting too heavy, while pineapple adds a bright tropical note that makes this dessert especially welcome at potlucks, holidays, birthdays, and warm-weather gatherings.
This fruit Dream Cake is the kind of dessert that looks festive without asking you to turn on the oven. The recipe makes about 12 servings in a 9×13-inch pan, so it is practical for a family meal or a larger gathering.
The texture is wonderfully balanced. The graham crust has a gentle buttery crunch, while the filling is cool, creamy, and soft enough to melt in your mouth without becoming runny when properly chilled.
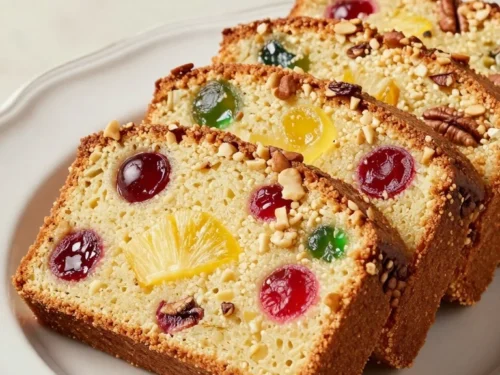
Fruit cocktail brings colorful pieces of fruit throughout the cake, and crushed pineapple adds a sunny, tropical flavor. Cream cheese gives the filling a mild tang that balances the sweetness of condensed milk and whipped topping.
If you enjoy creative chilled desserts, you may also like this chocolate dream cake idea for a completely different take on the same comforting dessert name.
Ingredients You’ll Need
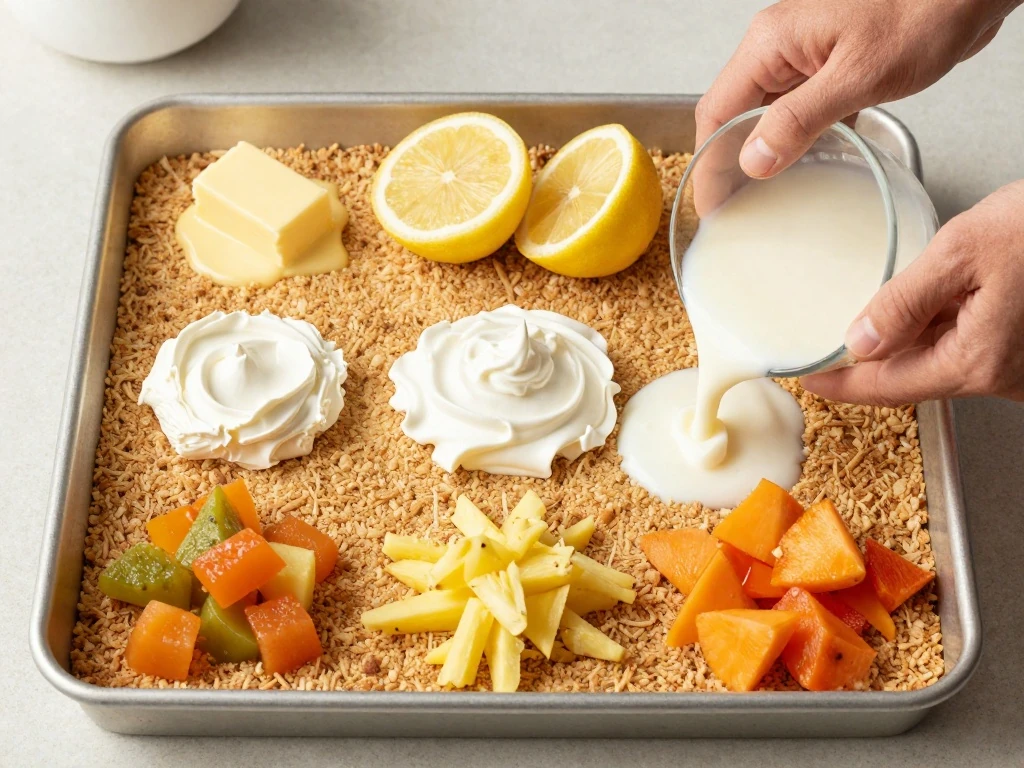
The ingredient list is short, but each component has an important job. Use the measurements below for one 9×13-inch pan and about 12 servings.
Graham-cracker crumbs: Two cups create the sturdy, crumbly base.
Unsalted butter and sugar: Butter binds the crumbs, while two tablespoons of sugar add a little extra sweetness.
Cream cheese: Eight ounces provide body and a pleasantly tangy flavor.
Sweetened condensed milk: One 14-ounce can sweetens the filling and gives it a rich, creamy consistency.
Lemon juice and vanilla: Lemon brightens the flavor, and vanilla rounds it out.
Frozen whipped topping: One thawed 8-ounce tub keeps the filling light and fluffy.
Fruit cocktail and pineapple: These canned fruits create the colorful, juicy center.
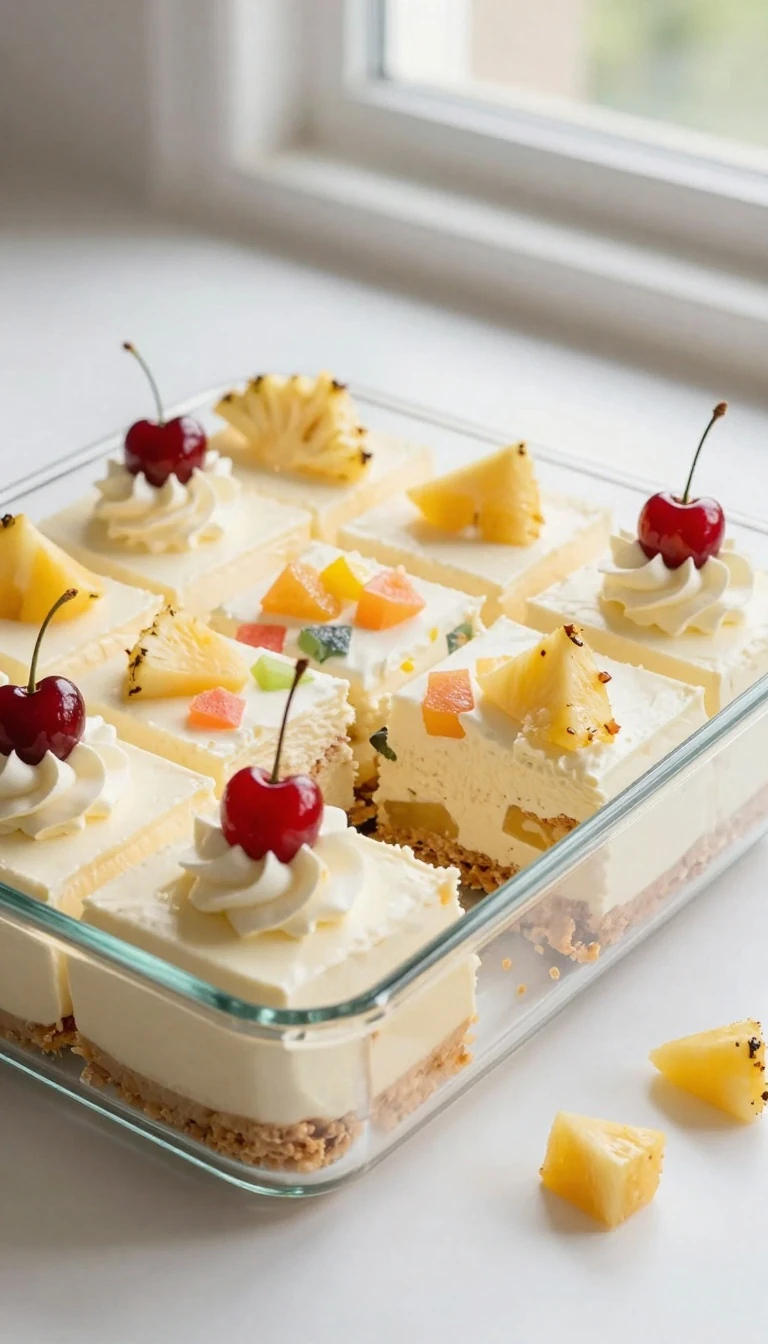
For the prettiest finish, set aside a few cherries or fruit pieces before mixing everything together. A few small swirls of extra whipped topping also make each serving look ready for a celebration.
How to Make It Step-by-Step
Step 1: Prepare the baking dish by lining a 9×13-inch pan with parchment paper or lightly greasing it. If using parchment, leave a little overhang on the long sides so the chilled cake can be lifted out more easily for slicing.
Step 2: Add the graham-cracker crumbs, melted unsalted butter, and granulated sugar to a bowl. Stir until every crumb looks evenly moistened, then press the mixture firmly across the bottom of the pan; a flat measuring cup helps create a compact, even layer.
Step 3: Chill the crust for 15–20 minutes while you prepare the filling. This short rest allows the melted butter to firm up and helps prevent the crust from shifting when the creamy mixture is spread over it.
Step 4: Place the softened cream cheese in a mixing bowl and beat it until smooth. Add the sweetened condensed milk, lemon juice, and vanilla extract, then continue beating until the mixture is creamy and evenly combined with no visible cream-cheese lumps.
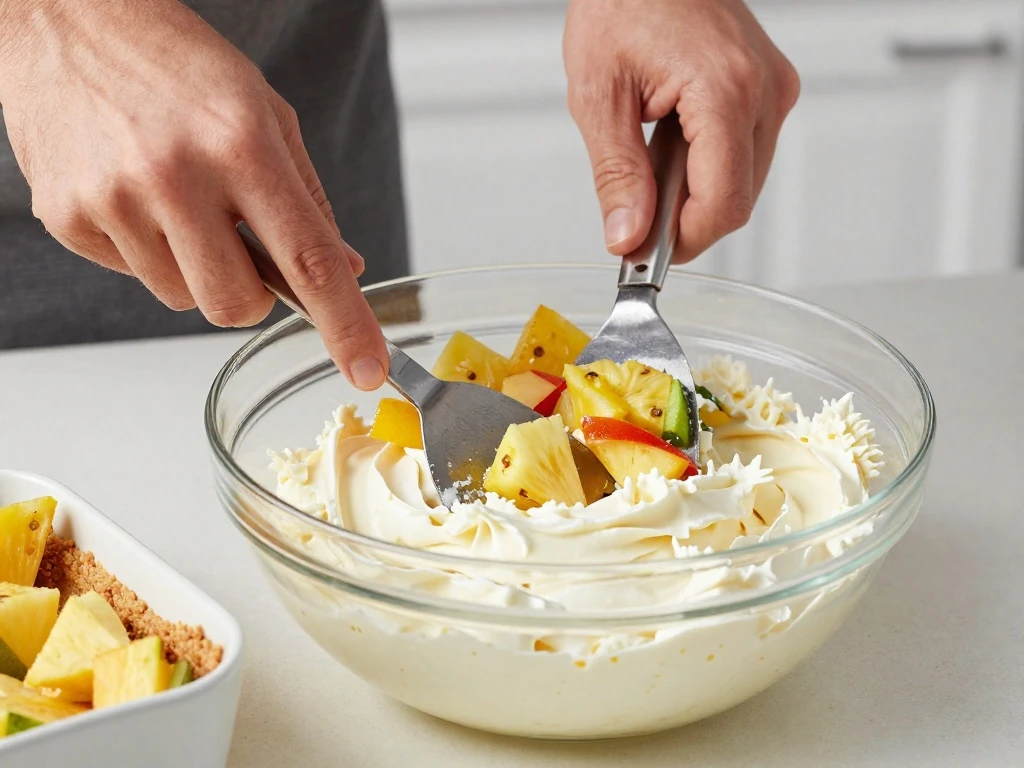
Step 5: Fold the thawed whipped topping into the cream-cheese mixture with a spatula. Gentle folding is better than vigorous stirring because it preserves the airy texture that makes this dessert light.
Step 6: Drain the fruit cocktail and crushed pineapple extremely well before adding them. Fold both fruits into the creamy mixture until they are distributed throughout, taking care not to crush the fruit pieces.
Step 7: Spoon the filling over the chilled crust and spread it into the corners. Smooth the top with an offset spatula or the back of a spoon, then cover the pan tightly.
Step 8: Refrigerate the cake for at least 4 hours, although overnight is best. Slice it cold, and if you want extra-firm pieces, place the covered pan in the freezer for 30–45 minutes before cutting without allowing the dessert to freeze solid.
Pro Tips for a Firm, Creamy Cake
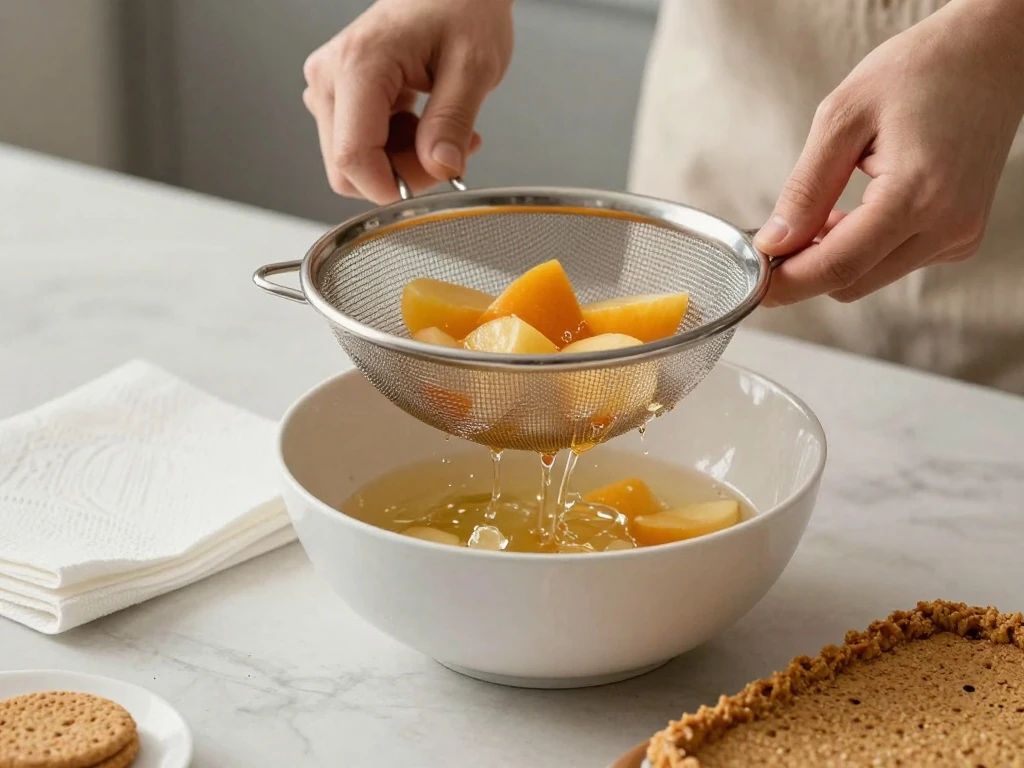
The most important detail is draining the fruit thoroughly. Place the fruit cocktail and pineapple in a sieve for 10–15 minutes, then gently pat them dry with paper towels; syrup left on the fruit can loosen the filling and make the crust soggy.
Bring the cream cheese to room temperature before mixing. Soft cream cheese blends more easily with condensed milk, lemon juice, and vanilla, giving you a smooth filling instead of small lumps.
Press the crust firmly, especially around the edges and corners. A loose crust may crumble when served, while a compact base supports the soft filling and gives each square a satisfying contrast.
Do not rush the chill time. Four hours is the minimum, but overnight refrigeration allows the filling to become noticeably firmer and makes it easier to cut clean portions.
Use a sharp knife and wipe it clean between slices.
Cut the cake directly from the refrigerator for the best shape.
Add garnish just before serving so cherries and whipped topping stay attractive.
Keep the pan covered during chilling to protect the dessert from refrigerator odors.
Flavor Variations and Serving Ideas
The recipe uses both fruit cocktail and crushed pineapple for a colorful, tropical flavor. You can reserve a few pieces of fruit for the top, or finish each serving with a cherry and a small spoonful of whipped topping.
Some families make similar desserts with only fruit cocktail, while other versions include peaches, mandarin oranges, or maraschino cherries. If you change the fruit, keep the total amount close to the specified canned-fruit quantity and drain every piece carefully.
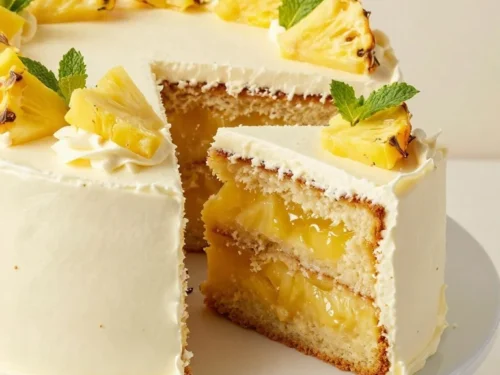
A cookie or vanilla-wafer crust can replace the graham base in other versions, but the graham crust gives this recipe its classic toasted sweetness. For another fruit-focused baking project, take a look at this pineapple layer cake.
Serve the cake cold in small squares after a hearty meal, alongside coffee or tea. Because the filling is rich and creamy, modest portions are satisfying, and the bright fruit keeps the dessert from feeling too heavy.
Storage and Slicing Advice
Cover the finished cake and store it in the refrigerator. It is best served cold, and keeping it chilled also protects the structure of the whipped topping and cream-cheese filling.
For clean slices, use a long sharp knife dipped briefly in warm water, then dry it before cutting. Repeat the wipe-and-dry process between cuts to keep the layers distinct and the edges neat.
If the cake feels soft after four hours, return it to the refrigerator and give it more time rather than trying to cut it immediately. Overnight chilling is the most reliable choice when you are preparing dessert for guests.
For a classic cake recipe to serve when you do want to bake, this moist vanilla cake is a simple companion for your dessert collection.
Dream Cake Recipe
A creamy no-bake fruit cocktail dream cake with a buttery graham-cracker crust, pineapple, whipped topping, and a smooth condensed-milk filling. Chill it overnight for firm, beautiful slices.
18-ounce tub (226 g)Frozen whipped topping, thawed
Fruit
115-ounce can (425 g)Fruit cocktail, very well drained
18-ounce can (227 g)Crushed pineapple, very well drained
Garnish
OptionalAdditional whipped topping, cherries, or reserved fruit
Method
Step-by-Step
Line a 9x13-inch baking dish with parchment paper or lightly grease it. Mix the graham-cracker crumbs, melted butter, and sugar until evenly moistened, then press the mixture firmly into the dish and chill for 15–20 minutes.
Beat the softened cream cheese until smooth and free of lumps. Add the sweetened condensed milk, lemon juice, and vanilla extract, then beat until the mixture is thoroughly blended.
Fold the thawed whipped topping into the cream-cheese mixture using a spatula. Use gentle strokes so the filling stays light and airy.
Fold in the very well-drained fruit cocktail and crushed pineapple. Make sure the fruit is not carrying excess syrup, since extra liquid can make the filling loose.
Spread the fruit filling over the chilled graham crust and smooth the top. Cover the pan and refrigerate for at least 4 hours, preferably overnight, until firm.
Slice the cake cold and garnish each piece with a little whipped topping, a cherry, or reserved fruit if desired. For especially firm pieces, freeze the covered cake for 30–45 minutes before cutting, but do not serve it fully frozen.
Notes
Drain the canned fruit in a sieve for 10–15 minutes and pat it dry before adding it to the filling. Overnight chilling gives the neatest slices. Keep leftovers covered and refrigerated.
Final Thoughts
This Dream Cake Recipe turns familiar pantry ingredients into a cool, colorful fruit dessert with very little hands-on work. The buttery graham crust, tangy cream-cheese filling, airy whipped topping, and juicy pineapple-fruit cocktail combination make every bite creamy, crisp, and refreshing.
For the best result, focus on the two details that matter most: drain the fruit thoroughly and allow the assembled cake to chill until firm. Prepare it the night before serving, add a simple garnish, and you will have an easy no-bake dessert that looks as good as it tastes.