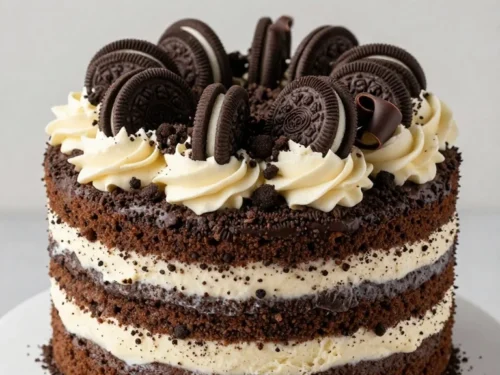
This Dairy Queen Ice Cream Cake Recipe makes a mini six-inch copycat cake with layers of chocolate ice cream, vanilla ice cream, chocolate-cookie crust, and the familiar soft fudge-and-cookie crunch center. It serves about 6–8 people and needs no cooking, making it a practical homemade dessert for birthdays, celebrations, or a weekend freezer treat.
The finished cake is creamy, cold, chocolatey, and pleasantly crunchy in every bite. A buttery cookie crust supports the cake, while cooled hot fudge mixed with finely crushed sandwich cookies creates the signature middle layer between the rich chocolate and mellow vanilla ice cream.
Jump to RecipeWhy You’ll Love This Recipe
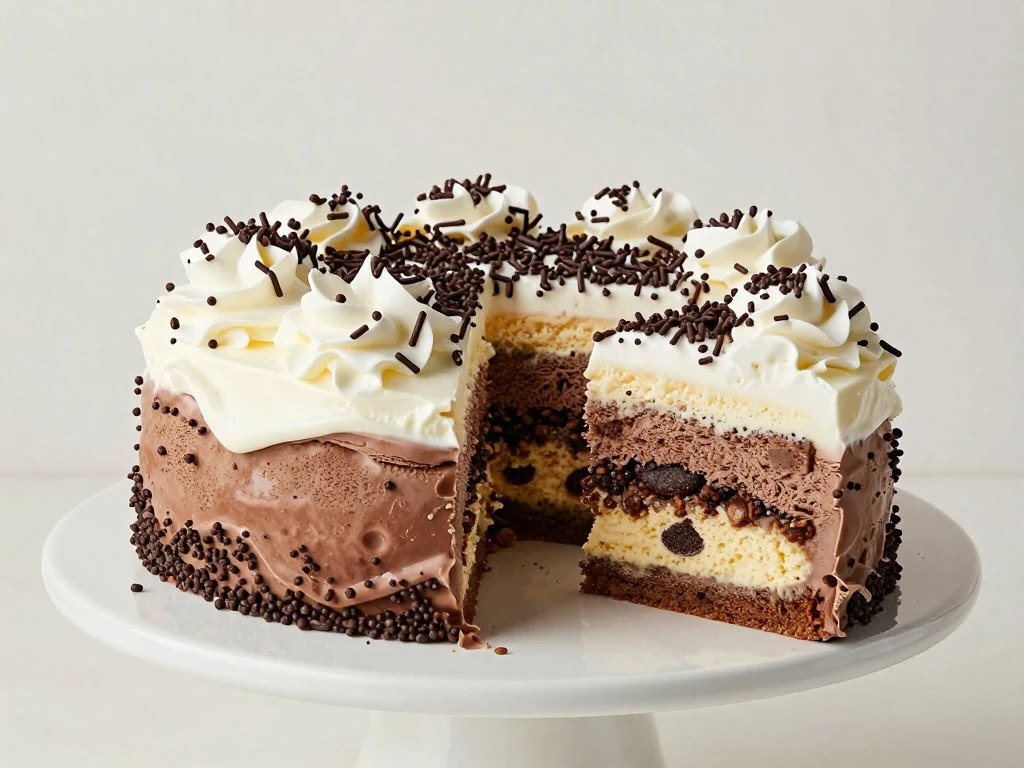
This mini Dairy Queen-style ice cream cake delivers the parts people love most about the classic dessert without requiring a large cake pan or a complicated ice cream-making project. The six-inch size is just right for a family celebration, a small birthday gathering, or anyone who wants a special dessert without several leftover servings.
Each layer brings a different texture. The cookie crust is buttery and slightly crisp, the chocolate ice cream is creamy and full-bodied, the fudge center is soft and chewy, and the vanilla layer adds a cool, sweet contrast.
The recipe is also wonderfully flexible while keeping the classic flavor profile. You can finish the cake with whipped topping, lightly sweetened whipped cream, chocolate sprinkles, cookie crumbs, chocolate curls, or a little extra fudge.
- No baking: Every part is assembled cold, so the oven stays off.
- Small-batch size: One six-inch cake serves approximately 6–8 people.
- Make-ahead friendly: The cake must freeze for at least 4–6 hours and is even better prepared the night before.
- Celebration-ready: A few chocolate decorations make it look festive with very little extra work.
Ingredients You’ll Need
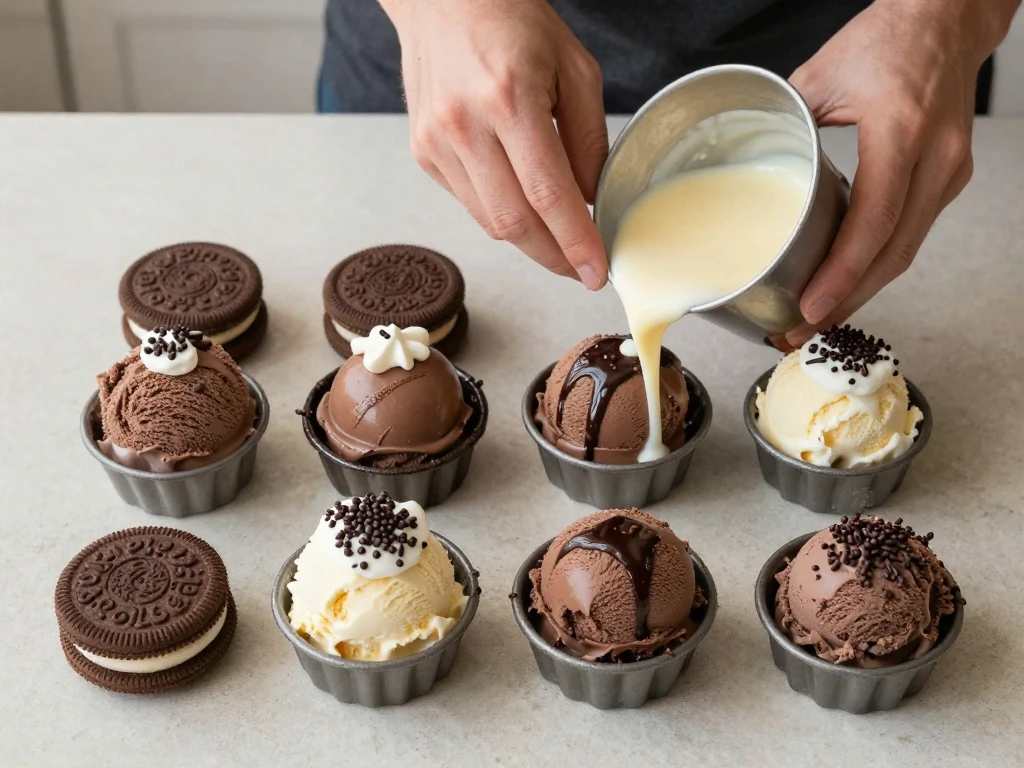
Start with 12 chocolate sandwich cookies. Eight cookies form the crust, while the remaining four can be crushed for the fudge center; the separate 1/2 cup of finely crushed cookies listed for the center ensures you have enough crumb mixture for a distinct crunchy layer.
Melted unsalted butter binds the crust and gives it a rich, sliceable texture. Press the crumbs firmly into the parchment-lined springform pan so the base stays together when the cake is cut.
Use two cups, or about one pint, each of chocolate and vanilla ice cream. Let each flavor soften only until it spreads easily, because ice cream that becomes runny can freeze with icy patches and make the layers blur together.
The center is made with 1/2 cup of prepared hot fudge sauce and 1/2 cup of finely crushed chocolate sandwich cookies. Cool the fudge until it is still spreadable but no longer hot, since hot sauce can soften the chocolate ice cream too quickly.
For the finish, you need one cup of prepared whipped topping or lightly sweetened whipped cream and two tablespoons of chocolate sprinkles or chocolate curls. An optional two tablespoons of chocolate ganache or extra hot fudge can be used for a drizzle.
How to Make It Step-by-Step
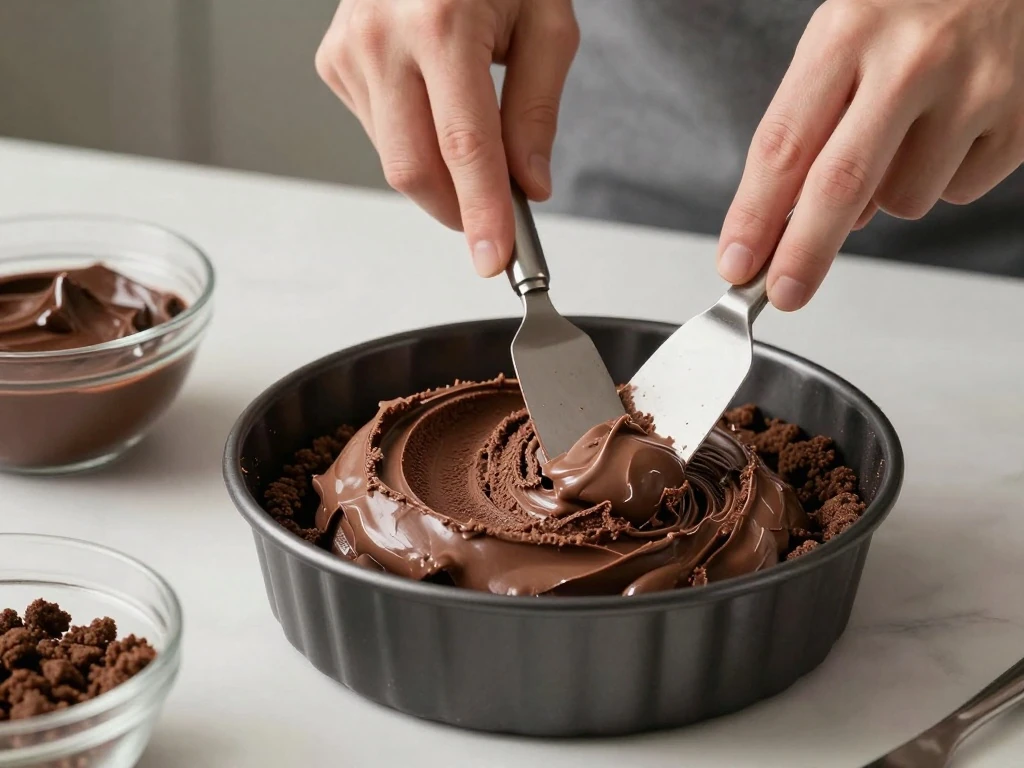
Step 1: Prepare the pan by lining the bottom of a six-inch springform pan with parchment paper. Add a strip of acetate or parchment around the inside wall if you have one, since it helps the frozen cake release with smoother sides.
Step 2: Make the cookie crust by crushing eight chocolate sandwich cookies into fine crumbs. Mix the crumbs with two tablespoons of melted unsalted butter, press the mixture firmly across the bottom of the pan, and freeze it for 15–20 minutes so it becomes solid.
Step 3: Soften the chocolate ice cream at room temperature just until it is spreadable. Spoon the two cups of chocolate ice cream over the chilled crust, smooth it into an even layer, and return the pan to the freezer for about 30 minutes.
Step 4: Prepare the signature crunch layer while the chocolate layer chills. Stir the cooled, spreadable hot fudge sauce with the 1/2 cup of finely crushed chocolate sandwich cookies until the crumbs are coated and the mixture looks thick but easy to spread.
Step 5: Spread the fudge-and-cookie mixture over the firm chocolate ice cream. Work gently from the center toward the edge, keeping the layer even and avoiding pressure that might disturb the frozen base.
Step 6: Soften the vanilla ice cream until it holds its shape but spreads smoothly. Add the two cups of vanilla ice cream over the fudge center, smooth the top with a small offset spatula or the back of a spoon, and cover the pan.
Step 7: Freeze the assembled cake for at least 4–6 hours, preferably overnight. It must be completely firm before decorating, or the whipped topping can slide and the layers may compress during slicing.
Step 8: Release the cake from the springform pan once frozen solid. Peel away the parchment or acetate, then frost the top and sides with one cup of whipped topping or lightly sweetened whipped cream.
Step 9: Decorate the cake with chocolate sprinkles, chocolate curls, cookie crumbs, or an optional drizzle of ganache or additional hot fudge. Return it to the freezer briefly if the topping has become soft during decorating.
Step 10: Let the cake stand at room temperature for 10–15 minutes before serving. For neat slices, warm a sharp knife under hot water, dry it, cut immediately, and repeat the warming and drying process between slices.
Pro Tips for Clean Layers
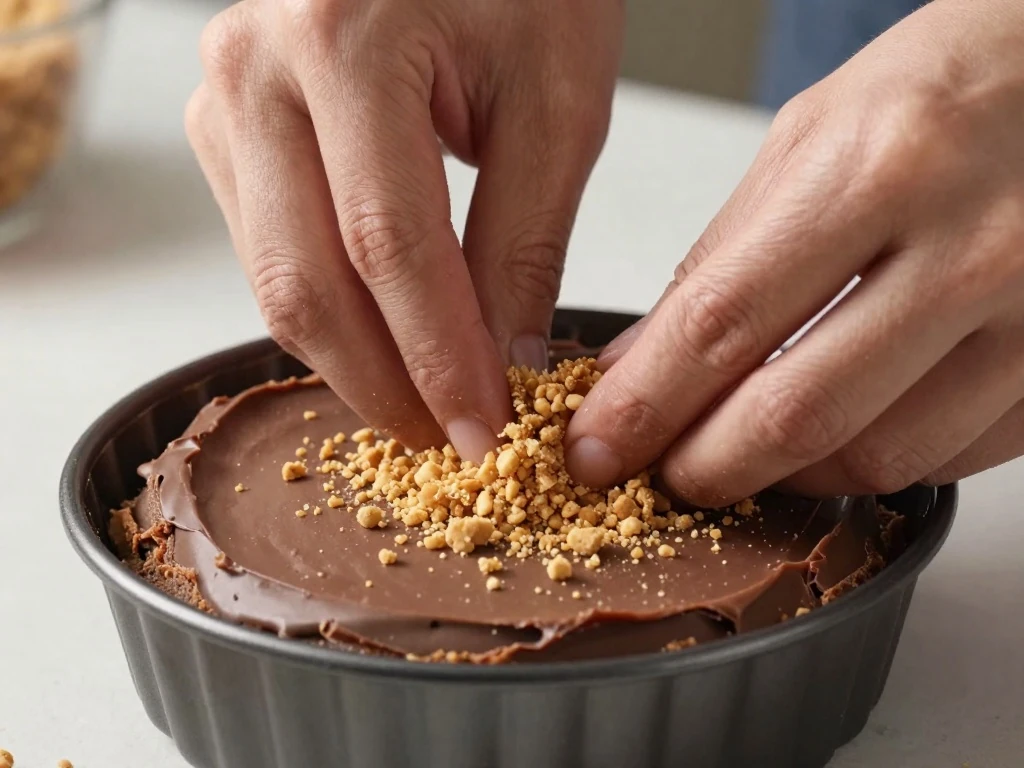
The most important detail is the texture of the ice cream. It should be soft enough to spread without tearing the crust, but it should still look dense and hold ridges from a spatula.
Do not skip the short freezing periods. Freezing the crust before adding chocolate ice cream, and freezing the chocolate layer before adding the fudge crunch, keeps the colors and textures separate.
If the hot fudge sauce is too loose, let it cool a little longer before mixing in the cookie crumbs. If it is too firm, allow it to sit at room temperature briefly and stir until it reaches a thick, spreadable consistency.
- Use the flat bottom of a measuring cup to compact the cookie crust.
- Keep the vanilla ice cream in the freezer until the chocolate layer is ready.
- Use a small offset spatula to smooth the top without warming the cake too much.
- Decorate quickly, then return the cake to the freezer if it begins to soften.
- Cut with a hot, dry knife for a defined chocolate, fudge, and vanilla cross-section.
Serving and Decorating Ideas
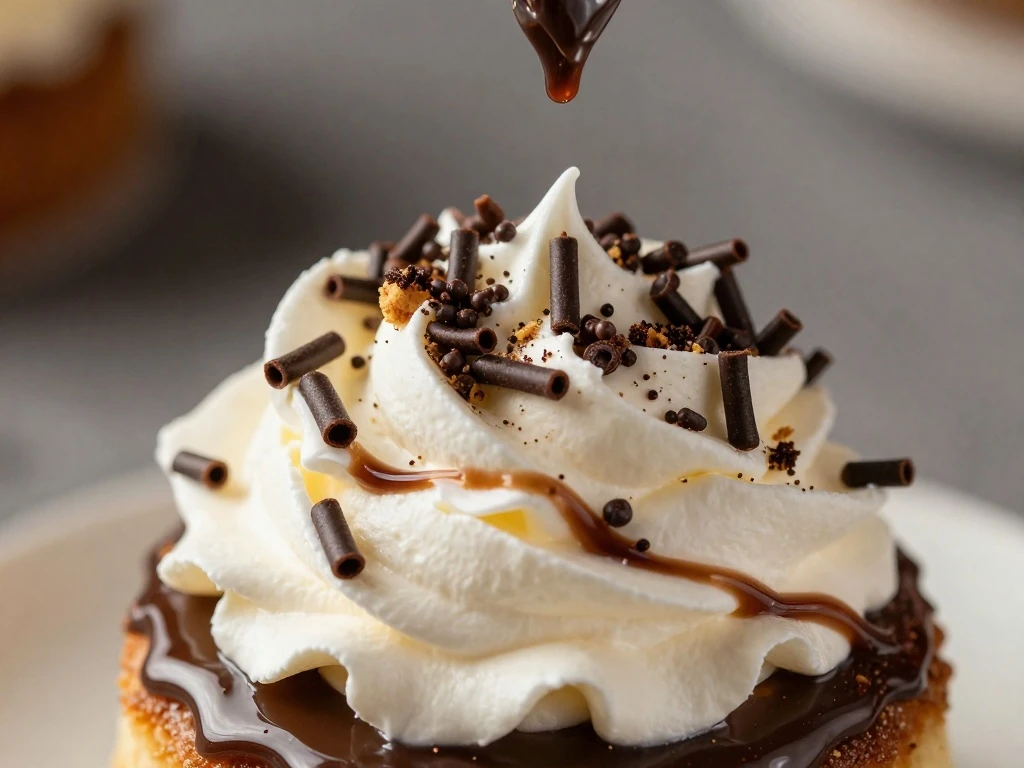
For the most recognizable presentation, frost the entire cake in a thin white layer of whipped topping and scatter chocolate sprinkles around the top edge. A few chocolate curls in the center add height and make the cake look ready for a party table.
For a more casual finish, leave some cookie crumbs around the base and drizzle the top with optional ganache or extra hot fudge. The dark drizzle looks especially appealing against the pale whipped topping and vanilla ice cream.
Letting the cake stand for 10–15 minutes before slicing gives the ice cream enough time to soften slightly while remaining cold and firm. Serve each piece immediately, since the layers will continue to soften as they sit.
Storage and Make-Ahead Advice
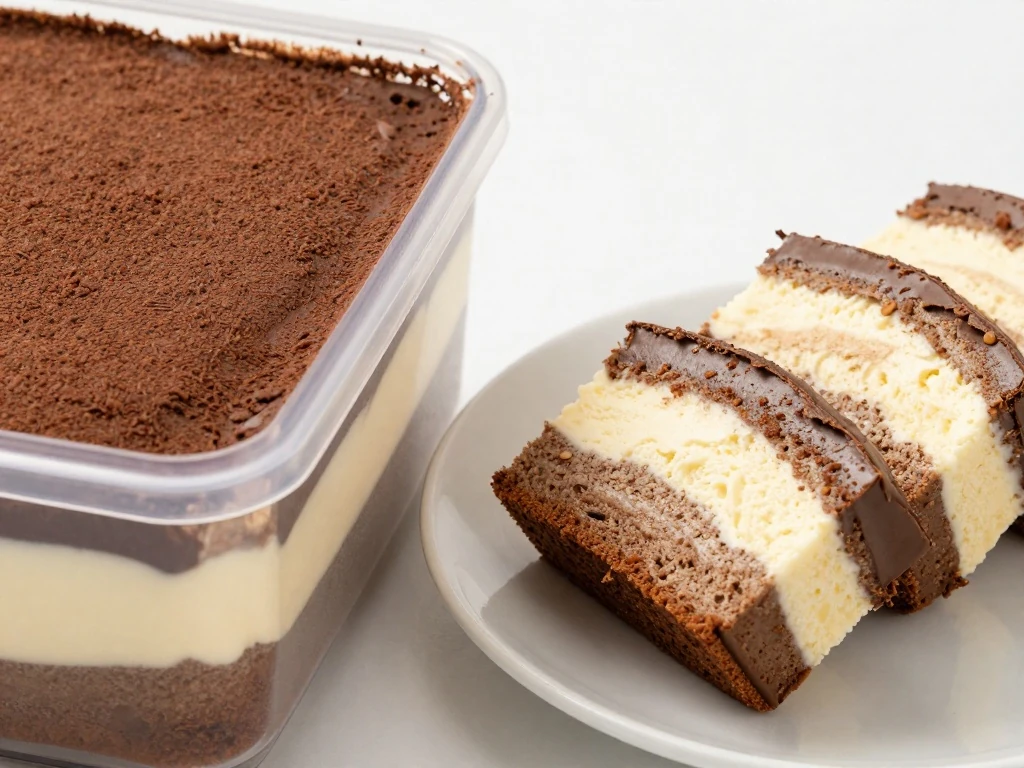
Keep the finished cake covered in the freezer until you are ready to serve it. A cake carrier, a large freezer-safe container, or a carefully wrapped pan can protect the whipped topping and help prevent the ice cream from absorbing freezer odors.
This cake is ideal for preparing the day before a celebration because the required overnight freeze gives every layer time to set completely. For the best texture and flavor, enjoy it within about one week.
If the cake has been out for the full serving period and becomes soft, return it to the freezer before storing it again. Avoid repeatedly thawing and refreezing the whole cake, since that can create a harder, icier texture.
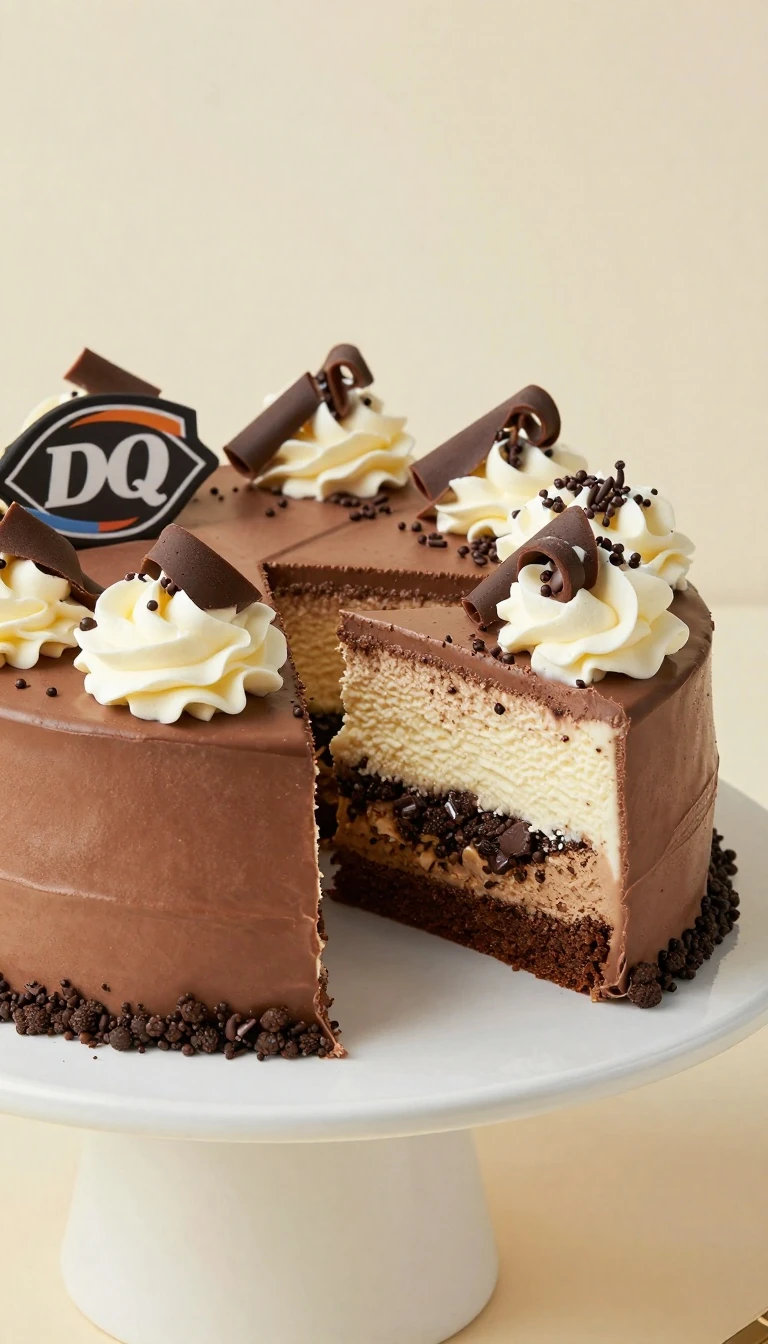
Dairy Queen Ice Cream Cake Recipe
Ingredients
Method
- Line a six-inch springform pan with parchment paper, adding a parchment or acetate strip around the inside edge if desired. Crush eight sandwich cookies into fine crumbs, mix them with the melted butter, and press firmly into the pan; freeze for 15–20 minutes.
- Soften the chocolate ice cream until spreadable but still firm enough to hold its shape. Spread it evenly over the chilled crust and freeze for about 30 minutes.
- Stir the cooled hot fudge sauce together with the 1/2 cup finely crushed cookies. Spread the fudge-and-cookie mixture over the chocolate ice cream in an even layer.
- Soften the vanilla ice cream until spreadable, then spoon it over the fudge-crunch center and smooth the top. Cover the pan and freeze for at least 4–6 hours, preferably overnight, until completely firm.
- Remove the frozen cake from the springform pan and peel away the parchment or acetate. Frost the top and sides with whipped topping or lightly sweetened whipped cream, then decorate with sprinkles, cookie crumbs, chocolate curls, or optional fudge.
- Let the cake stand at room temperature for 10–15 minutes before slicing. Warm a sharp knife under hot water, dry it carefully, and cut immediately; rewarm and dry the knife between slices for clean layers.
Notes
Final Thoughts
This Dairy Queen Ice Cream Cake Recipe proves that a memorable celebration dessert can be made with a few familiar ingredients and a little freezer time. The combination of chocolate and vanilla ice cream, buttery cookie crust, and fudgy cookie crunch gives every slice the nostalgic character of the classic cake in a convenient mini format.
For the best result, focus on firm layers, cool fudge, and patient freezing. Once the cake is decorated and sliced with a warmed knife, you will have a creamy, crunchy, chocolate-filled dessert that looks festive and tastes wonderfully indulgent.