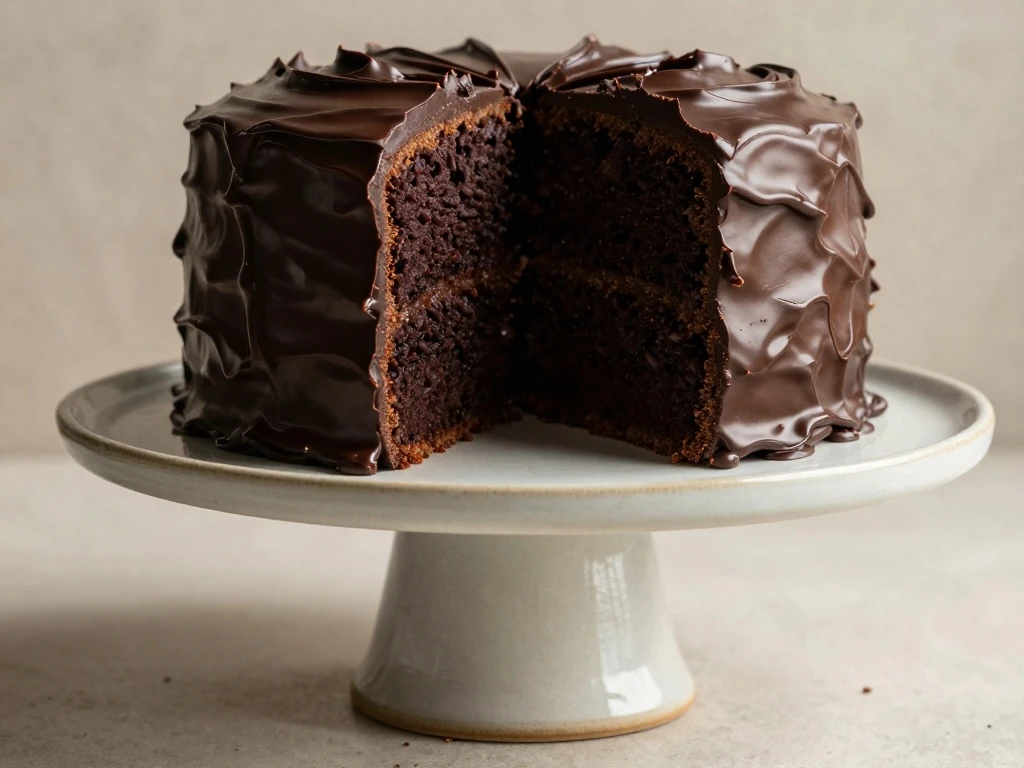
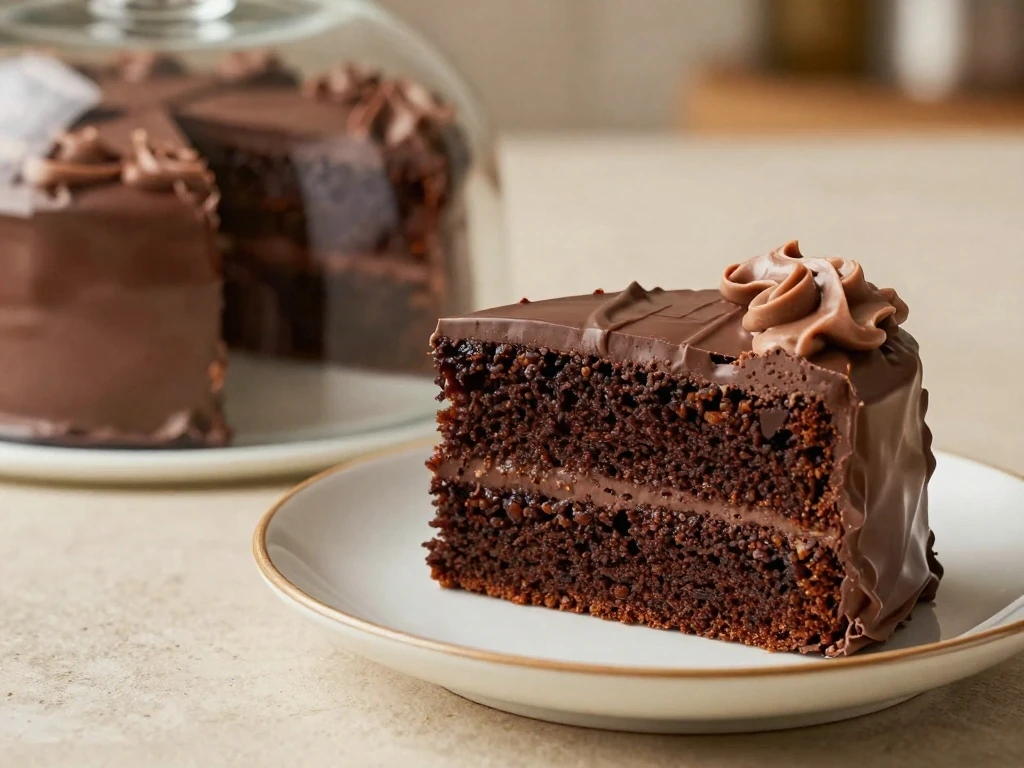
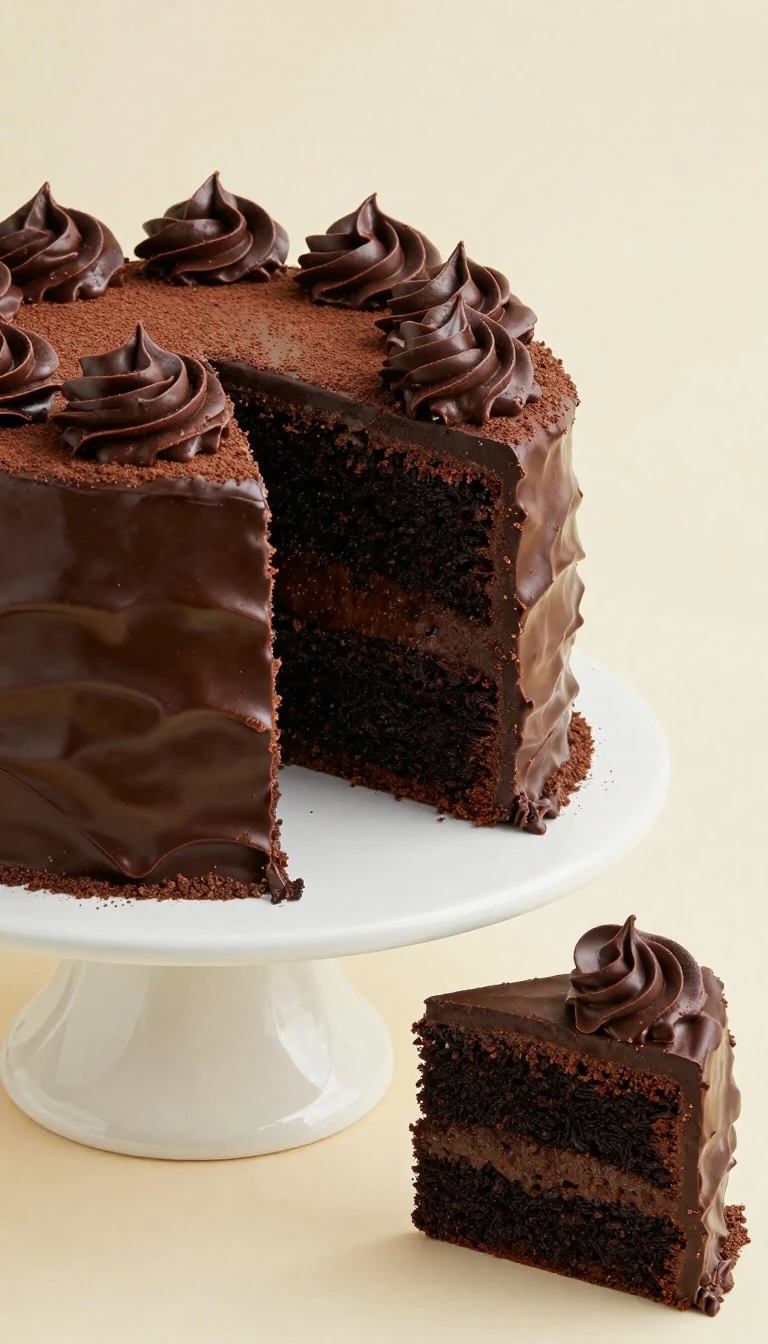
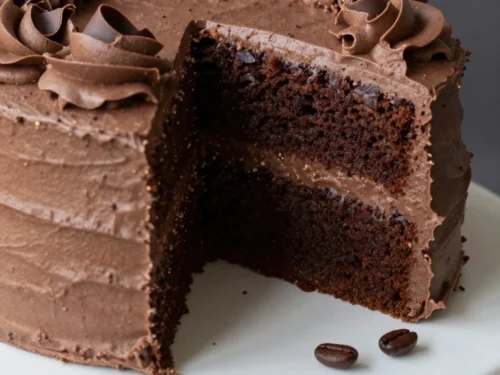
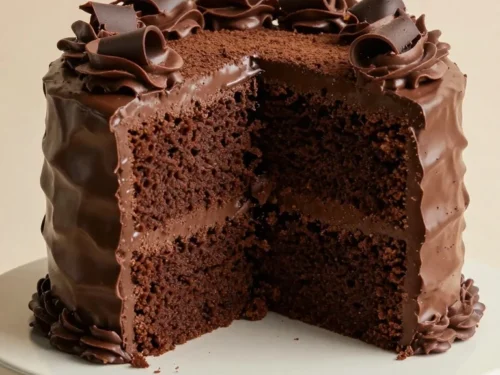
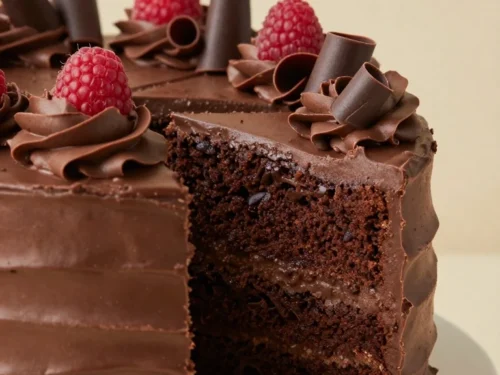
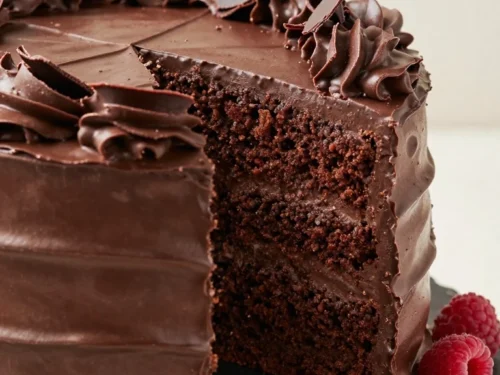
This sinfully rich Devil’s Food Cake recipe makes a deeply chocolatey, tender two-layer cake with a soft crumb and silky chocolate frosting. The secret is a combination of unsweetened cocoa powder, hot coffee, buttermilk, and neutral oil, which creates intense chocolate flavor while keeping every bite moist.
To make it, whisk the dry ingredients, combine the wet ingredients separately, stir in hot coffee, and bake the batter in two round cake pans. Once cool, sandwich the layers with creamy chocolate frosting and finish with chocolate curls for a bakery-worthy dessert that is simple enough for a weekend and impressive enough for a celebration.
This Devil’s Food Cake is the dessert to make when ordinary chocolate cake simply will not do. It has a dark cocoa color, a plush crumb, and a full chocolate flavor that lingers without becoming harsh or dry.
The texture comes from several smart baking choices. Oil keeps the cake soft after chilling, buttermilk adds gentle tang and tenderness, and hot coffee helps the cocoa bloom so its flavor tastes deeper and more rounded.
The batter is also wonderfully forgiving. It looks thin when it goes into the pans, but it bakes into layers that are moist enough to eat alone and sturdy enough to stack under a generous blanket of frosting.
Deep chocolate flavor with everyday pantry ingredients.
A soft, moist crumb that stays tender for several days.
Silky buttercream that is easy to spread and pipe.
A beautiful layer-cake finish for birthdays, holidays, and dinner parties.
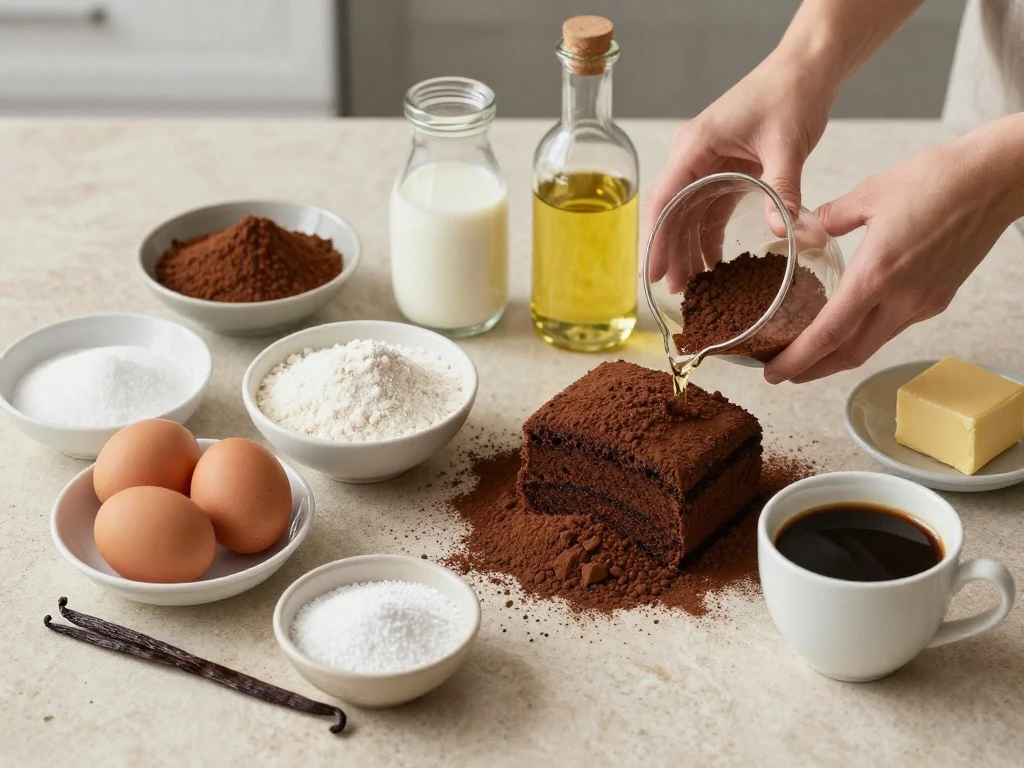
Ingredients You’ll Need
Natural unsweetened cocoa powder gives this cake its classic devil’s food character. Dutch-process cocoa can work in a pinch, but natural cocoa pairs especially well with the baking soda and produces a lively, balanced chocolate taste.
Hot brewed coffee is a flavor helper rather than the star. It intensifies the cocoa, and the finished cake will not taste like coffee; use hot water instead if you prefer to avoid coffee.
Buttermilk contributes acidity, richness, and a delicate crumb. If you do not have it, stir 1 tablespoon of lemon juice into 1 cup of milk, rest the mixture for 5 minutes, and use it as a substitute.
For the frosting, use butter that is soft enough to indent with a fingertip but not shiny or melted. Powdered sugar gives the buttercream structure, while heavy cream makes it especially smooth and luxurious.
Measure flour by spooning it into a cup and leveling the top.
Choose a neutral oil such as vegetable, canola, or avocado oil.
Use good vanilla because its flavor is noticeable in the frosting.
Have the eggs and buttermilk at room temperature for better mixing.
How to Make It Step-by-Step
Step 1: Begin by heating the oven to 350°F and preparing two 9-inch round cake pans. Grease the pans, line their bottoms with parchment, and dust the sides with cocoa powder so the baked layers release cleanly without pale flour marks.
Step 2: Add the flour, cocoa powder, sugar, baking soda, baking powder, and salt to a large mixing bowl. Whisk thoroughly for at least 30 seconds, paying special attention to cocoa lumps that could leave bitter pockets in the cake.
Step 3: In a separate bowl, whisk the eggs, buttermilk, oil, and vanilla until the mixture looks uniform. Keeping the wet and dry mixtures separate at first makes it easier to combine the batter without overmixing.
Step 4: Pour the wet ingredients into the dry ingredients and stir with a whisk or flexible spatula. Stop as soon as the flour disappears, because excessive stirring can make the layers less tender.
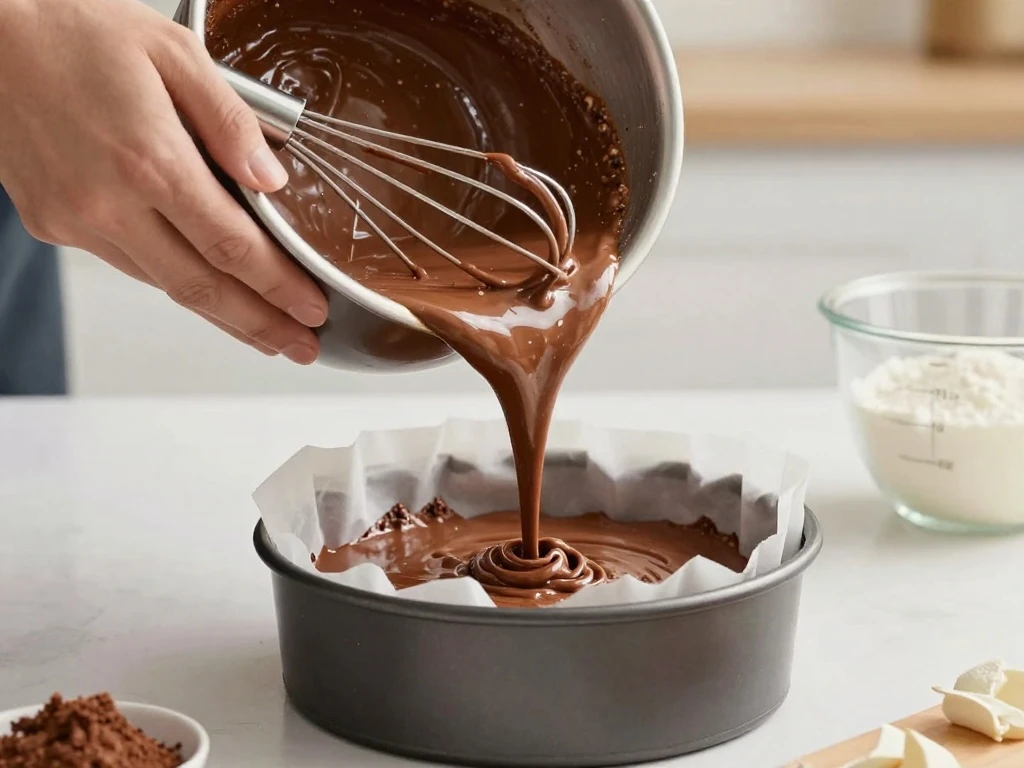
Step 5: Slowly add the hot coffee while whisking gently and continuously. The batter will become very fluid, but do not add extra flour; this thin consistency is intentional and helps create a moist, delicate crumb.
Step 6: Divide the batter evenly between the two prepared pans. A kitchen scale makes this easy, but you can also use a measuring cup and adjust the final spoonfuls so both layers bake to the same height.
Step 7: Bake for 27 to 31 minutes, rotating the pans once if your oven has hot spots. The cakes are ready when the centers spring back lightly and a toothpick comes out with a few moist crumbs rather than wet batter.
Step 8: Let the cakes cool in their pans for 10 minutes before turning them onto wire racks. Peel away the parchment and allow the layers to cool completely, since warm cake can soften or melt the frosting.
Step 9: Make the buttercream by beating the softened butter until creamy and pale. Add the cocoa powder, powdered sugar, cream, vanilla, and salt in several additions, then beat until fluffy and smooth.
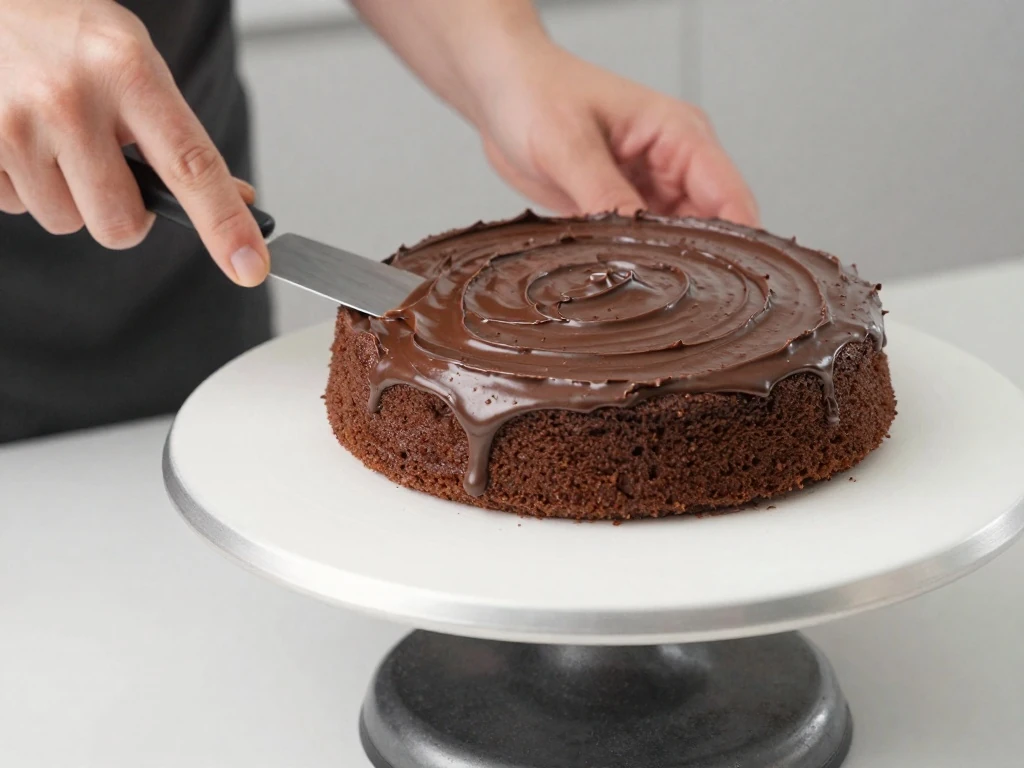
Step 10: Set one cake layer on a serving stand and spread a generous cup of frosting across the top. Place the second layer on top, cover the cake with the remaining frosting, and finish with chocolate curls, grated chocolate, or a fine cocoa dusting.
Pro Tips for the Best Cake
Do not skip the parchment rounds. Even well-greased pans can hold onto a moist chocolate cake, and parchment gives the layers a reliable path out of the pan.
For level layers, check the cakes a few minutes before the suggested baking time. Every oven differs, and a cake that bakes just a little too long can lose the tender quality that makes this recipe special.
If the layers dome in the center, let them cool completely and trim the tops with a serrated knife. Save the crumbs for sprinkling over ice cream, folding into truffles, or enjoying as a private baker’s treat.
For a polished finish, apply a thin crumb coat first. Chill the cake for 20 minutes, then spread on the final layer of frosting for clean sides and a smooth top.
Use a light hand when mixing after the flour is added.
Cool the cake fully before assembling.
Run a bench scraper around the sides for a neat finish.
Add a pinch of espresso powder to the frosting for an even darker chocolate note.
Storage & Reheating
Keep the frosted cake covered at room temperature for up to 2 days if your kitchen is cool. The frosting forms a protective layer, helping the cut surfaces stay soft.
For longer storage, refrigerate the covered cake for up to 5 days. Let slices stand at room temperature for 30 to 45 minutes before serving so the crumb softens and the buttercream becomes creamy again.
Unfrosted layers can be wrapped tightly in plastic wrap and frozen for up to 2 months. Thaw them overnight in the refrigerator, then let them sit at room temperature before frosting.
To warm an individual slice, place it on a plate and microwave it for 8 to 10 seconds. The goal is gentle softening, not heat, because too much time can make the frosting slippery and the crumb rubbery.
Serving Suggestions
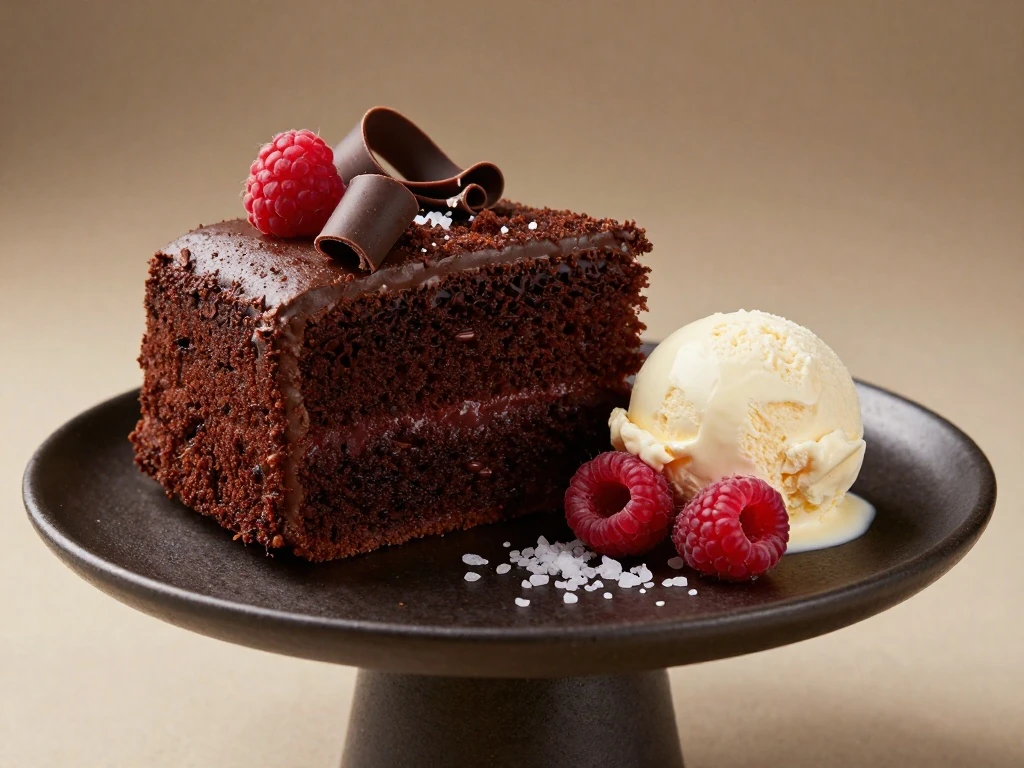
Serve this cake in generous wedges with a small scoop of vanilla ice cream or a spoonful of softly whipped cream. The cool, mild accompaniment makes the dark chocolate flavor feel especially lush.
Fresh raspberries, sliced strawberries, or sour cherries add bright acidity that balances the sweetness. A few flakes of sea salt on the frosting can also sharpen the cocoa flavor and make each bite taste more complex.
For a celebration, pipe small swirls of frosting around the top edge and place a berry between each swirl. For a more relaxed finish, use the back of a spoon to create soft waves and scatter the surface with chocolate shavings.
Common Questions
Can I make this as a sheet cake? Yes, pour the batter into a greased and parchment-lined 9-by-13-inch pan. Begin checking it around 30 minutes, and look for the same moist-crumb toothpick test.
Can I use melted chocolate? The recipe is designed around cocoa powder, so melted chocolate is not required. Adding it without changing the liquid and flour ratios can make the batter heavy and alter the baking time.
Why does the recipe use coffee? Coffee amplifies chocolate flavor without giving the cake a noticeable coffee taste. Hot water is a perfectly acceptable substitute when needed.
Can I make the layers ahead? Absolutely. Wrap cooled layers tightly and keep them at room temperature overnight or freeze them for longer storage, then frost shortly before serving.
Sinfully Rich Devil's Food Cake
A moist, dark, intensely chocolatey layer cake finished with smooth chocolate buttercream. Hot coffee deepens the cocoa flavor without making the cake taste like coffee.
Heat the oven to 350°F. Grease two 9-inch round cake pans, line the bottoms with parchment, and lightly dust the sides with cocoa powder.
Whisk flour, cocoa powder, sugar, baking soda, baking powder, and salt in a large bowl. Break up every cocoa lump so the finished crumb is smooth.
In another bowl, whisk eggs, buttermilk, oil, and vanilla until blended. Pour the wet mixture into the dry mixture and stir just until no dry streaks remain.
Slowly pour in the hot coffee while whisking gently. The batter will be thin, and that loose texture is what helps produce a moist cake.
Divide the batter between the prepared pans. Bake for 27 to 31 minutes, or until the centers spring back lightly and a toothpick comes out with a few moist crumbs.
Cool the cakes in their pans for 10 minutes, then turn them onto wire racks. Remove the parchment and cool completely before frosting.
Beat softened butter until creamy, then add cocoa powder, powdered sugar, cream, vanilla, and salt in stages. Beat for 2 to 3 minutes until smooth, fluffy, and spreadable.
Place one cake layer on a stand and spread it with frosting. Add the second layer, cover the top and sides, then garnish with chocolate curls or a light cocoa dusting.
Notes
Use room-temperature eggs and buttermilk for an even batter. Do not overbake, because the cake is best when the toothpick shows a few moist crumbs. Store covered at room temperature for 2 days or refrigerate for up to 5 days; bring chilled slices to room temperature before serving.
Final Thoughts
This Sinfully Rich Devil’s Food Cake earns its name with every forkful: dark, moist cake, creamy chocolate frosting, and a finish that feels wonderfully decadent. It is proof that a few thoughtful techniques can turn familiar ingredients into an unforgettable dessert.
For the best result, measure carefully, use hot coffee, avoid overbaking, and give the layers plenty of time to cool before assembly. Once frosted, the cake is ready for candles, chocolate curls, or nothing more than a plate and a hungry audience.
Make it for a birthday, a holiday table, or a quiet afternoon when you want a truly satisfying chocolate treat. One slice is generous, two slices are understandable, and leftovers rarely last long.