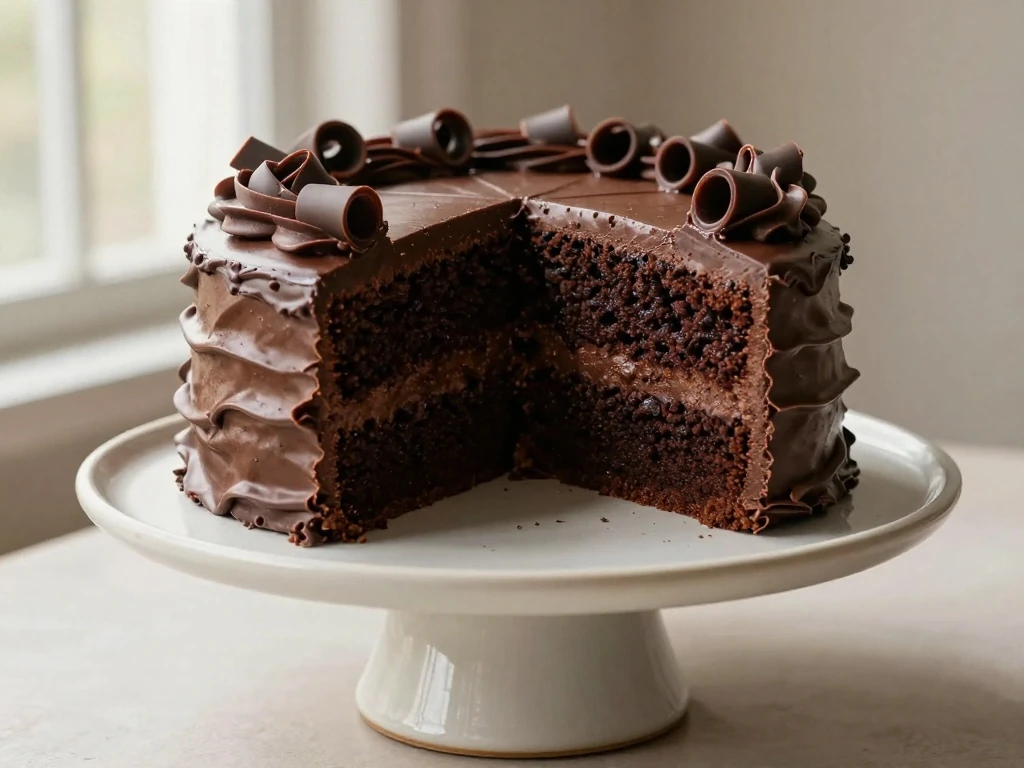
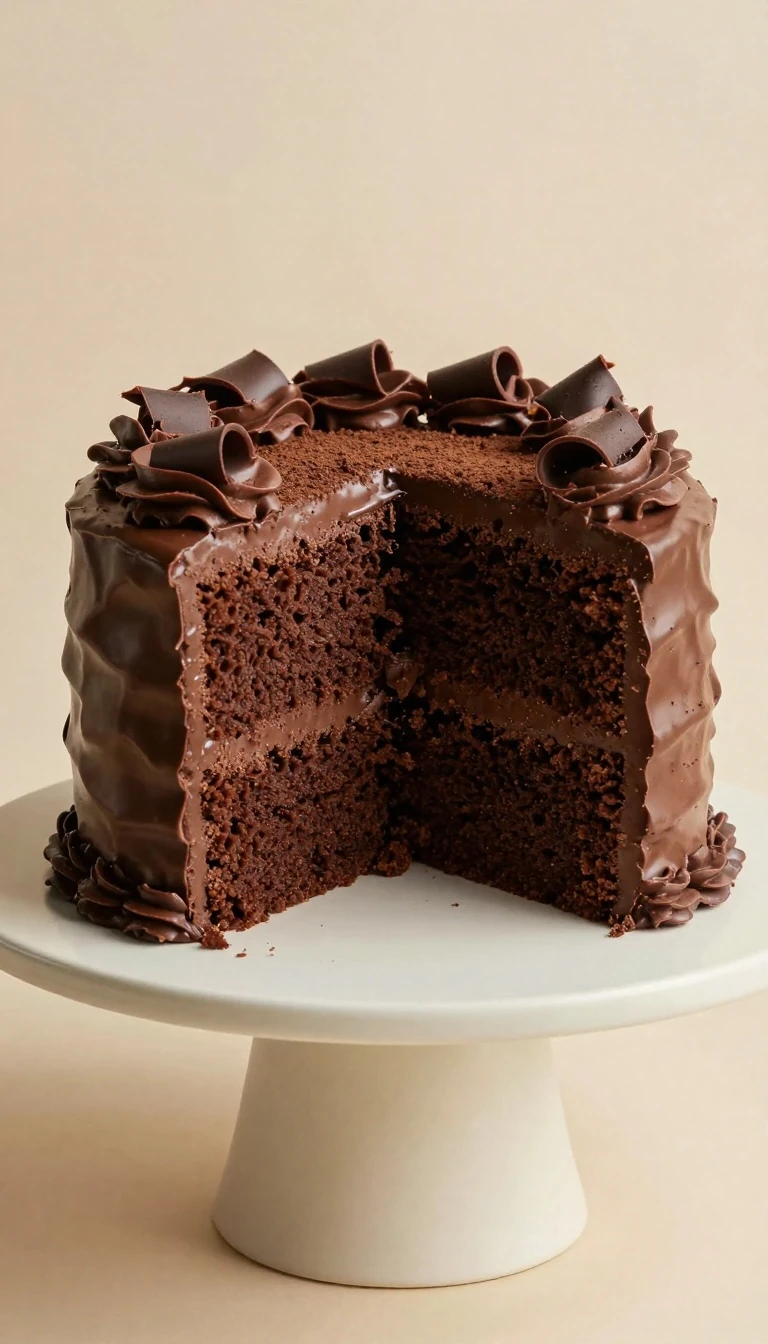
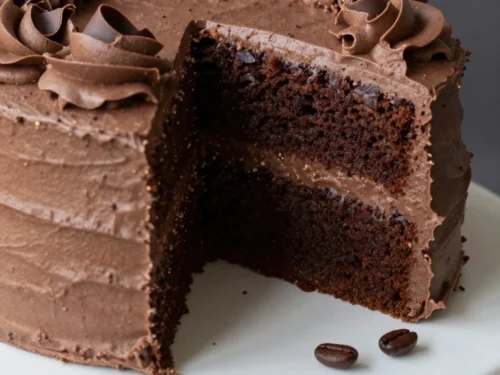
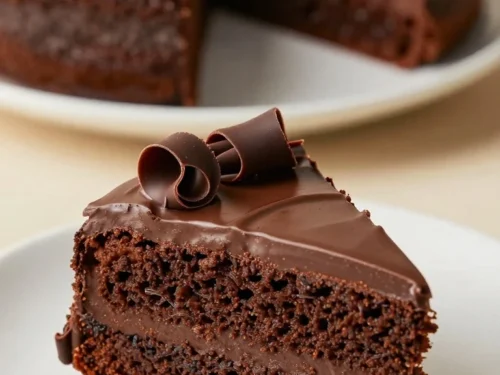
This dairy-free chocolate cake recipe makes a deeply chocolatey, moist, tender cake without butter, milk, cream, or other dairy products. The simple batter uses neutral oil, unsweetened plant milk, cocoa powder, and hot coffee or water, then bakes into two soft 8-inch layers ready for your favorite dairy-free frosting.
Every bite has a rich cocoa flavor, delicate crumb, and glossy chocolate finish, while the coffee quietly intensifies the chocolate without making the cake taste like coffee. It is an easy dessert for birthdays, celebrations, school events, or any evening when you want an impressive chocolate cake made with everyday pantry ingredients.
This cake proves that a dairy-free dessert can be wonderfully rich, soft, and celebratory. It has the deep cocoa taste people expect from a classic chocolate cake, but the recipe skips butter, heavy cream, and regular milk.
Oil keeps the crumb moist for several days because it remains liquid when chilled. Plant milk provides the needed liquid, while vinegar reacts with baking soda to give the layers a light, delicate texture.
The batter comes together in one large bowl with a whisk, so there is no stand mixer required. Even better, the thin batter spreads easily into the pans and bakes into layers that are simple to stack and frost.
Completely dairy-free when using certified dairy-free chocolate.
Soft and moist with a deep chocolate flavor.
Easy enough for a weeknight dessert.
Adaptable for birthdays, holidays, and casual gatherings.
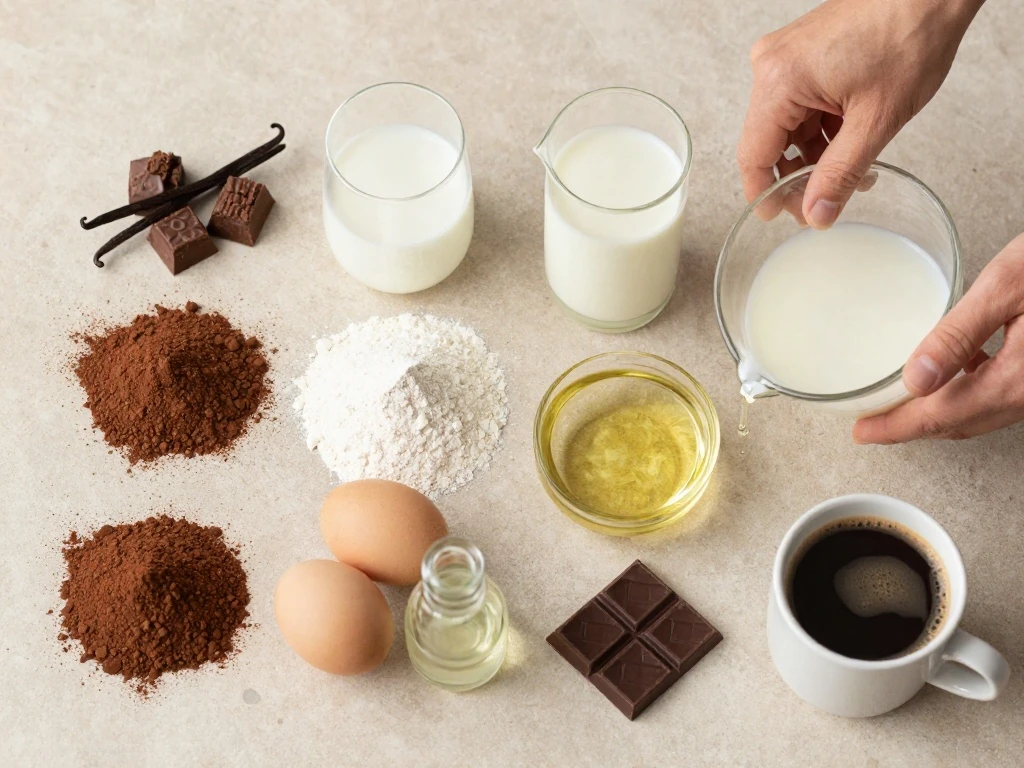
Ingredients You’ll Need
All-purpose flour gives the cake enough structure to hold two layers while keeping the crumb tender. If you need a gluten-free cake, use a reliable cup-for-cup gluten-free flour blend that includes xanthan gum, though the texture may vary slightly.
Use unsweetened cocoa powder rather than hot chocolate mix. Natural cocoa powder works especially well here because its acidity supports the baking soda and contributes a balanced, pleasantly dark chocolate flavor.
Oat milk or soy milk is a good choice because both have a smooth texture and mild flavor. Almond milk can also work, although thinner plant milks may produce a slightly less plush crumb.
Neutral oil, such as canola, sunflower, or grapeseed oil, keeps the chocolate flavor clear. Extra-virgin olive oil can be used if you enjoy its flavor, but choose a mild variety so it does not overpower the cocoa.
Hot brewed coffee is optional but highly recommended. It does not make the cake taste like coffee; instead, it brings out the darker notes in the cocoa and makes the final flavor taste fuller.
How to Make It Step-by-Step
Begin by preparing the pans carefully. Grease the sides, line the bottoms with parchment, and dust the sides with cocoa rather than flour so pale patches do not show on the finished cake.
Mixing the plant milk with vinegar is a small step that makes a noticeable difference. Allowing it to stand for a few minutes gives the mixture time to thicken slightly and creates the acidity needed for a good rise.
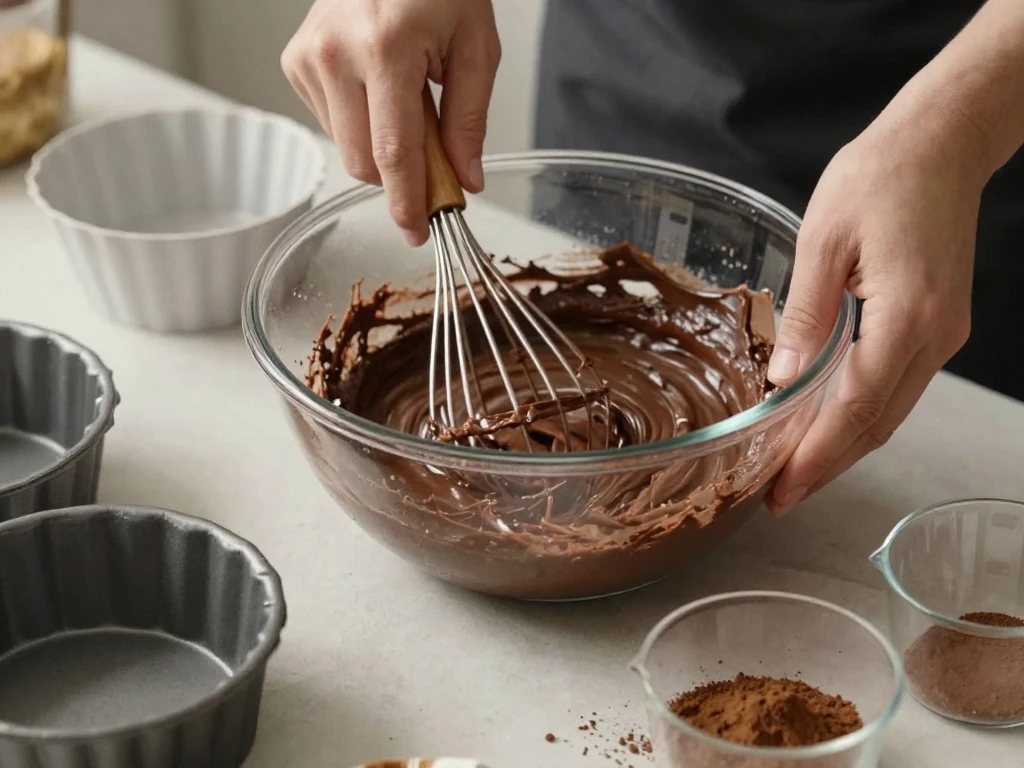
Whisk the dry ingredients thoroughly before adding any liquid. Cocoa powder can hide in small pockets, so run a whisk around the bottom and sides of the bowl until the mixture looks evenly colored.
Once the wet ingredients are added, stir only until combined. A few tiny lumps are acceptable, but extended mixing can develop the flour and make the cake less tender.
The hot liquid should be added slowly and carefully. The finished batter will look much thinner than a typical butter cake batter, but that loose consistency is intentional and produces a moist, delicate crumb.
Divide the batter as evenly as possible between the pans. For especially precise layers, weigh the pans after filling them and add or remove a little batter until both are close in weight.
Begin checking the cakes at 26 minutes because oven temperatures vary. The layers are ready when the centers spring back lightly and a toothpick shows a few moist crumbs rather than wet batter.
Let the layers cool before frosting, even if you are eager to decorate. Warm cake melts frosting and can cause the layers to slide, while completely cool cake gives you clean, stable edges.
How to Make Dairy-Free Chocolate Frosting
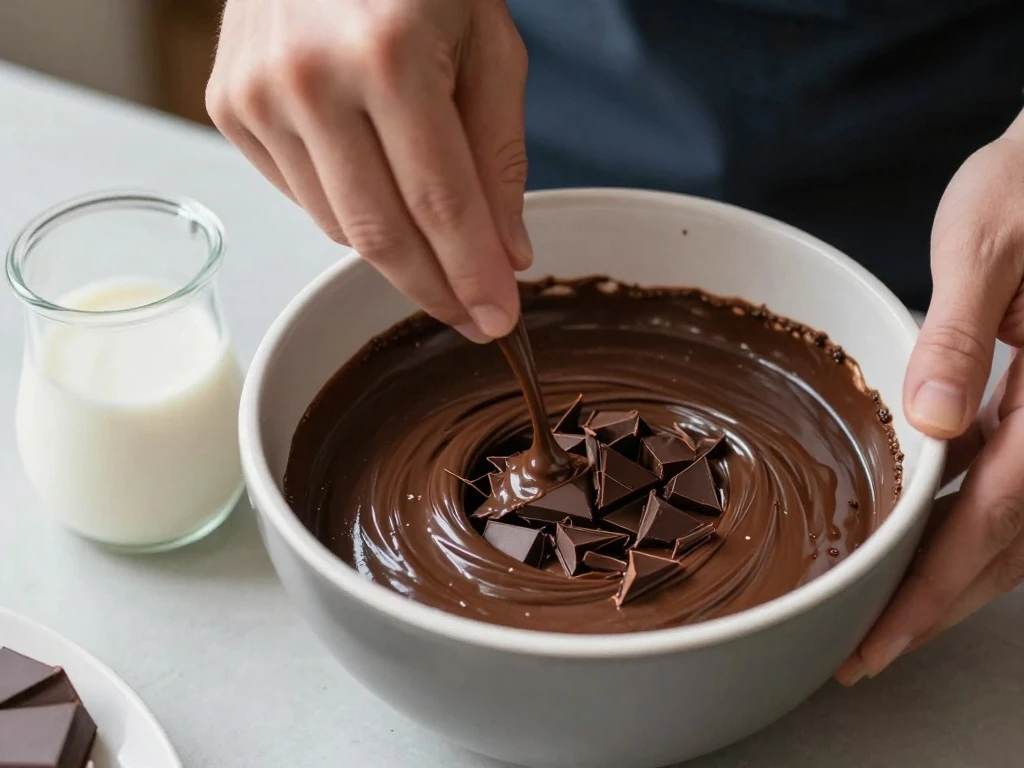
The coconut milk ganache frosting is smooth, glossy, and easy to spread. Use full-fat canned coconut milk, not refrigerated coconut beverage, because the extra fat gives the frosting body and a silky mouthfeel.
Chop the chocolate into small, similar-sized pieces so it melts evenly. Pour the hot coconut milk over the chocolate, wait three minutes, and then whisk from the center outward until the mixture becomes shiny and smooth.
If the frosting seems too loose, refrigerate it for another 10 minutes and stir again. If it becomes too firm, let it sit at room temperature until spreadable, or stir in one teaspoon of warm coconut milk.
For a sweeter frosting, mix in powdered sugar after the ganache has cooled slightly. Sift the sugar first to prevent lumps, and taste before adding the full amount because the sweetness of dairy-free chocolate brands varies.
For assembly, trim the domed tops only if necessary. Place the least attractive layer upside down on the plate, add a generous middle layer of frosting, position the second cake on top, and apply a thin crumb coat before the final layer.
Chef Tips for the Best Cake
Measure flour by spooning it into a dry measuring cup and leveling the top, or use a kitchen scale for the most consistent results.
Do not replace the oil with an equal amount of melted dairy-free butter without testing, since different fats can change the cake texture.
Use fresh baking soda and baking powder for reliable lift.
Do not open the oven during the first 20 minutes, when the layers are setting.
Cool the cake layers on a rack so air can circulate underneath and prevent soggy bottoms.
Place strips of parchment beneath the cake edges before frosting, then remove them for a clean serving plate.
For a stronger chocolate finish, add a small pinch of instant espresso powder to the dry ingredients. This is optional and will intensify the cocoa without changing the cake into a coffee dessert.
For a layer cake with a neat profile, chill the assembled cake for 20 minutes after the crumb coat. The final frosting layer will spread more cleanly over the slightly firm surface.
Variations and Serving Ideas
This recipe is delicious as written, but it also welcomes simple changes. Add one teaspoon of orange zest to the batter for a bright chocolate-orange flavor, or fold in a handful of dairy-free chocolate chips for little pockets of melted chocolate.
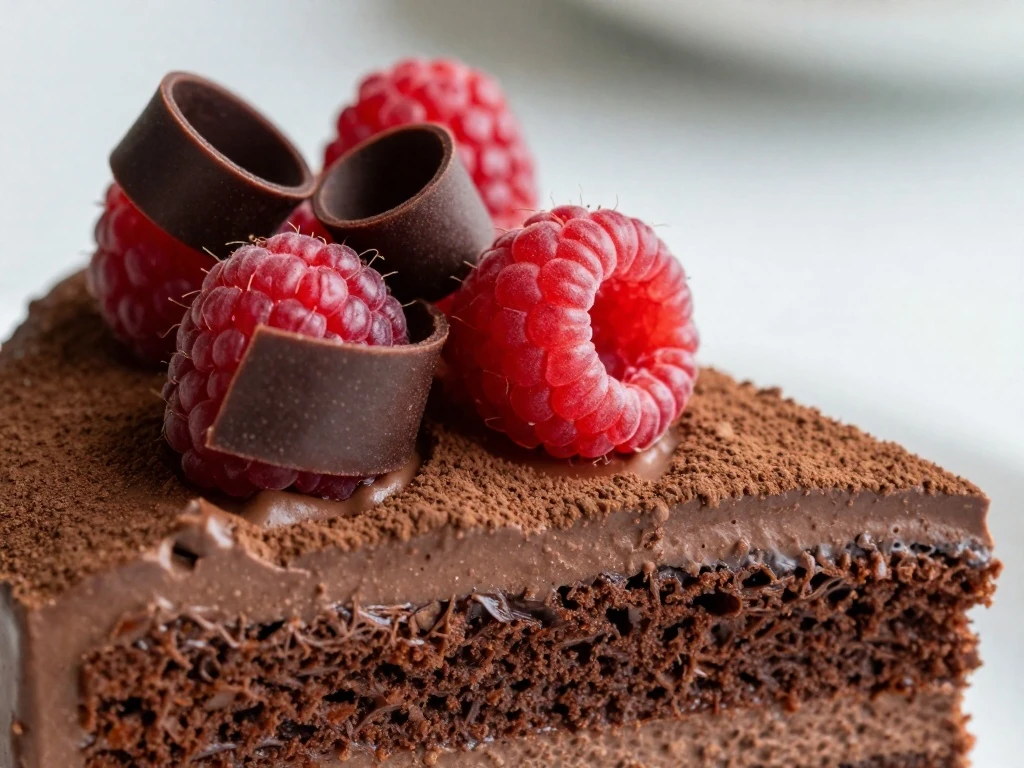
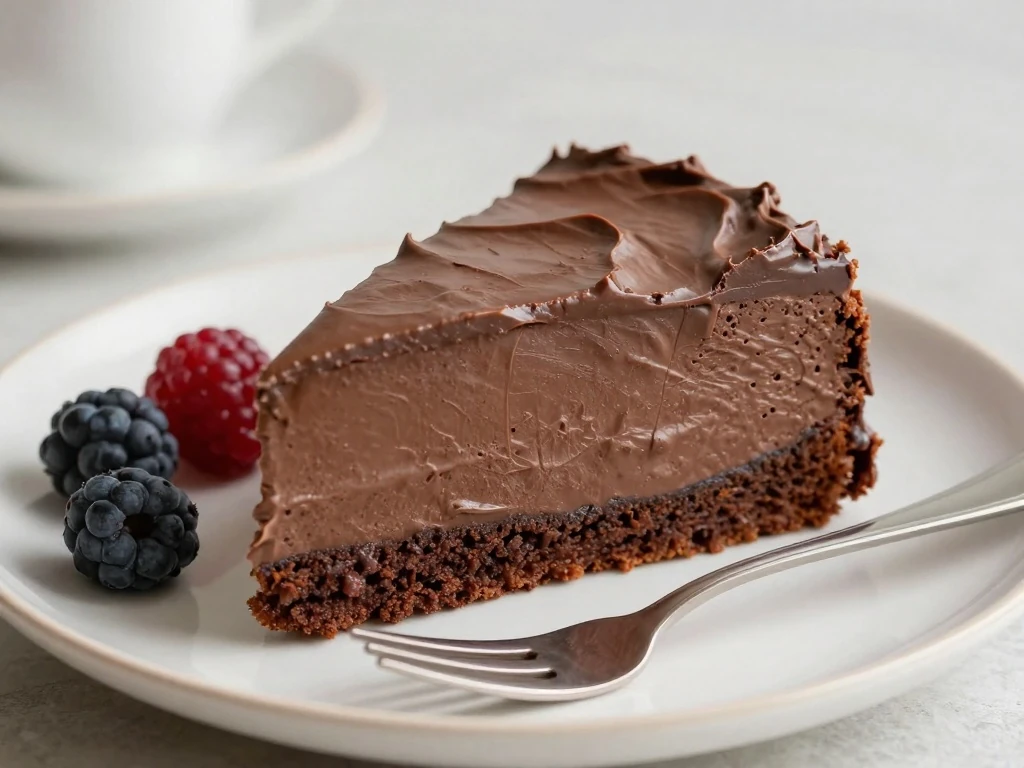
Fresh berries pair beautifully with the dark cake and ganache. Serve each slice with raspberries, strawberries, or a spoonful of cherry compote for a dessert that feels especially festive.
You can bake the batter in a greased 9-by-13-inch pan for a casual snack cake. Start checking it around 28 minutes, and spread the cooled cake with frosting before cutting it into squares.
For cupcakes, line a muffin pan and fill each cup about two-thirds full. Bake at 350°F for approximately 18 to 22 minutes, checking with a toothpick, then cool completely before piping on frosting.
Storage and Serving
Keep the frosted cake covered at room temperature for up to one day if your kitchen is cool. For longer storage, refrigerate it in an airtight cake carrier or under a cake dome for up to four days.
Refrigeration firms the frosting and makes the crumb seem denser, so let each slice sit at room temperature for 30 to 45 minutes before serving. This allows the oil-based cake to soften and brings out its fullest chocolate flavor.
Unfrosted layers can be wrapped individually in plastic wrap and frozen for up to two months. Thaw them overnight in the refrigerator, then let them reach a cool room temperature before assembling.
To protect the cake from refrigerator odors, use a well-sealed container rather than loosely covering it with foil. If the cake has already been sliced, press parchment or plastic wrap against the cut surface to help retain moisture.
Dairy-Free Chocolate Cake
A moist, tender two-layer chocolate cake made without dairy and finished with silky dairy-free chocolate frosting. Coffee or hot water deepens the cocoa flavor and keeps the crumb wonderfully soft.
Heat the oven to 350°F (175°C). Grease two 8-inch round cake pans, line the bottoms with parchment, and lightly dust the sides with cocoa powder.
Stir the plant milk and apple cider vinegar together in a measuring jug, then let the mixture stand for 5 minutes. This creates a light dairy-free buttermilk that adds tenderness and helps the baking soda work.
Whisk the flour, sugar, cocoa powder, baking soda, baking powder, and salt in a large bowl until evenly combined and no cocoa lumps remain.
Whisk the prepared plant milk mixture with the eggs, oil, and vanilla. Pour the wet mixture into the dry ingredients and stir just until the flour is absorbed.
Slowly add the hot coffee or hot water while whisking gently. The batter will be thin, which is exactly what gives the finished cake its moist texture.
Divide the batter evenly between the prepared pans. Bake for 26 to 30 minutes, or until the centers spring back lightly and a toothpick inserted in the middle comes out with a few moist crumbs.
Cool the cakes in their pans for 10 minutes, then turn them onto wire racks and remove the parchment. Let the layers cool completely before frosting.
For the frosting, place the chopped dairy-free chocolate in a heatproof bowl. Warm the coconut milk until steaming but not boiling, pour it over the chocolate, and let it stand for 3 minutes.
Whisk the coconut milk and chocolate until smooth, then stir in the vanilla. Chill for 30 to 45 minutes, stirring occasionally, until thick enough to spread; add powdered sugar if you prefer a sweeter, firmer frosting.
Place one cake layer on a serving plate, spread with frosting, and top with the second layer. Cover the top and sides with the remaining frosting, then garnish with chocolate curls or a light cocoa dusting.
Notes
Use room-temperature eggs and plant milk for a smooth batter. Choose dairy-free chocolate labeled for your dietary needs, since some dark chocolates contain milk ingredients. Store the frosted cake covered at room temperature for 1 day or refrigerate for up to 4 days; bring it to room temperature before serving.
Final Thoughts
This dairy-free chocolate cake is the kind of dependable recipe worth keeping in regular rotation. It uses straightforward ingredients, requires no specialized equipment, and delivers the tender crumb and rich cocoa flavor of a classic celebration cake.
Make it with coffee for an especially deep chocolate finish, or use hot water for a simple family-friendly version. Once the layers are cool, the silky coconut ganache turns the cake into a polished dessert that looks as wonderful as it tastes.
Whether you are baking for someone with a dairy allergy or simply want a moist chocolate cake without butter and milk, this recipe is ready for the occasion. Slice it generously, add a few berries or chocolate curls, and enjoy every fudgy, tender bite.