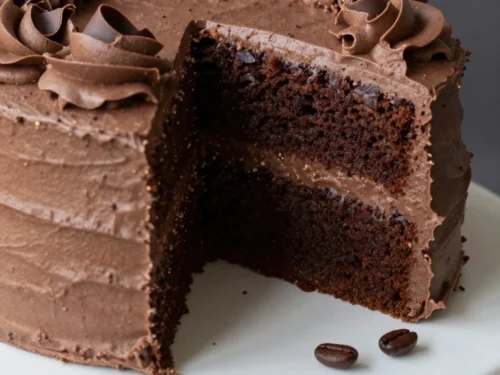
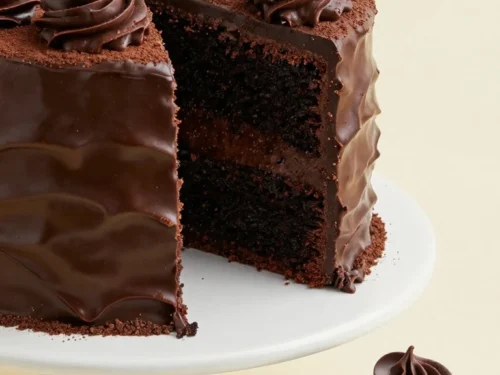
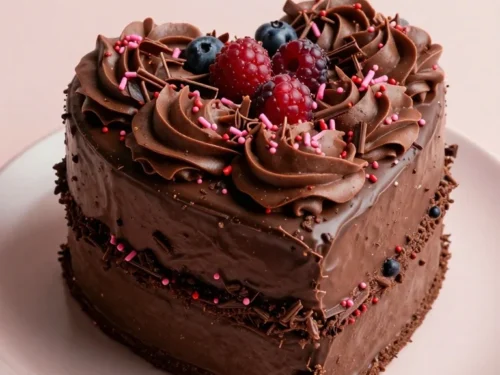
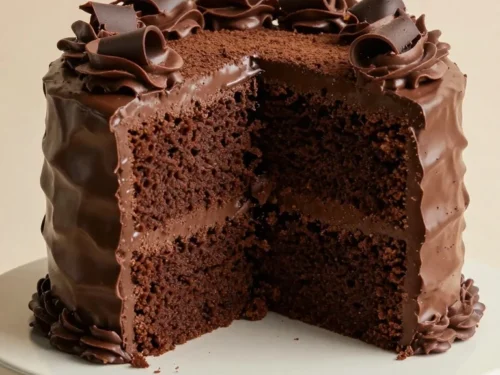
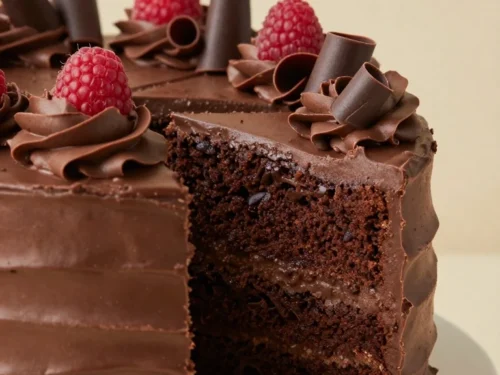
Chocolate Dream Cake in a Tin Can is a charming single-serve dessert made by baking moist chocolate cake batter inside oven-safe cans, then topping each cake with silky chocolate frosting. This recipe makes four small cakes, with simple pantry ingredients and a baking method that gives the cakes tall sides, tender crumbs, and an irresistible homemade appearance.
Each bite is deeply chocolatey without being heavy, thanks to unsweetened cocoa, hot coffee, and a smooth buttercream topping. The tin-can shape makes these cakes wonderful for birthdays, picnics, bake sales, edible gifts, or any evening when you want a small dessert that feels extra special.
Jump to RecipeWhy You’ll Love This Recipe
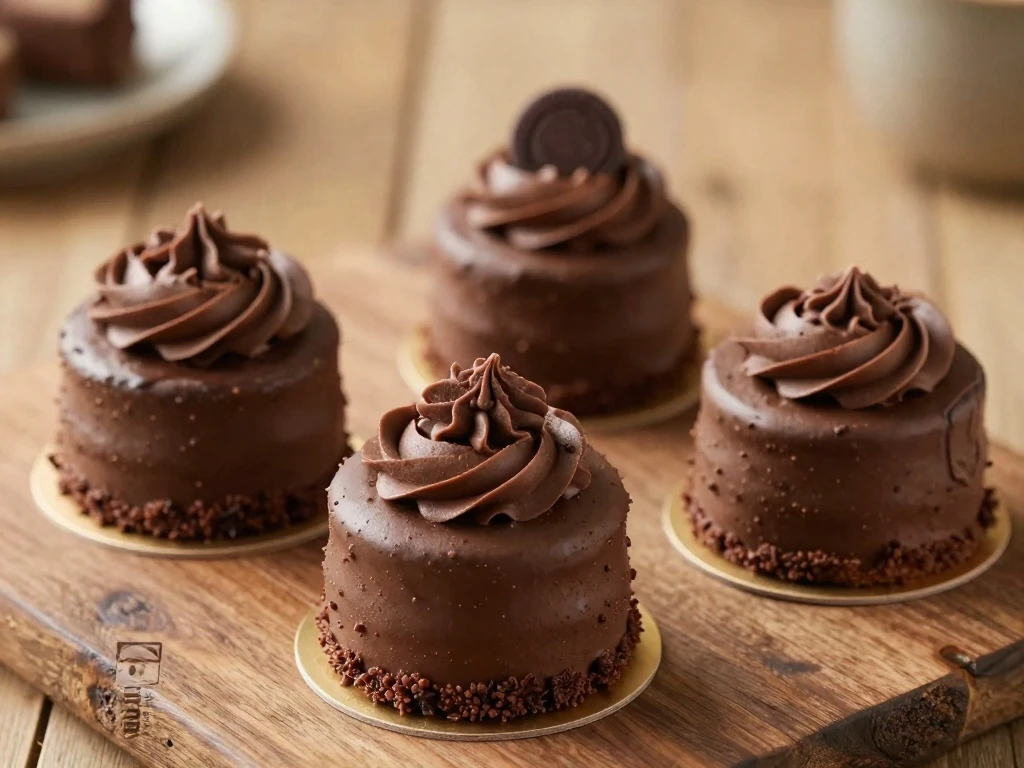
This Chocolate Dream Cake in a Tin Can recipe turns an ordinary chocolate cake into a memorable little dessert. The unusual baking vessel gives each cake a pleasingly tall shape, while the small portions make decorating and serving wonderfully simple.
The cake has a soft, moist crumb with a deep cocoa flavor. Hot coffee does not make the dessert taste like coffee; instead, it helps bring out the richness of the chocolate and keeps the crumb tender.
There is also plenty of flexibility in how you finish these cakes. You can pipe neat rosettes, spread on a thick layer of buttercream, add ganache, or keep the decoration simple with powdered sugar and chocolate shavings.
- Uses common baking ingredients.
- Makes four individual cakes for easy serving.
- Works well for birthdays, showers, holidays, and edible gifts.
- Can be decorated in many different styles.
- Stays moist for several days when covered properly.
Ingredients You’ll Need
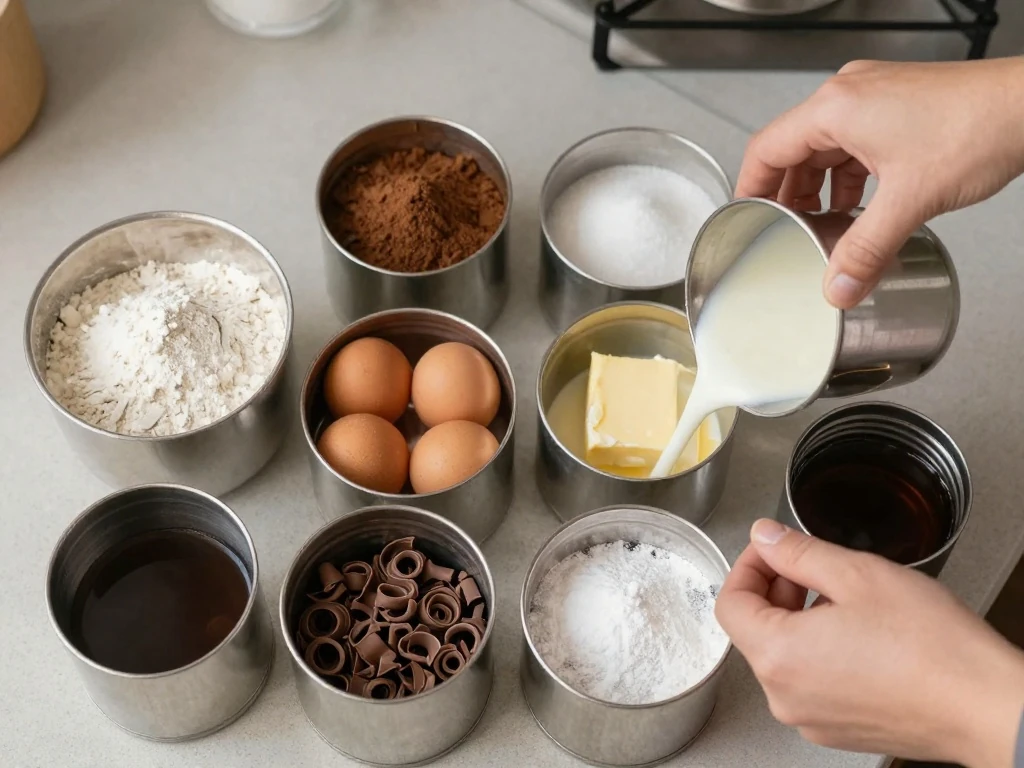
The dry ingredients create the structure and chocolate flavor of the cake. For the best result, use natural unsweetened cocoa powder unless your cocoa label specifically says it is Dutch-processed and suitable for recipes using baking soda.
Buttermilk adds gentle tang and helps produce a tender texture. If you do not have buttermilk, stir 1 1/2 teaspoons of lemon juice into 1/2 cup of milk, let it stand for five minutes, and use it as a substitute.
Hot coffee is the secret to a full chocolate taste, but hot water works perfectly well if you prefer to avoid coffee. The liquid should be hot but not boiling, and it is added slowly so the batter remains smooth.
For the frosting, softened butter is important because cold butter can leave lumps. Powdered sugar and cocoa should be sifted if they look clumpy, especially when you want a smooth finish for piping.
Use four clean metal cans that are clearly food-safe and oven-safe. Avoid cans with sharp unfinished rims, plastic interiors, unusual coatings, or any remaining adhesive and label material.
How to Make It Step-by-Step
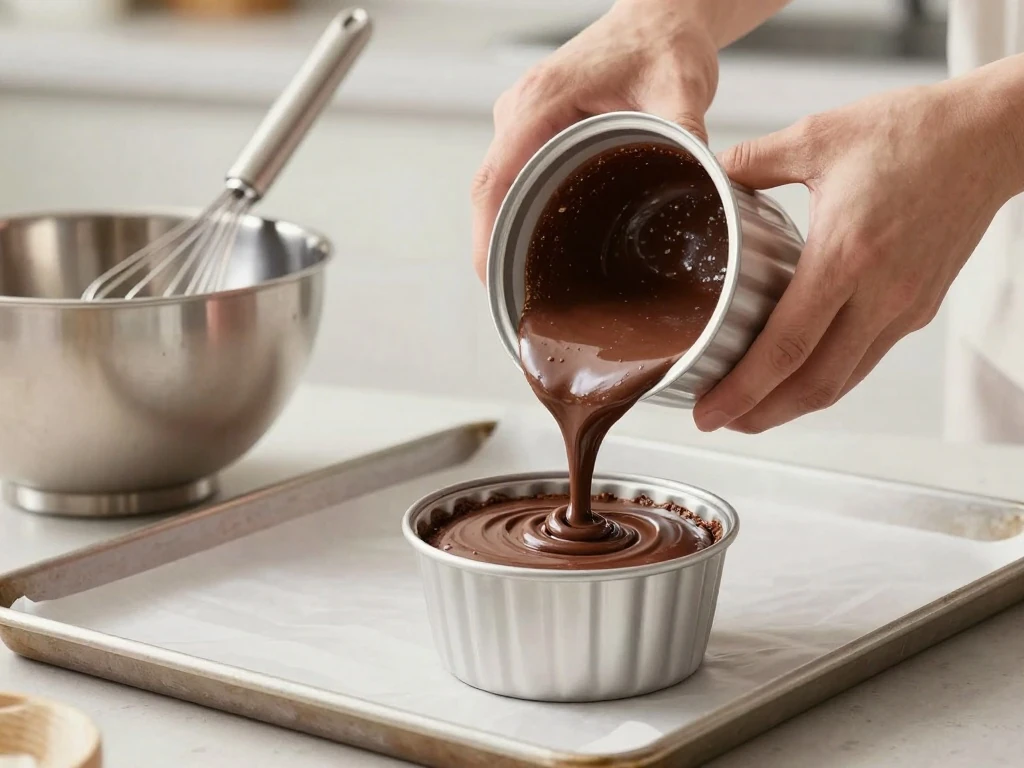
Step 1: Prepare the cans and oven. Heat the oven to 350°F, then wash and dry four oven-safe 15-ounce cans very carefully. Grease the interiors with softened butter or baking spray, place parchment circles in the bottoms, and arrange the cans upright on a sturdy baking sheet.
Step 2: Mix the dry ingredients. Add the flour, sugar, cocoa powder, baking soda, baking powder, and salt to a medium mixing bowl. Whisk for about 30 seconds so the cocoa is evenly distributed and no pockets of leavening remain.
Step 3: Add the wet ingredients. Whisk in the egg, buttermilk, oil, and vanilla until the mixture looks smooth and glossy. Pour in the hot coffee or water gradually while whisking, and do not worry if the batter seems thinner than standard cake batter because that liquid creates the moist texture.
Step 4: Fill the cans carefully. Divide the batter evenly among the four prepared cans, filling each one no more than halfway. Leaving space at the top prevents overflow and gives the cakes room to rise into attractive, rounded tops.
Step 5: Bake the cakes. Place the baking sheet in the center of the oven and bake for 23 to 27 minutes. Begin checking at 23 minutes by inserting a toothpick into the center; it should come out with a few moist crumbs but no wet batter.
Step 6: Cool before removing. Let the cans rest on a cooling rack for 15 minutes, because the hot cakes are delicate and can break if handled immediately. Run a thin knife around each edge, gently tip the cakes out, and let them cool completely on the rack.
Step 7: Make the frosting. Beat the softened butter for two minutes until creamy and pale. Add the powdered sugar and cocoa gradually, then mix in the cream, vanilla, and salt; beat for another two to three minutes until fluffy and easy to spread.
Step 8: Decorate and serve. Spread the frosting over the cooled cakes with a small spatula, or pipe it on with a star tip for a bakery-style finish. Add chocolate curls, sprinkles, crushed cookies, or a single raspberry just before serving.
Pro Tips for the Best Tin Can Cakes
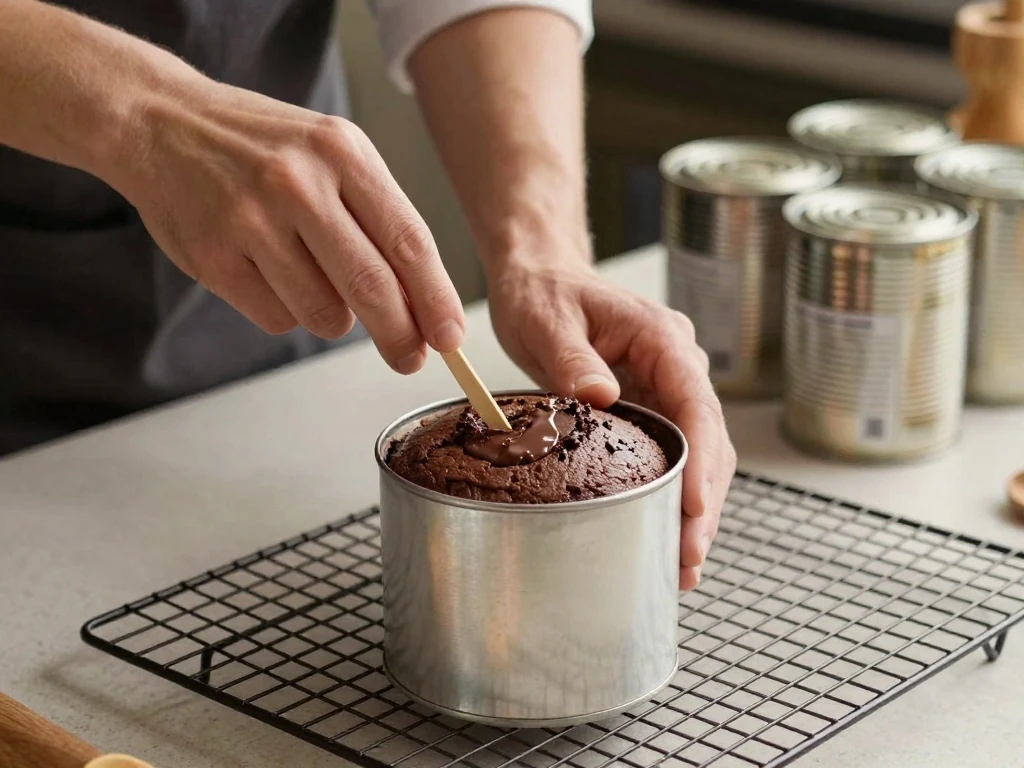
Can preparation makes a major difference. Grease every part of the interior, including the upper sides, because any dry patch can make the cake cling when you try to remove it.
Do not fill the cans more than halfway, even if it looks like there is extra batter. Cake batter rises more dramatically in a narrow container, and an overfilled can may produce a mushroom-shaped top or spill onto the baking sheet.
Set the cans on a baking sheet rather than directly on the oven rack. This makes them easier to move, catches any drips, and reduces the chance of tipping a hot can while checking the cakes.
Keep an eye on baking time because can sizes and metal thicknesses vary. A thinner can may bake quickly, while a thicker can may need a few extra minutes.
- Use a cookie scoop or small measuring cup to divide the batter evenly.
- Allow the cakes to cool fully before frosting so the buttercream does not melt.
- For sharper frosting details, chill the unfrosted cakes for 15 minutes first.
- Place each finished cake in a small bakery box or clear treat bag for gifting.
Creative Topping Ideas
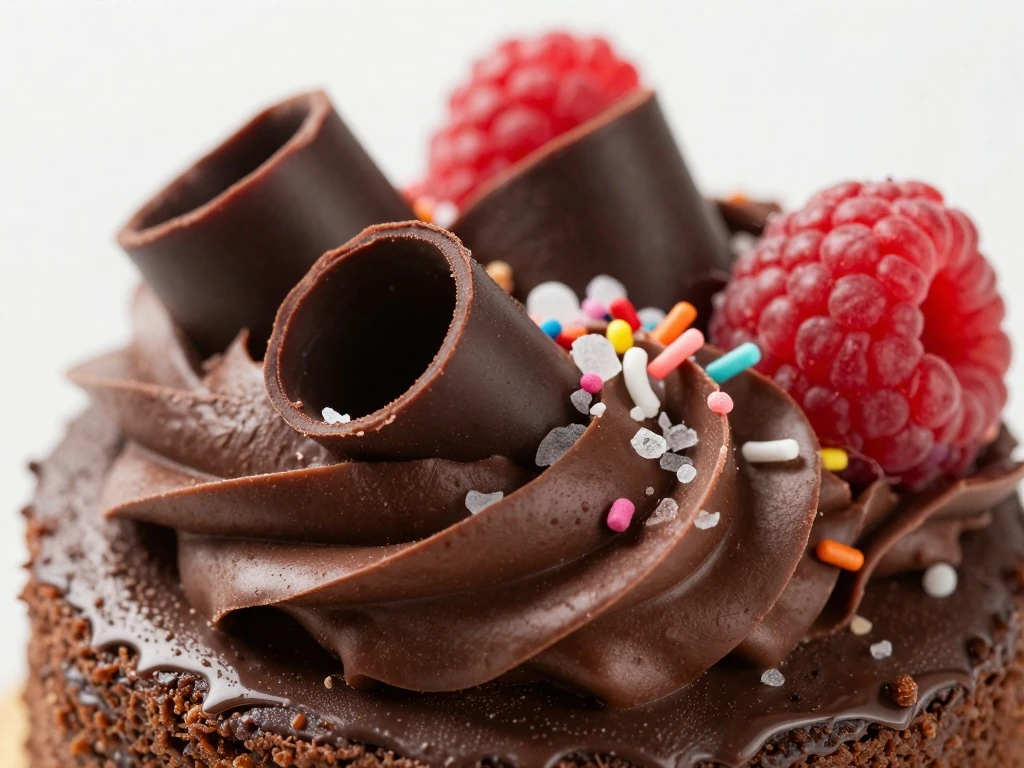
Classic chocolate buttercream is only the beginning. A glossy chocolate ganache gives the cakes a smooth, dramatic finish, while vanilla buttercream creates a striking contrast against the dark cake.
For a celebration, top each cake with colorful sprinkles, miniature candies, or a small fondant decoration. A pinch of flaky sea salt over the frosting balances the sweetness and makes the chocolate flavor taste even more pronounced.
Fresh berries add brightness and color. Try raspberries, strawberries, or cherries, and add them just before serving so their juices do not soften the frosting.
You can also create a hidden filling by cutting a small tunnel in the center of each cooled cake and adding raspberry jam, salted caramel, peanut butter, or chocolate mousse. Replace the cake plug, frost the top, and let guests discover the surprise when they take their first bite.
Storage & Serving Suggestions
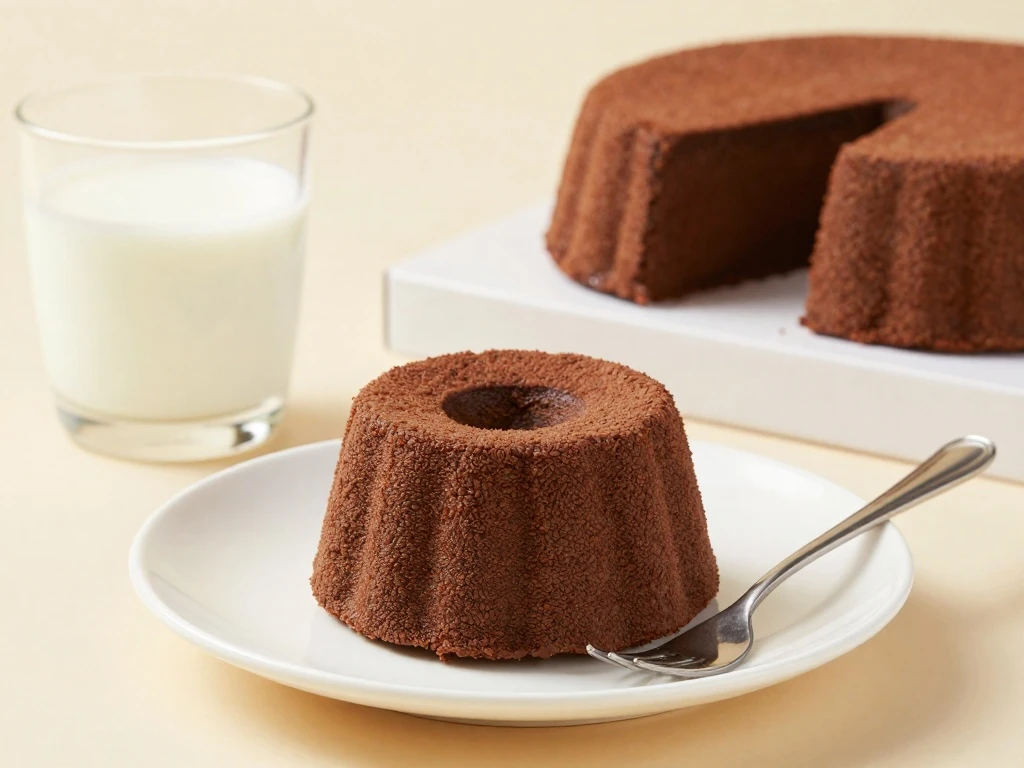
Store finished cakes in airtight containers in the refrigerator for up to four days. Keep them away from strongly scented foods, since buttercream can absorb nearby odors.
For the best flavor and texture, remove a cake from the refrigerator about 20 minutes before serving. The frosting will soften, and the cake crumb will taste richer at room temperature.
Unfrosted cakes can be wrapped individually and frozen for up to two months. Thaw them overnight in the refrigerator, bring them to room temperature, and frost them shortly before serving.
If you plan to transport the cakes in their cans, make certain the cans are clean, dry, and free of sharp edges. You can also remove the cakes, frost them, and place them in individual cupcake boxes with a small non-slip liner underneath.
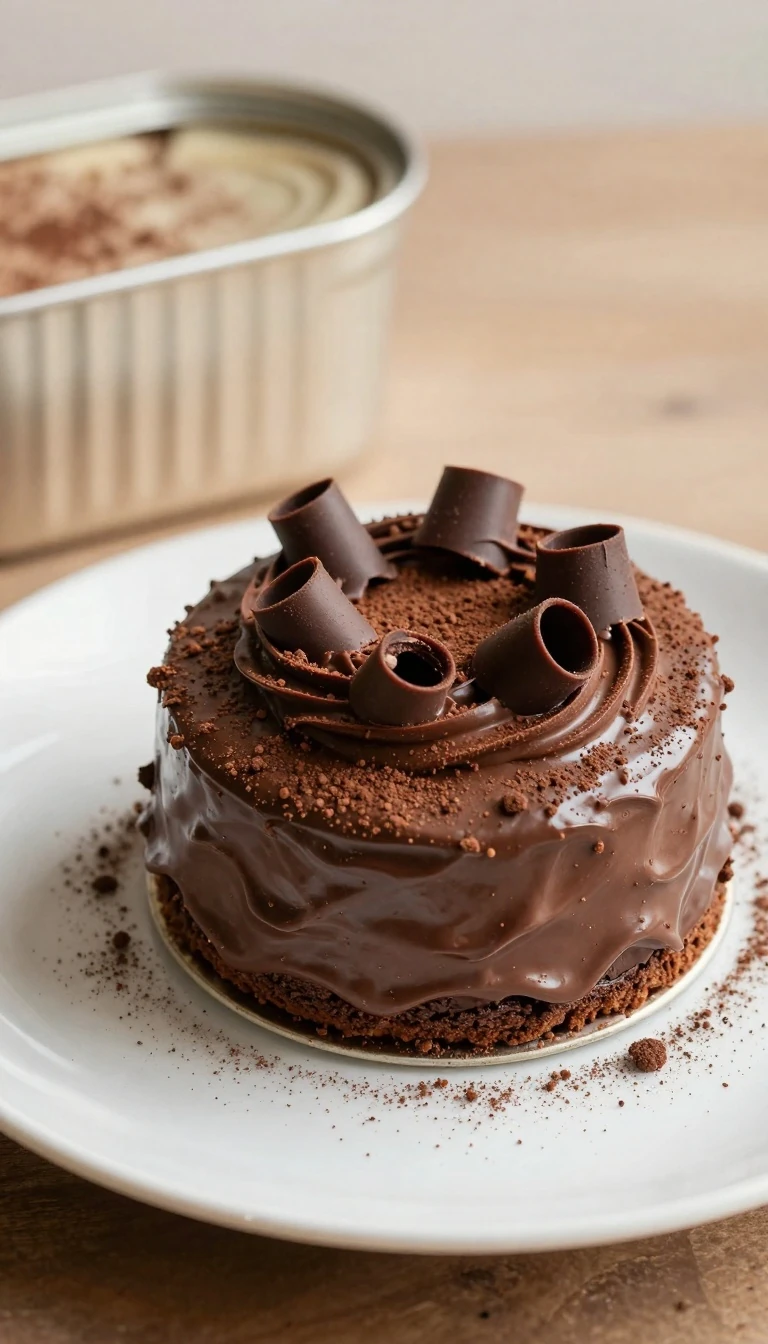
Chocolate Dream Cake in a Tin Can
Ingredients
Method
- Preheat the oven to 350°F. Wash and dry four food-safe, oven-safe 15-ounce metal cans, remove all labels, grease the interiors thoroughly, and line the bottoms with small parchment circles.
- Whisk flour, sugar, cocoa, baking soda, baking powder, and salt in a bowl. Add the egg, buttermilk, oil, and vanilla, then whisk until smooth before stirring in the hot coffee.
- Divide the batter among the prepared cans, filling each one no more than halfway. Place the cans upright on a baking sheet and bake for 23 to 27 minutes, until a toothpick comes out with a few moist crumbs.
- Cool the cakes in the cans for 15 minutes, then loosen the edges and carefully remove them. Cool completely before frosting.
- Beat the butter until creamy, then gradually mix in powdered sugar and cocoa. Add cream, vanilla, and salt, beat until fluffy, and spread or pipe the frosting over the cooled cakes.
- Finish with chocolate curls or sprinkles. Serve immediately, or chill the cakes briefly for cleaner frosting and easier transport.
Notes
Final Thoughts
This Chocolate Dream Cake in a Tin Can recipe is proof that a simple chocolate cake can become a memorable dessert with a little creativity. The cakes are moist, richly flavored, easy to portion, and wonderfully fun to decorate.
Take care when choosing and preparing the cans, and give the cakes plenty of time to cool before frosting. Once the chocolate buttercream and garnishes are in place, each little cake looks ready for a celebration, yet the recipe remains simple enough for a relaxed weekend bake.
Serve the cakes with coffee, cold milk, or a scoop of vanilla ice cream. Whether you make them for guests or keep one tucked away for yourself, these tin-can cakes deliver a delicious chocolate moment in every bite.